❏
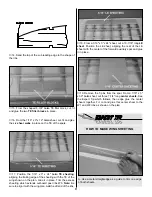
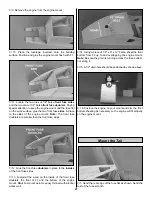
20. Using two 1/16" x 1/4" x 24" balsa sticks, fit and glue
cap strips to the top edge of the four exposed ribs.
❏
21. Trim the LE sheeting flush with the front of the sub
leading edge.
❏
22. Remove the wing center section from the building board.
Sand the sheeting and the cap strips flush with both W3s.
❏
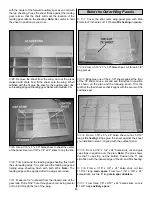
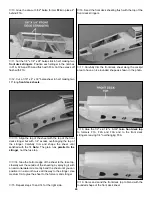
23. Use a 1/4" x 1/2" x 24" balsa stick as your trailing edge
jig. Pin it to the plan, over the aft auxiliary spar. Position the
wing upside down over the plan, with the auxiliary spar aligned
with the trailing edge jig as shown in the photo. Weight the
middle of the wing to hold it in position. Hint: Ankle weights or
bar sanders with sealed bags of shot work very well.
❏
24. Position a 1/16" x 3" x 24" balsa TE sheet aligned with
the top TE sheet previously applied. Glue it to the ribs, the
auxiliary spar and the filler block.
❏
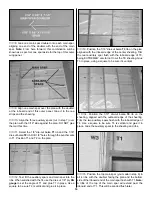
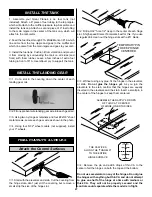
25. Select the two 4-7/8" long basswood landing gear
rails. Glue them into the W2 ribs with epoxy.
❏
26. Glue the landing gear torque blocks to the top side
of the landing gear rails, flush with W2, as shown on the
plan.
❏
27. Use a piece of chalk to mark the tops of the landing
gear rails. Position a 1/16" x 3" x 24" balsa LE sheet aligned
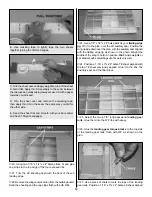
C. Turn the sheet over and apply weights on top of the sheet
to hold it flat. Apply thin CA sparingly to the seam between
the two pieces, quickly wiping away excess CA with a paper
towel as you proceed.
D. Turn the sheet over and remove the masking tape,
then apply thin CA to the seam the same way you did for
the other side.
E. Sand the sheet flat and smooth with your bar sander
and fresh 150-grit sandpaper.
B. Use masking tape to tightly tape the two sheets
together joining the trimmed edges.
12
Summary of Contents for SlowPoke
Page 6: ...6 DIE CUT PATTERNS...
Page 32: ...TWO VIEW...


