16
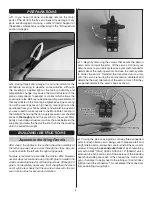
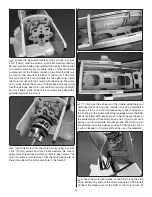
this time, the order is unimportant. Later on during setup, if
you discover that the motor rotates in the wrong direction, you
will simply need to swap the position of any two of the three
wires in order to reverse the rotation of the motor.
❏
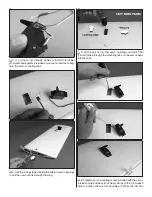
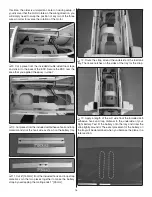
9. Cut a piece from the included double-sided foam tape
and stick it to the back of the ESC. Secure the ESC over the
area that you applied the epoxy in step 7.
❏
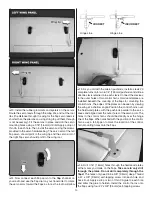
10. Cut pieces from the included self-adhesive hook and loop
material and stick the hook side as shown on the battery tray.
❏
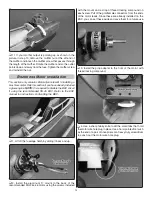
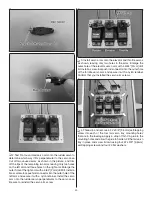
11. Cut 6" [152mm] from the included hook and loop strap
material. Join the two pieces together to make the battery
strap by overlapping the mating ends 1" [25mm].
❏
12. Route the strap around the underside of the fuel tank
tray. There are notches on the sides of the tray for the strap.
❏
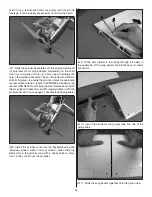
13. Apply a length of the soft side from the included self-
adhesive hook and loop material to the underside of your
fl ight battery. Test fi t the battery onto the tray and draw the
strap tightly around it. The exact placement of the battery on
the tray will be determined when you balance the plane in a
later section.


