13
❏
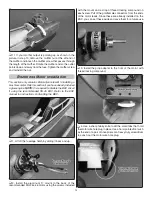
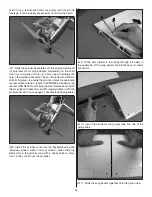
7. Fit the IsoSmooth rubber boots onto the engine mount
tabs. The boots will reduce the amount of engine vibration that
is transferred to the air frame. Note: the boots are designed
to fi t snugly onto the recommended O.S. engine. If you are
installing another brand engine, you may need to enlarge the
boots to fi t over the mount tabs.
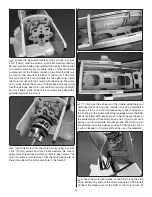
❏
8. Press the IsoSmooth nylon brackets over the boots,
being sure that they are fully seated on the boots.
❏
9. Locate four 4x35mm machine screws, four 4mm fl at
washers, four 4mm lock washers (the 4mm washers are very
similar to the #6 washers and are interchangeable), and four
4mm nuts. Slide a lock washer followed by a fl at washer onto
each screw. Fit the engine onto the engine mount and align
the holes in the nylon brackets with the holes in the mount.
Apply a drop or two of thread locking compound to the end of
each screw. Fit the screws through the holes in the brackets
and through the engine mount. Turn the fuselage on its side
and thread the 4mm nuts onto the screws. Tighten the screws
while allowing the nuts to be become seated in the hexagonal
pockets on the underside of the mount. Confi rm that all four
screws are tight.
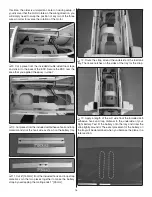
❏
10. Install the muffl er onto the engine using the screws
included with your engine. Connect the pink vent line to the
muffl er and the blue carb line to the needle valve. Route the
green fi ll line toward the bottom of the fuselage. The fi ll line
can be cut shorter during fi nal setup to suit your preference.

