31
❏
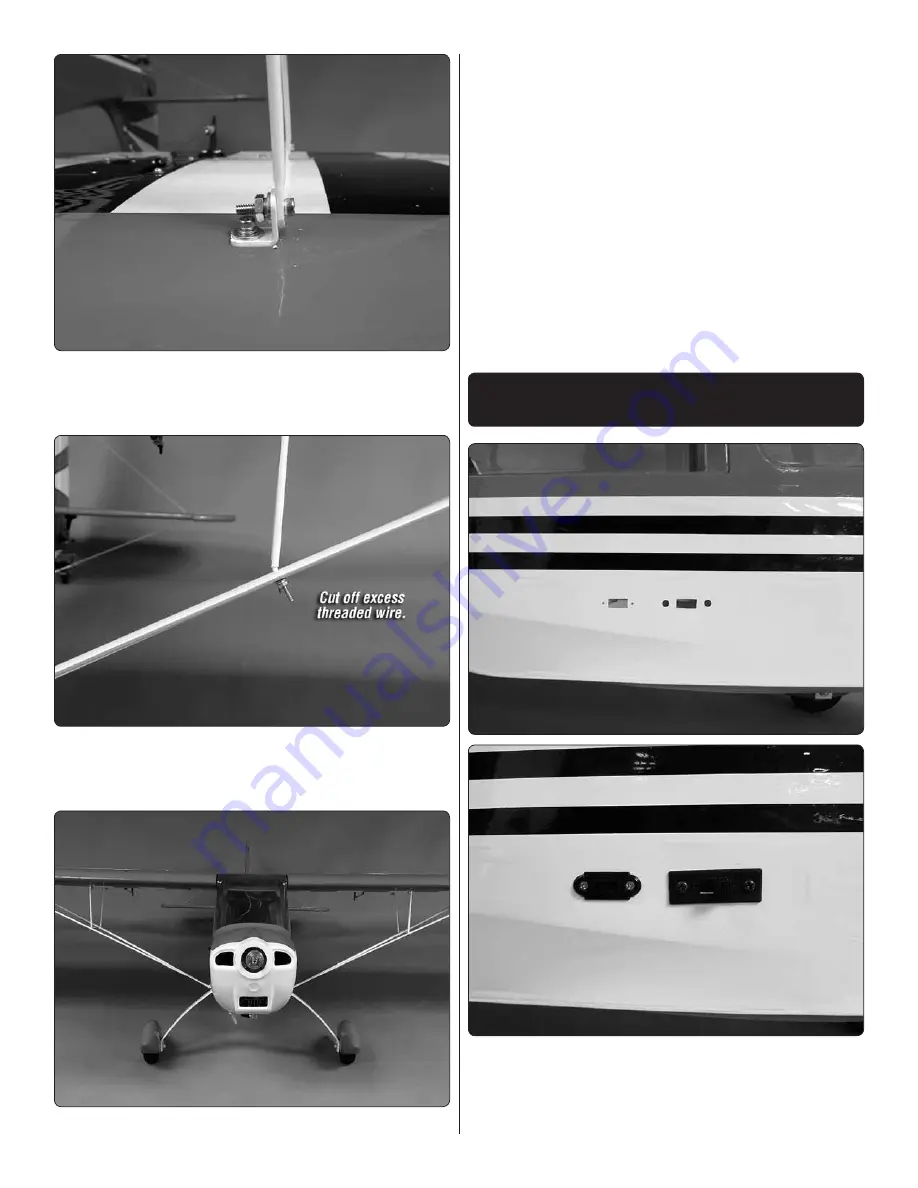
17. Secure the opposite end of the interplane strut to the
bracket you installed in the wing with a 4-40 x 1/2" [13mm]
socket head cap screw, #4 flat washer and #4 lock washer.
❏
18. After installing the nuts and washers you may wish to
use a high speed motor tool and cut-off wheel to cut off the
excess threaded wire.
❏
19. Repeat steps 9 – 16 for the opposite wing strut.
❏
20. Once you have completed the strut assembly remove
the wing. Because the wing is in two pieces you can remove
the bolt on the struts that attaches to the fuselage. Remove
the wing bolts and then slide the wing out of the wing saddle
continuing back towards the tail. Once the wing is far enough
aft of the wing saddle the struts will be wider than the fuselage.
At that point you can lift the wing off the fuselage. Using this
method for installing and removing the wing you can leave
the struts on the wing halves. This makes installation of the
wings and struts quick and easy.
COMPLETE THE RADIO
INSTALLATION
❏
1. Both sides of the fuselage have pre-cuts in the fuselage
for the radio switch and charge jack. Determine which of the
openings best fit your switch and then cut the covering away
from the fuselage. Install your radio switch and the charge
jack if you intend to use one.


