12
Setting Up Your Kaleido-MX Multiviewer
Networking Setup
You are now ready to open XAdmin and XEdit, from a client PC or laptop within the
same subnet, and verify your system communication status (see
Step 3: XEdit
Installation
, on page 26, and
Step 4: System Verification
, on page 30).
Setting a Densité CPU-ETH2 Controller’s IP Address
To set the Densité controller’s IP address
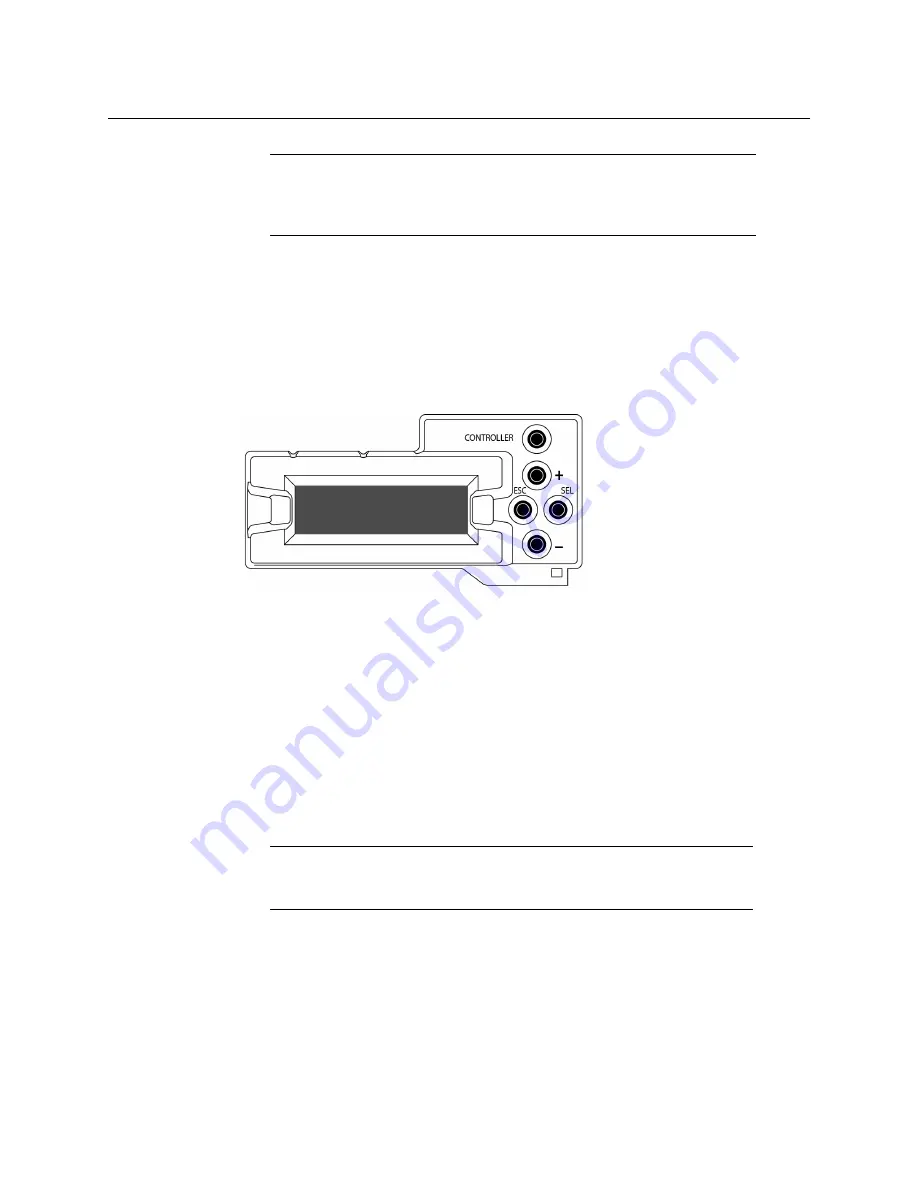
1 On the Kaleido-MX frame’s local control panel, press the CONTROLLER button.
2 Press the [–] button repeatedly until ETH1 OPTIONS appears on the display, and then
press the SEL button.
3 Press the [–] button repeatedly until IP ADDRESS appears on the display.
4 Press the SEL button.
The current value appears on the display.
• Press the [+] and [–] buttons, to change the digit at the current input position.
• Press SEL to move one position to the right.
• Press ESC to move one position to the left.
5 When the display shows the desired value, press SEL repeatedly until you reach the last
position (if needed), and then press SEL once more to save your changes and return to
the previous menu level.
IP ADDRESS appears on the control panel’s display.
6 Press the [–] button.
NETWORK MASK appears on the control panel’s display.
7 Repeat
step 4
and
step 5
to configure the netmask.
8 Once you have set the network mask, press the [–] button again.
GATEWAY appears on the control panel’s display.
Note:
If there are more than one multiviewer in the same network
environment, it is important to assign each a unique system name, so that
you can tell them apart (for example, when using a remote control panel
such as the Kaleido-RCP2 or RCP-200).
Note:
Pressing ESC when the input focus is in the first position returns to
the previous menu level. Pressing SEL when the input focus is in the last
position saves the changes and returns to the previous menu level.
Summary of Contents for KALEIDO-MX
Page 48: ......


