


14
15
External Audio
The PJ770 has built-in full range speakers. However, you can also connect external speakers for more sound options.
Bluetooth - Pairing to Wireless Speakers or a Sound Bar
NOTE: Bluetooth is OFF by default when the projector first powers ON. Bluetooth can be turned ON or OFF from
the OPTIONS Menu (See Page 19).
1. Enable Bluetooth on the external speakers, or sound bar (Bluetooth receiver) to which you wish to connect.
2. Power on the projector and make sure the projector's Bluetooth is ON (see note above). The projector will begin
searching for nearby Bluetooth devices to connect to.
3. Using the projector's
Arrows/OK
buttons, select the Bluetooth speaker you want to connect to from the
Bluetooth menu.
Note: To eliminate confusion, disable Bluetooth on all receivers to which you do not wish
to connect.
4. When successfully paired, the Bluetooth receiver should indicate it is connected, usually with a chime or tone.
Check the user manual on your Bluetooth receiver for more information.
5. When successfully connected, the projector will display the Bluetooth receiver's (your speaker or sound bar)
name on the top right portion of the Main Menu screen, and sound played from the projector will be heard
through the Bluetooth receiver.
After initial pairing, the projector and the Bluetooth speakers will stay paired unless unpaired manually by the user, or
erased due to a reset of either device. If this occurs or you find either unit is unable to connect, repeat the above steps.
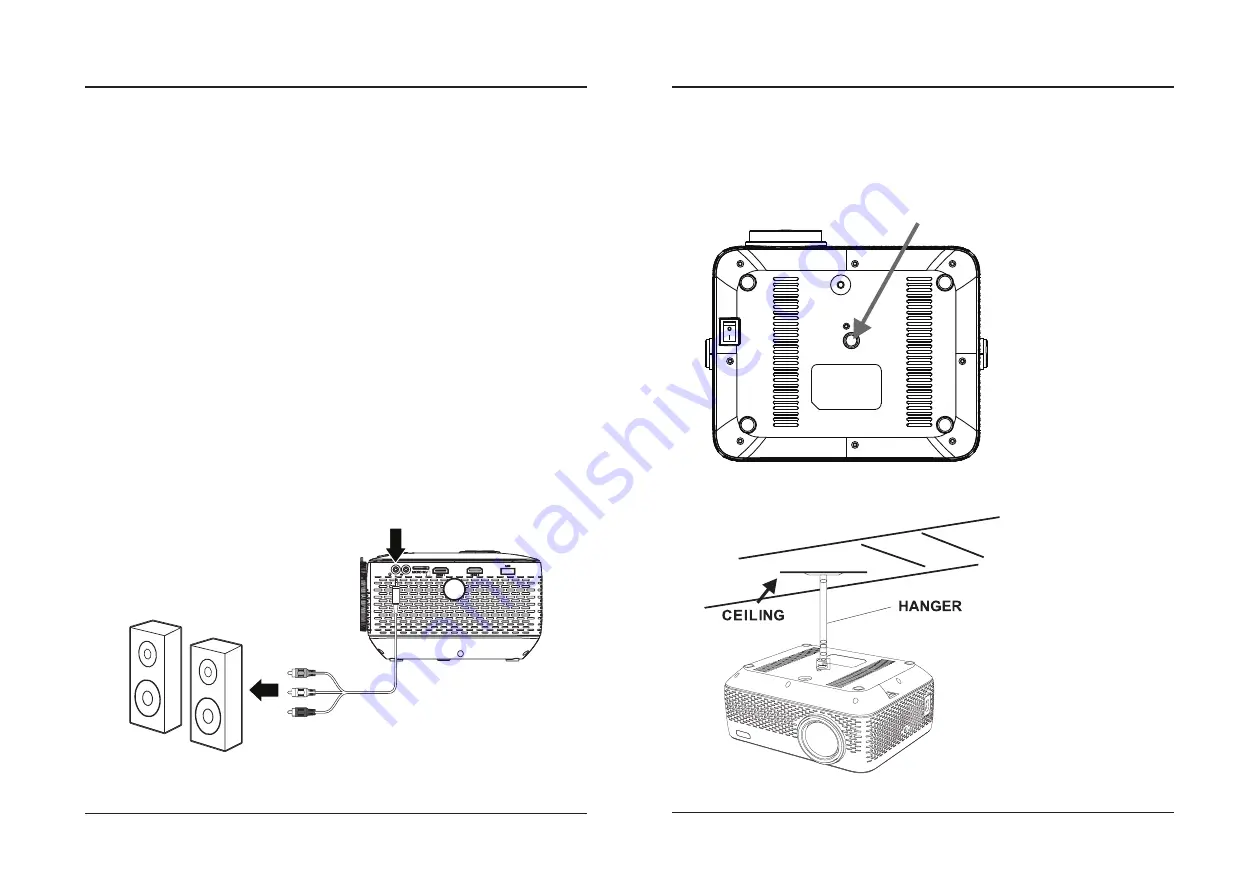
Headphone Jack/Audio Out
Requires a 3.5mm to RCA audio/video cable (included).
Note: Speakers must have their own power supply.
1. Using a 3.5mm to RCA stereo cable (included), connect the external powered speakers to the
Headphone Jack
on the projector.
Note: The yellow video plug will not be needed in this setup and will not need to be connected.
2. The projector will automatically detect the connection and send audio signal to the speakers.
Headphone Jack
Connect AV cable to speaker:
Audio Left Channel - White
Audio Right Channel - Red
Video (Yellow) plug will
NOT be needed in this instance.
Ceiling Mount
To mount the projector from the ceiling, you will need mounting hardware as recommended by a professional.
Mounting hardware and instructions are not included.
Before mounting, be sure the ceiling structure can support the weight of the projector and the mount itself. It is
recommended to have this unit mounted by a professional.
Ceiling mount location
Mounting
Summary of Contents for PJ770B
Page 1: ...210 145 80...


