background image


700-OM-UK-001 v1.0 

 09 Jul 2020 


Need assistance? +44 (0)1379 658300 [email protected] 

Page 7 of 17 

Pairing a Remote Control 

Additional remote controls can be paired or unpaired from the product. To put the control board into pairing mode and prepare it 
for adding or removing a remote control follow these steps: 
 

1.


Ensure that the product is fully closed. 

2.


Press and hold the CLOSE (down arrow) button on the wall-mounted control switch. 

3.


Still holding the CLOSE button, press and hold the OPEN (up arrow) button. 

4.


As soon as the status light starts flashing, release both buttons. 


The status light will now flash red and blue alternately for 2 minutes. You now have a 2 minute window in which to pair the remote 
to the controller. 
 

To Add a Remote 

Press any of the buttons on the remote control during the 2 minute pairing window. Wait for approximately 30 seconds and then 
press either the open or close buttons (this needs to be done before the 2 minutes are up). The remote control should now be paired 
to the control board. When using the remote control the status light will illuminate green when the product is in motion.  
 

To Delete a Remote 

Ensure there has been at least 2 minutes since either the control board was first powered up or from when the pairing procedure 
was  initiated  (i.e.  you  are  not  in  the  2  minute  pairing  window).  Press  all  three  buttons  on  the  remote  control  together  and 
immediately release them. The status light on the remote control should turn red for a few seconds and then turn off. If it turns green 
or amber, try pressing the three buttons again. When the red status light turns off, the remote will be unpaired from the controller. 
 

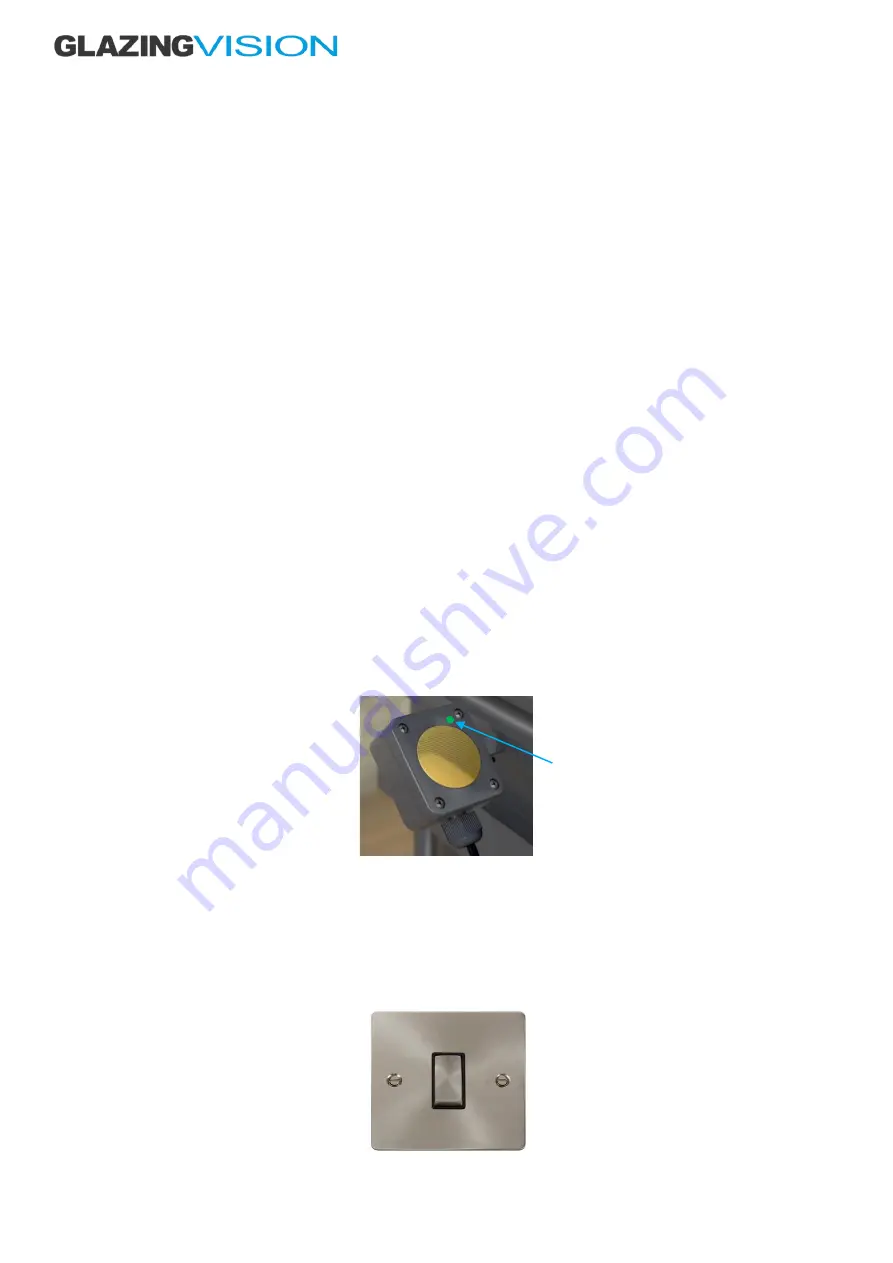
Rain Sensor (Optional) 

The rain sensor automatically closes the product when moisture is detected. When the product is opened the status light on the 
front face of the rain sensor toggles through three colours red, green and blue. It also activates the built-in heater for 60 seconds to 
evaporate any surface moisture. If, after 60 seconds moisture is still detected, the product will close on the assumption that it is 
raining  (the  status  light  will  illuminate  green).  This  feature  enables  the  product  to  differentiate  between  rain  and  standing 
water/morning dew. The control switch status light will also flash intermittent green indicating a closure due to rain. The rain sensor 
should be positioned at approximately 45° to the horizontal in a position that will ensure that it is exposed to the rain and must be 
kept clean to function correctly. 


Figure 3 

 Rain sensor 


Rain Sensor Isolation Switch (Optional) 

The rain sensor isolation switch is internally mounted and wired directly to the rain sensor cable, allowing the sensor to be switched 
on/off. Turning off the switch deactivates the signal from the rain sensor and prevents the product from closing in the event of rain. 
This avoids the scenario where someone could be shut outside by the rain sensor when it rains. Ensure that the switch is turned 
back on for normal use. 


Figure 5 

 Rain sensor isolation switch 


Status light 

Summary of Contents for Free Standing Skybox

Page 1: ...700 OM UK 001 v1 0 09 Jul 2020 www glazingvision co uk 44 0 1379 658300 info glazingvision co uk Free Standing Skybox...

Page 2: ...Section Description Page Introduction 3 Safety Information 4 Controls and Operation 6 Product Safety 9 Manual Override 9 Troubleshooting 11 Glass Specification and Breakage Instructions 12 Routine Tes...

Page 3: ...nal extras including a rain sensor thermostat remote control and Building Management System connectivity are available Proximity detection safety sensors that immediately stop the product moving when...

Page 4: ...ll be taken Overcurrent protection is designed to prevent damage to the product and its mechanisms It should not be relied upon to prevent injuries Let our experts carry out your routine maintenance w...

Page 5: ...ivating and cause injury Do not pull on the cables where they exit the product Doing so may loosen connections result in damage to the product and or create the need for a repair visit Do not leave th...

Page 6: ...ion releasing the switch stops the product in that position Note that the product will stop automatically when it becomes either fully open or closed Status Light The status light will illuminate gree...

Page 7: ...em The status light on the remote control should turn red for a few seconds and then turn off If it turns green or amber try pressing the three buttons again When the red status light turns off the re...

Page 8: ...but via a key operated switch In addition the key switch does offer press and hold operation To open the product turn the key in a clockwise direction To close the product turn the key in an anti clo...

Page 9: ...ding Skybox is stuck in the open or closed position and will not open close electrically the mechanisms can be disengaged to allow the lid to be opened closed manually Manual override can be done from...

Page 10: ...ch next push the open button on the control switch and run the mechanisms to approximately halfway open and stop them the mechanisms are concealed by brush strip which can be pushed aside to check the...

Page 11: ...nchronising The condition will clear automatically when the product has initialised Continuous amber Indicates that a proximity safety sensor has been triggered preventing the product from closing it...

Page 12: ...il the rain stops before trying to open the product If the rain sensor needs cleaning open the product and isolate the power supply then clean the rain sensor The thermostat if specified is reacting t...

Page 13: ...sumes Glazing Vision Engineers or Approved Installers installers that have attended a Glazing Vision Installation training course for this product and carry Approved Installer status or an experienced...

Page 14: ...rain sensor if present Disposal at End of Life Glazing Vision design products with ease of recyclability at end of life in mind Many of the main components used are widely recyclable and we encourage...

Page 15: ...the maintenance log section of this manual for future reference If you need to contact us for any reason Glazing Vision may ask for the product s serial number to enable us to assist with your enquir...

Page 16: ...ents yes no Battery Replacement yes no Cleaning Requirements yes no Annual Requirements yes no Battery Replacement yes no Cleaning Requirements yes no Annual Requirements yes no Battery Replacement ye...

Page 17: ...cement yes no Cleaning Requirements yes no Annual Requirements yes no Battery Replacement yes no Cleaning Requirements yes no Annual Requirements yes no Battery Replacement yes no Cleaning Requirement...

Reviews: