24
PIPETMAN
®
u
ltra
C) Closing-up
1) Refi t each tip-holder/piston assembly so that the
top of the piston and the tip-holder snap into the
upper and lower rakes, respectively. To facilitate
fi tting a piston assembly to the upper rake, you
should incline the piston assembly and compress
the piston-spring against the upper rake, before
pushing the assembly into place.
2) Close the piston tray-cover, after checking that
all assemblies are correctly installed.
3) Refi t the wire-clips and the wire guides for 12
channels.
4) Slide the cover-ejector back over the piston-tray
and reattach using the two screws.
쎱
Changing the Battery
To ensure better performance and maximize battery
life, a new battery block for Pipetman Ultra has been
designed. The battery pack includes two silve-oxyde
plated 1.55V generic code 391 (size 11.6 x 2.1 mm).
Although changing the battery block does not aff ect the
calibration, you may wish to take this opportunity to carry
out performance check of the pipette (see chapter 15)
.
If you need to change the battery block, proceed
as follows:
1) Ensure the pipette is in the locked position,
remove the tip-ejector,
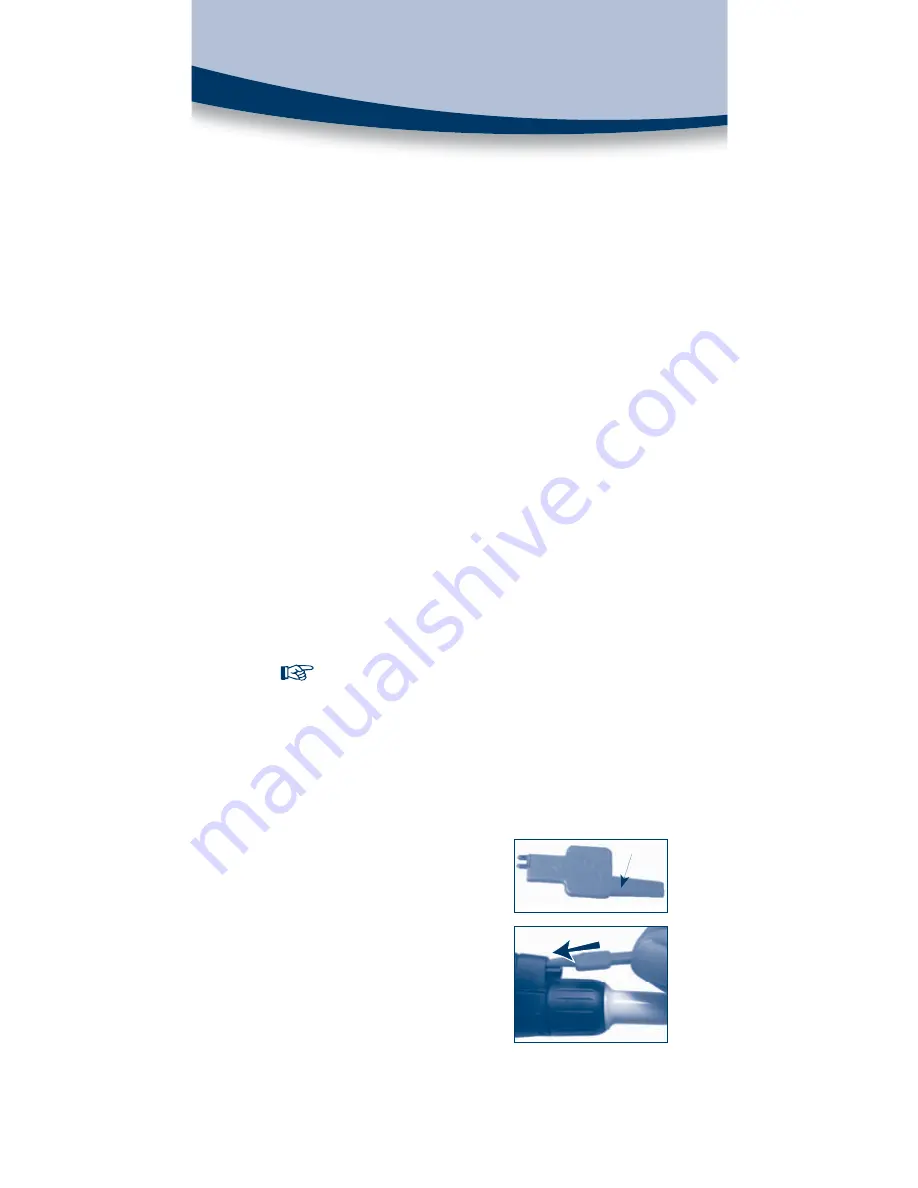
2) Remove the battery
compar tment cover
(the calibration key is
equipped with a tool
for opening the battery
compartment cover)
by
carrying out the follow-
ing steps, with reference
to the photographs:
Tool
Summary of Contents for Pipetman Ultra 12x20
Page 1: ...EN ENGLISH User s Guide PIPETMAN ultra...
Page 42: ...42 PIPETMAN ultra NOTES...
Page 43: ......


