12
1- Hold your Distriman in the horizontal position
with the red flag visible.
2- Hold the filling-knob at its lower position using
the thumb of one hand.
3- Press lightly on the white locking tab (F, page
10) with a screwdriver.
4- Move the filling-knob towards the upper position
to separate it from the assembly.
5- Pull the assembly out of the Distriman's neck,
taking care not to lose the small red flag.
6- Return the filling-knob to the upper position.
7- Push the new piston retaining assembly into
the body of the Distriman; at the same time,
push the filling-knob in the opposite direction
until they click together.
Replacing the red flag
You cannot remove the red flag (E, page 10) until
you have separated the filling-knob from the piston
retaining assembly. In fact, the act of separating
these two components will free the flag.
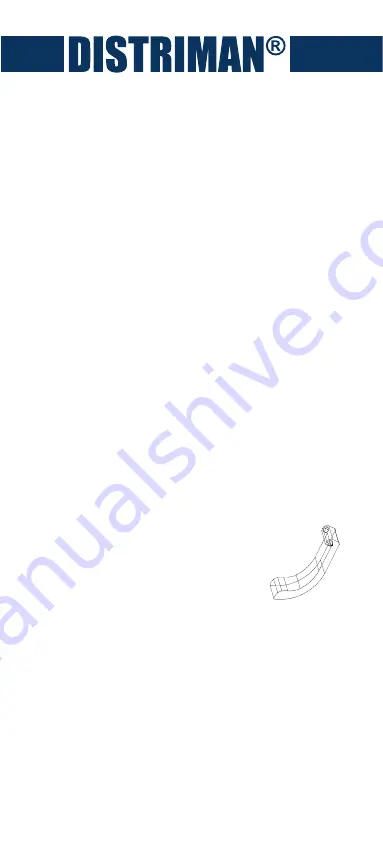
To replace the red flag, the piston retaining assembly
and filling-knob should be reconnected first. Then,
with reference to the figure, hold the
flag with end ‘A’ between the thumb
and index finger of one hand. With
end ‘B’ pointing downwards, insert it
into the access slot. Next, push end
‘A’ as far as it will go into the slot
using a small screwdriver.
Replacing the Coloris
Do not try to pry the Coloris away from the
Distriman's body.
1- Push the filler-knob to the top (closest to the
push-button).
2- Use your thumb to push the Coloris to the top.
Moderate pressure may be required.
3- Remove the old Coloris and insert the new one
into the filler-knob slot.
A
B


