


Appendix
- 98 -
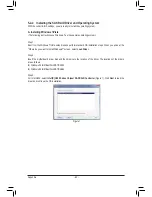
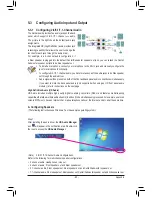
5-3-3 Configuring Microphone Recording
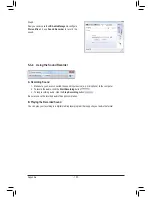
Step 2:
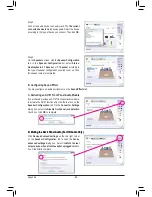
Connect your microphone to the Mic in jack (pink) on the
back panel or the Mic in jack (pink) on the front panel.
Then configure the jack for microphone functionality.
Note: The microphone functions on the front panel and
back panel cannot be used at the same time.
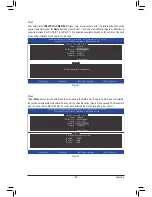
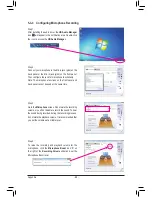
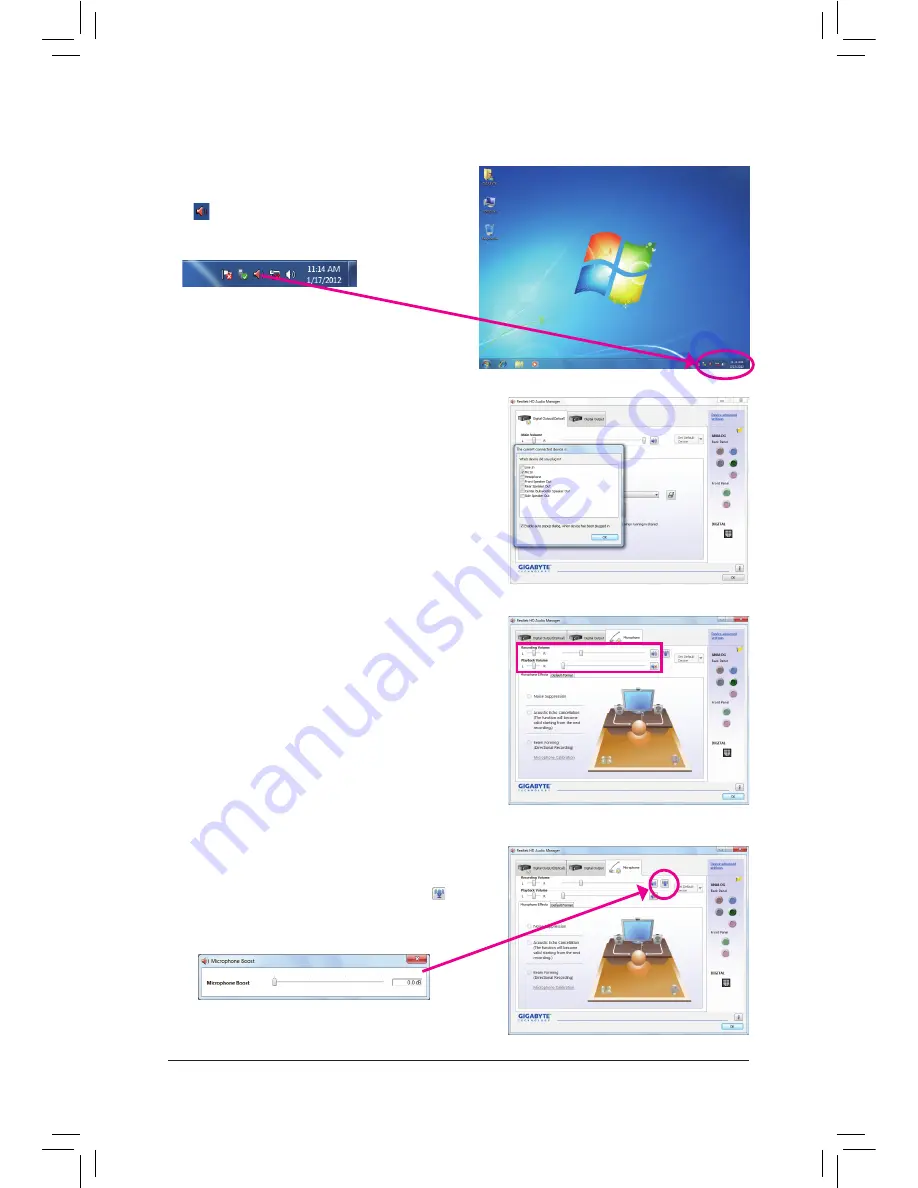
Step 3:
Go to the
Microphone
screen. Do not mute the recording
volume, or you'll not be able to record the sound. To hear
the sound being recorded during the recording process,
do not mute the playback volume. It is recommended that
you set the volumes at a middle level.
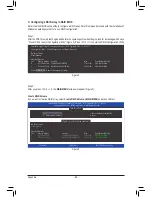
Step 1:
After installing the audio driver, the
HD Audio Manager
icon will appear in the notification area. Double-click
the icon to access the
HD Audio Manager
.
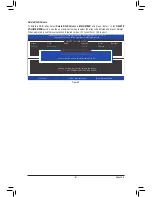
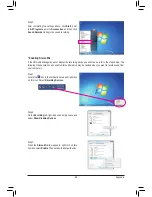
Step 4:
To raise the recording and playback volume for the
microphone, click the
Microphone Boost
icon on
the right of the
Recording Volume
slider and set the
Microphone Boost level.
Summary of Contents for GA-X79S-UP5 User's
Page 1: ...GA X79S UP5 WIFI GA X79S UP5 User s Manual Rev 1002 12ME X79SUP5 1002R ...
Page 32: ... 32 Hardware Installation ...
Page 58: ...BIOS Setup 58 ...
Page 105: ... 105 Appendix ...
Page 106: ...Appendix 106 ...
Page 107: ... 107 Appendix ...
Page 108: ...Appendix 108 ...
Page 109: ... 109 Appendix ...
Page 110: ...Appendix 110 ...


