


12.4.1.4
UI
T
HEME
The appearance of the G9 is customizable by different UI Themes. Tap on the field and select a
theme using the selection wheel.
There are also themes dedicated to different types of color blindness. These themes are named
after medical terms and utilize only color values from the perceivable spectrum of the concerned
group of people.
Themes dedicated to color blindness are:
•
Deuteranopia
•
Protanopia
•
Tritanopia
•
Grayscale
Hint:
Themes dedicated to color blindness change colors in important monitors of the UI as
well. The interpretation of these monitors depends on the colors visible. Color values and their
meanings are explained in the relevant sections of this manual. To this end it is recommended
reading this manual on a screen or printing it in color.
12.4.2
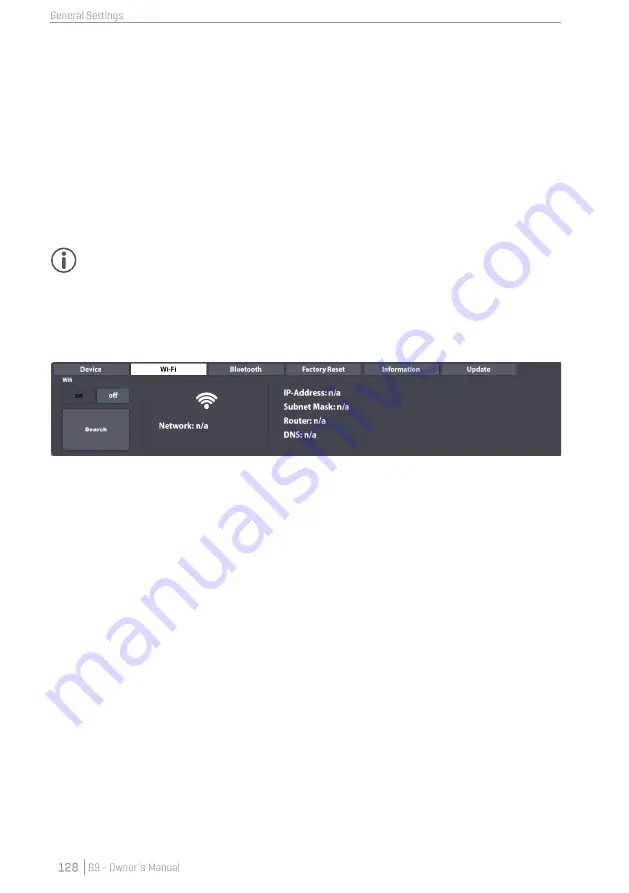
W
I
-F
I
Within this function set you can manage all your Wi-Fi connections and settings. The Wi-Fi connec-
tion is essential to the use of the sound store online as well as the internal update function.
To establish a Wi-Fi connection between the built-in card and the external router, proceed as fol-
lows:
1.
Turn on Wi-Fi.
2.
Tap the
[Search]
button.
3.
Select a Network from the List that opens up tapping once.
4.
Tap
[Select]
once.
5.
(Optional) Tap the field
[Network Key]
, if the network requires a password.
6.
(Optional) Enter the Wi-Fi password using the keyboard.
7.
(Optional) Confirm by tapping the
Hook
[
✓
]
to close the keyboard.
8.
Tap
[connect]
.
Consequently, the network will update to the network selected in step 3. If your connection has
been established successfully, all connection information such as IP-Address and Subnet mask will
appear on the right-hand side. If no information appears, please repeat steps above with
show key
set to
“
on
”
(step 5) and make sure that you have entered the Wi-Fi password correctly.
Summary of Contents for G9
Page 1: ...CONTENT ...
Page 2: ......
Page 3: ......
Page 4: ......
Page 5: ......
Page 6: ......
Page 7: ......
Page 8: ......
Page 9: ......
Page 10: ......
Page 46: ......
Page 70: ......
Page 86: ......
Page 97: ...The following table lists all parameters available by component ...
Page 114: ......
Page 176: ......


