


English
-27-
NOTE
y
All pictures, which had not been set to DPOF file, will be set to DPOF file, and print number
is 1
You can reset all
DPOF
pictures by select
Reset All
and then press
Enter
Button.
Set Single Picture to DPOF file
●
Step 1
Press the
Menu
button to enter
Playback Menu
.
If press
Menu
button, the screen will return to
step 1
.
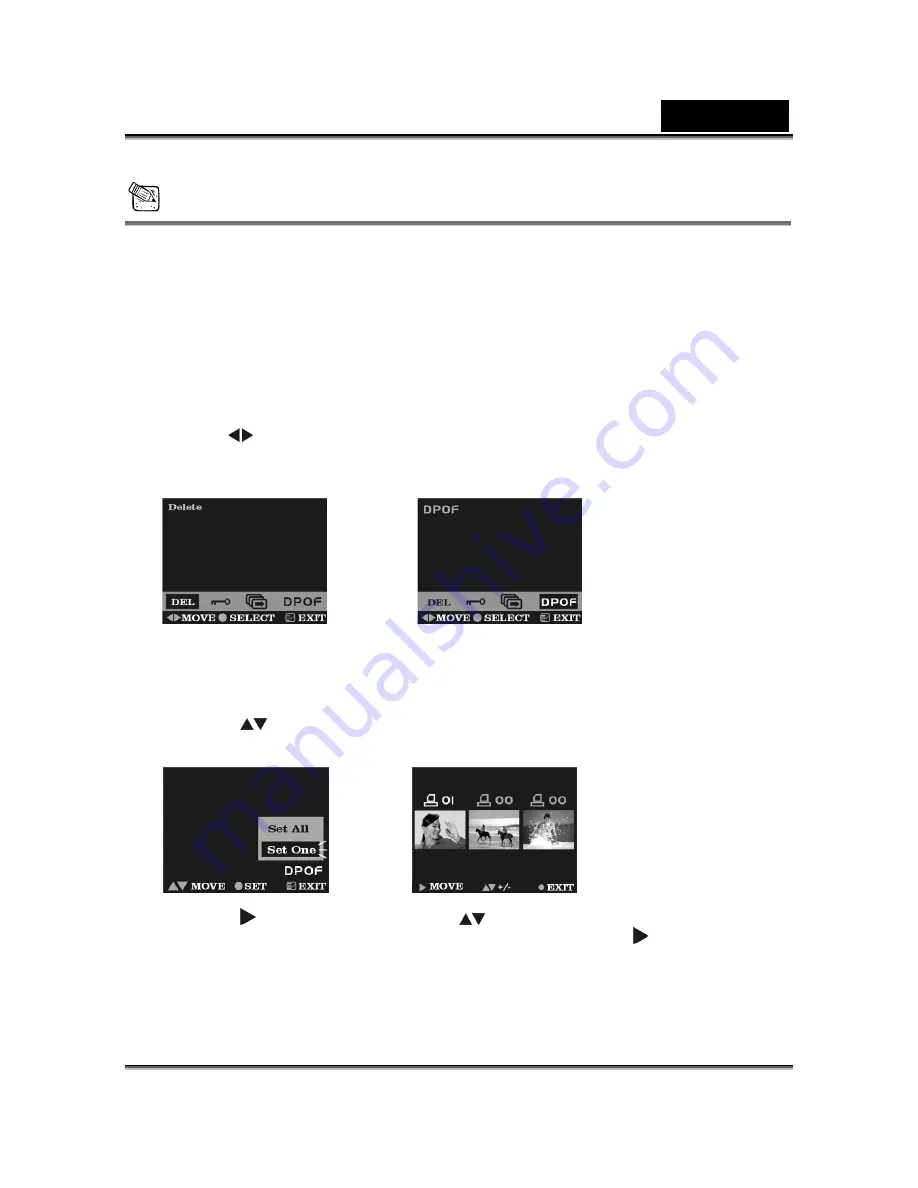
●
Step 2
Use
to move to
DPOF
If press
Menu
button, the screen will return to
step 1
.
●
Step 3
Press
Enter
button to bring up
DPOF
Menu:
Set
All
and
Set One
.
If press
Menu
button, the screen will return to step 3.
●
Step 4
Press
to select
Set One
option on the menu screen, and then press
Enter
button to enter menu for setting single picture to DPOF file.
●
Step 5
Press to select single picture, use
to adjust print number, number
zero
means this picture is not set in
DPOF
file.If come to the last file press will return to
the first file.
●
Step 6
After setting single picture to
DPOF
file, press
Enter
button to return to
Step 3
.


