


English
-21-
Movie Playback
When it comes to movie file , the movie indicator appears on
the up-left corner of screen , by pressing the
Enter
button you
can start playing the movie.Press
Enter
button to stop playing
movie.
In movie playback you can press
Up
button
or
Down
button
to adjust volume,the volume indicator will appears
on down-right corner of screen,and press
Menu
button to pause.
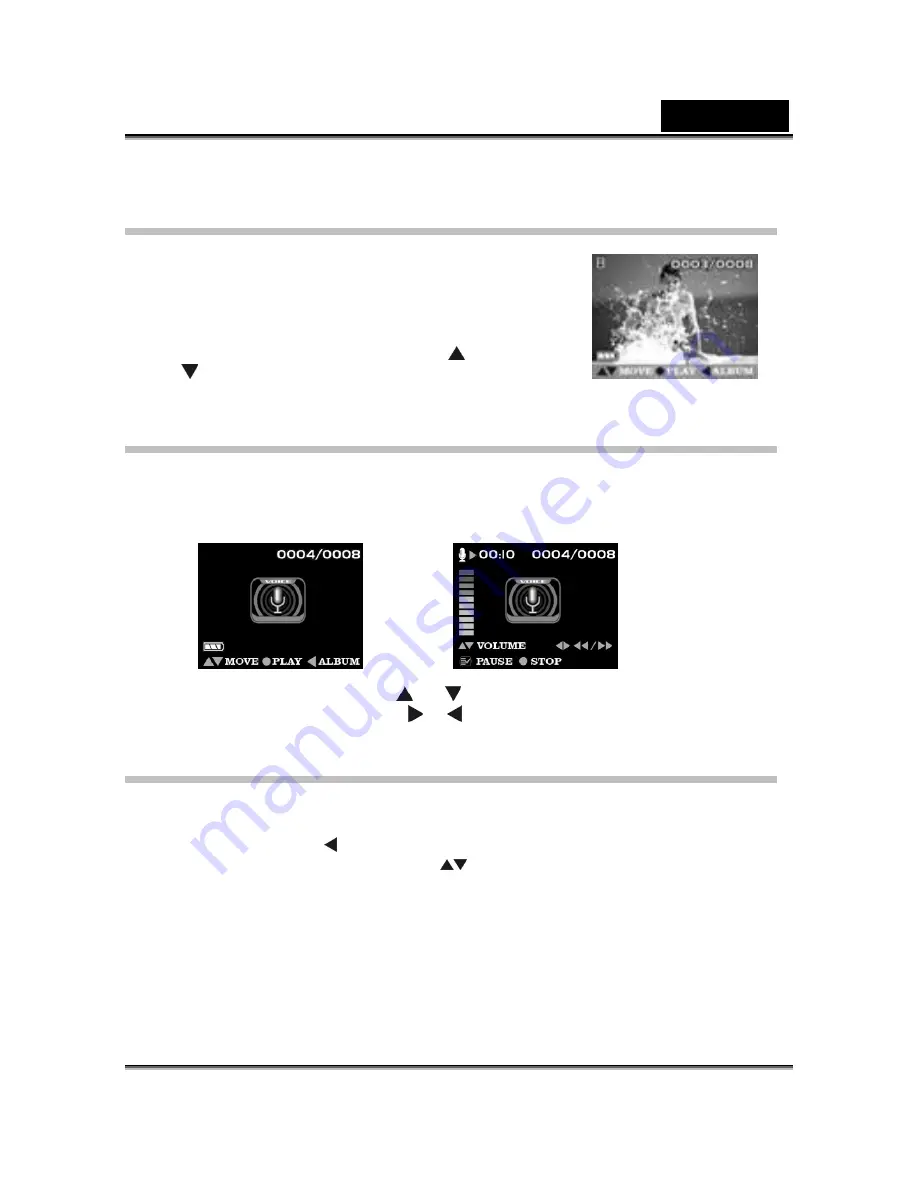
Voice playback
When it cames to voice file,the voice icon indicator appears on screen,by pressing the
Enter
button you can start playing the voice.Press
Menu
button to pause play process.
Press
Enter
button to stop playing voice.
In voice playback process, press the [ ]
、
[ ] button to adjust volume and then the volume
appears on screen left side ,but press [ ]
、
[ ] button to adjust the play time
Album Function
●
Step 1
Enter
Playback Mode
.
●
Step 2
Press
Left
button to enter 3-frame Album function , which shows 3 images per
page with a mid-size preview window. Use
to change previewing images . (Pressing
ENTER
can return to Playback Mode which displays selected image with full screen.)


