Owner's Manual
5 - 17
Styles, Songs & Sequencer
Programmable Styles
8.
After the one bar lead, start recording the Riff for the specified number of
bars.
After the one bar count down, the Riff starts is cycle, during which you can play
your sequence. As well as the Notes, the velocity applied to the keys will also be
recorded.
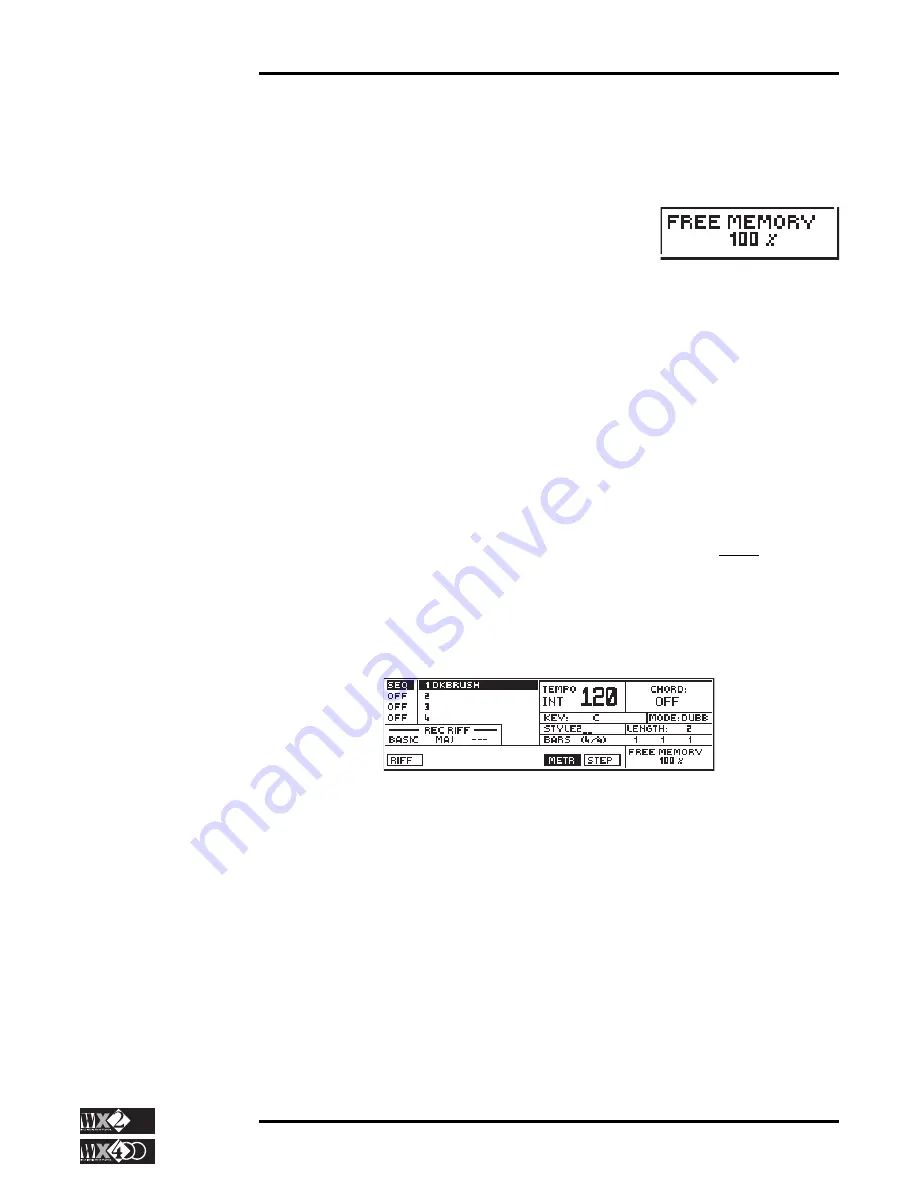
As the recording proceeds, the FREE MEMORY
indicates the amount of memory left for the record-
ing.
When the Riff reaches the end of its cycle, it loops back to the beginning and
repeats.
During the repeating cycles, you can add other notes. This is a particularly useful
characteristic when you are programming the Drum track because you can add a
different drum sound in each cycle.
Recording Control Data
During the recording, you can record control data according to the function
assigned to one of the pedals (e.g. Volume, Pitch change, Modulation, Attack,
Release, Filter.). The Wheel movements and Aftertouch (mono) will also be
recorded. All these events can be viewed in the Microscope - see Edit Sequencer
for more details.
9.
When you have finished recording the Riff, press Start/Stop to stop the
sequencer record mode.
Listen to the playback of your Riff by re-pressing Start/Stop and, if you are
satisfied with the recording, press the Toggle to assign the recorded track to the
Sequencer definitely and proceed to point 10 below (the track status column shows
“REC” change to “SEQ”):
Important!! Confirmation of the recorded track (from REC to SEQ) is important
otherwise, if it is remains in REC mode and you proceed to record the next track,
you will record new events to both tracks.
What to do if you are not satisfied with the recording
If you are not satisfied with the recording, you can choose from the following options to
optimise your Riff:
A)
You can repeat the recording in NORMAL mode.
Simply select “NORMAL” while still in REC mode and start to record the Riff.
Play your new Riff - all previously recorded events will be replaced by the new
ones (even if you don’t play any notes, all old events will be cancelled). After the
first cycle, the mode returns to DUBB which permits to add new events to those
recorded.
B)
You can PUNCH IN a correction.
Undo and Free
Memory
When UNDO is enabled
in Record mode, a
memory buffer is
activated which acts as
a “ghost copy” of the
Riff memory - it
occupies the same
amount of RAM as the
recording.
In certain situations,
you might find that
while you are
recording, a message
appears indicating that
you have run out of
memory, even though
the “Free Memory”
indicates the
availability of RAM. In
such a case, you can
disable the Undo
function in order to
reclaim the “ghost
memory” used up by
this function.
Important! If you are
recording Track 1, it is
advisable to assign it a
Drumkit because Styles
are predisposed for
Drums on track 1.
Should you overlook
this feature, you will
note that the final result
will not play correctly.
For example, if you
record Track 1 with
WXGrandP, the Riff in
playback will play
without touching the
keyboard (as if it were a
Drumkit). Furthermore,
changing key will not
affect the pattern
because Track 1 for all
Styles is disabled for
key transpositions (a
must for Drumkits). You
can correct this by
entering Edit
Performance and
disabling the “Key
Transp” function for
Track 1, but it is more
convenient to limit
yourself to recording
Drumkits on Track 1.


