10
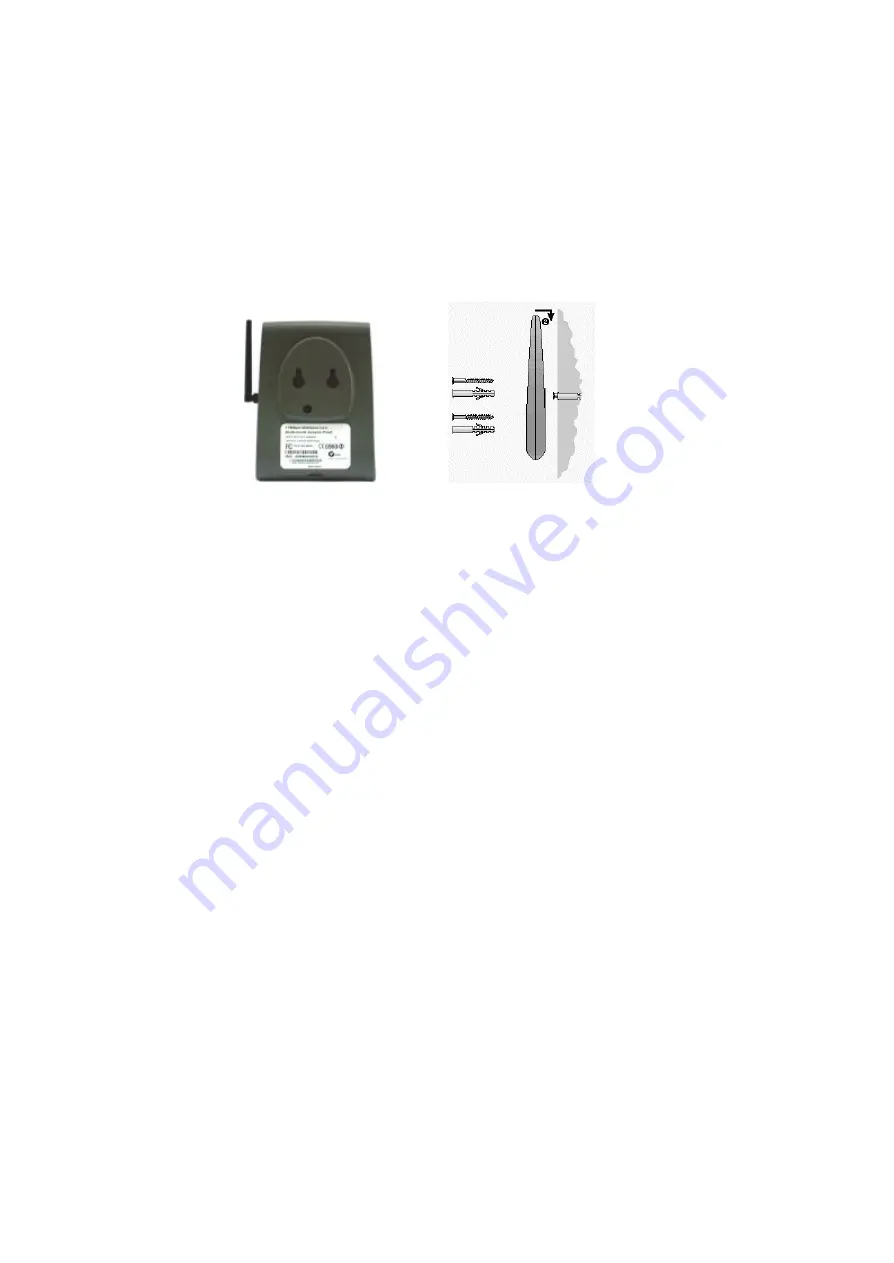
2.5 Wall mount installation
Note: Before you start drilling holes into a wall, make sure that part
of the wall is clear of electricity, water and gas pipes.
The wall mount package contains two screws and plugs to fasten the
Access Point to the wall.
Figure 2-3 Mounting the Access Point on a wall
Step by step wall mount installation:
1. Determine the position of the screws. The screws must be 5 cm apart
to fit the keyholes at the back of the Access Point.
2. Drill the holes in the wall (at the appropriate size for the plugs).
3. Insert the plugs into the holes.
4. Fasten the screws into the plugs, and leave about 3 mm of space
between wall and screw head.
5. Attach the Access Point to the screws: there are two keyho les
○
1
in
the back of the Access Point. The screwheads fit into the large half of
the keyholes. Once the screwheads are inside the keyholes, the
Access Point can drop
○
2
, locking the screwheads into the small half
of the keyholes.
○
1


