


User’s Guide
Chapter 7 – Reference Manual
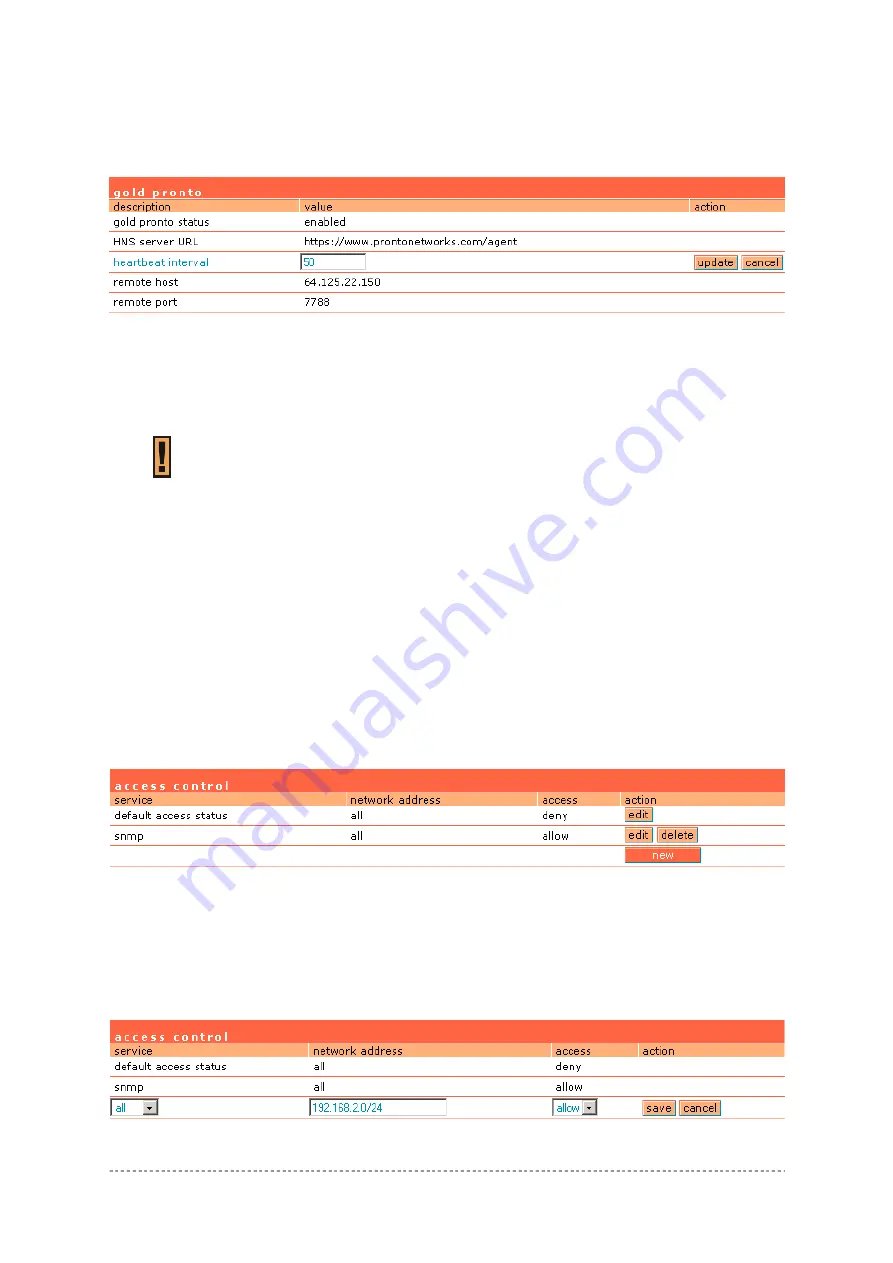
Edit –
click to edit required parameter.
Change Pronto status to
enable
and configure the rest Pronto settings. To configure Pronto settings,
click the
edit
button next to appropriate parameter and specify value. Reboot the device.
Figure 134 – Configure Pronto Settings
Update
– click the button to apply pronto agent settings.
Cancel
– restore the previous value.
After reboot device’s configuration will be changed automatically.
Note that if Pronto agent is enabled, after reboot existing configuration will be
overwritten with Pronto server parameters’ values.
System | Access | Access Control
Use the
access
control
menu to control the access management to your AC and to specific services.
Access control to your device includes access to these services:
Telnet
SSH
SNMP
Thus, the administrator can control the access of a single or every user to the controller via telnet,
SSH or SNMP. This can be done by creating the access control list in the AC and checking the
incoming user’s IP address.
Default
access
status
is used to deny all connections except the SNMP service to the controller.
SNMP service is used to access your device via the
KickStart
utility.
Figure 135 – Access Control
Edit
– click to edit the default access status [allow/deny].
New
– click to create new access control rule for specific network to specific service(s) [all/
/ssh/telnet/snmp].
To configure the access control, click the
edit
button and specify the network address and select
services to allow/deny:
Figure 136 –Modify Access Control
Gemtek Systems
Page 96


