


Chapter 7: System settings
TruVision DVR 30 User Manual
69
To configure the system date and time:
1. Click System on the main menu to display the System screen.
2. Click Date/Time Setup to display the Date/Time screen.
3. Enter the current date in the Date box.
4. Enter the current time in the Time box.
5. Select a time zone in the Time Zone box.
6. Select a date format in the Date Format box.
7. Select a time format in the Time Format box.
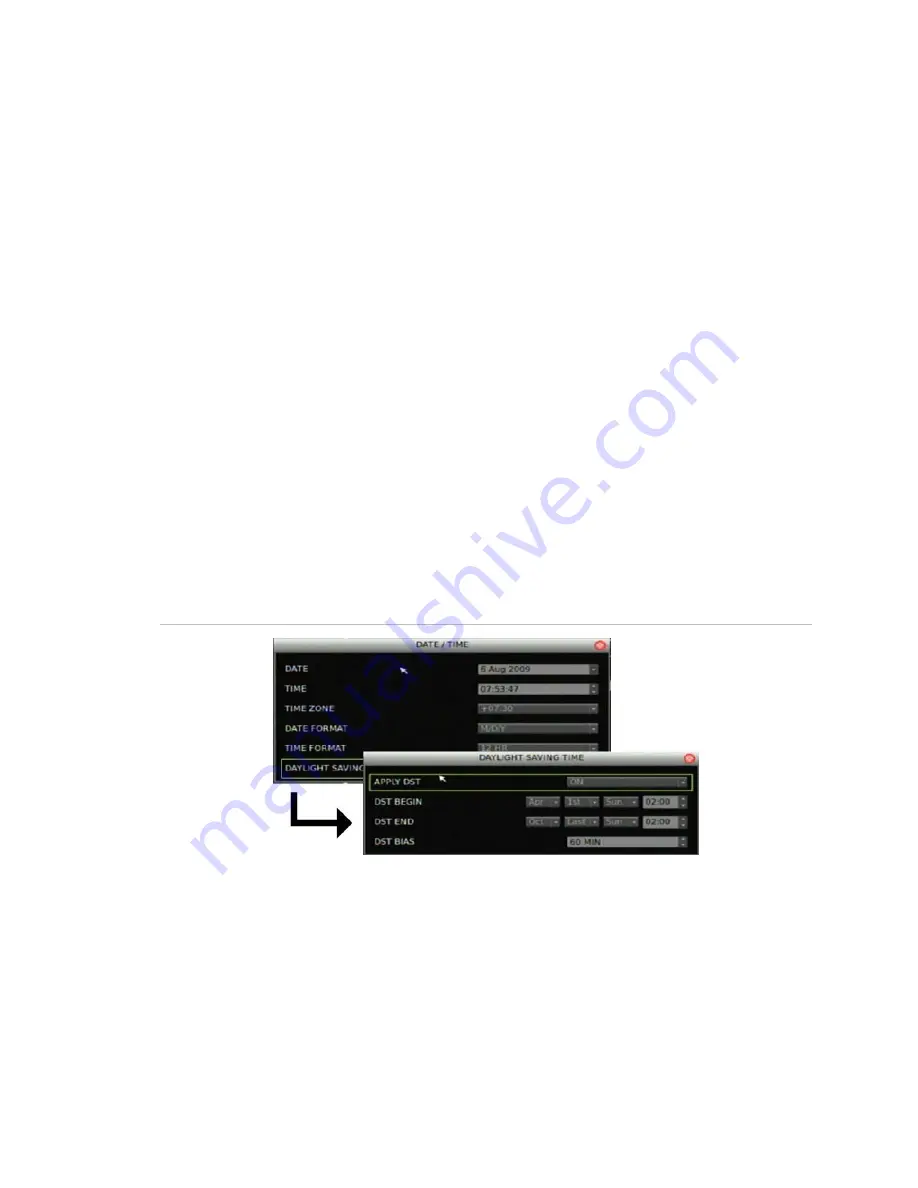
8. Click Daylight Saving Time to display the Daylight Saving Time screen.
This screens lets you enable and configure Daylight Saving Time. For more
information, see “Daylight Saving Time” below.
Daylight Saving Time
Use the Daylight Saving Time screen (shown in Figure 35 below) to enable and
configure Daylight Saving Time. This screen lets you select when Daylight Saving Time
begins and ends.
Figure 35: Daylight Saving Time screen
Audio and remote
Use the Audio and Remote screen to define the audio output settings and specify the
remote ID for the device. To access the Audio and Remote screen, click Audio and
Remote Setup on the System screen.
Summary of Contents for Appliances 30
Page 1: ...GE Security P N 1068702 REV A ISS 10NOV09 TruVision DVR 30 User Manual...
Page 26: ...Chapter 3 Operating instructions 22 TruVision DVR 30 User Manual...
Page 70: ...Chapter 6 Advanced setup 66 TruVision DVR 30 User Manual...
Page 82: ...Appendix A Specifications 78 TruVision DVR 30 User Manual...


