260
Chapter 15: Upgrading Your Notebook
www.gateway.com
3
Hold the new or replacement module at a 30-degree angle and press it into
the empty memory slot. This module is keyed so it can only be inserted
in one direction. If the module does not fit, make sure that the notch in
the module lines up with the tab in the memory bay.
4
Gently push the module down until it clicks in place.
Reattaching the keyboard
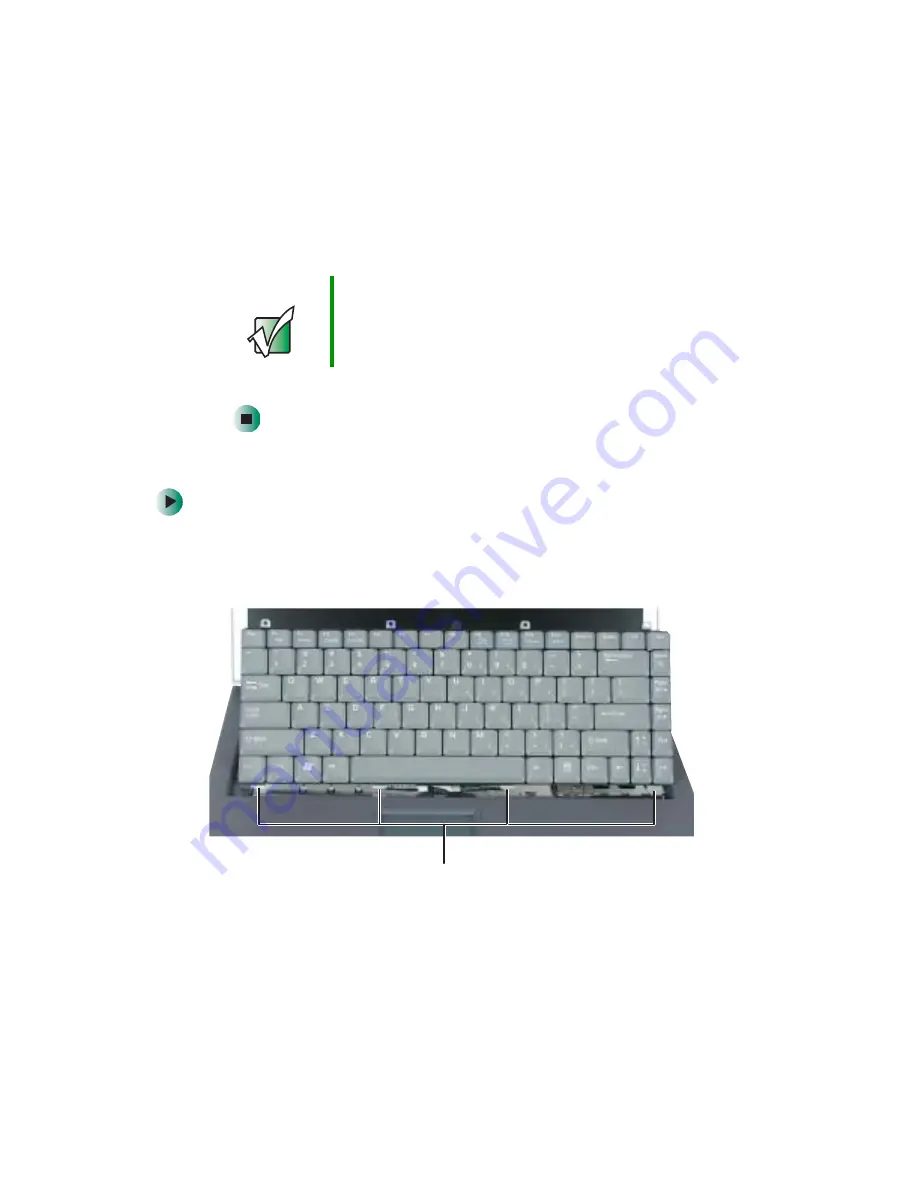
To reattach the keyboard:
1
Rotate the keyboard toward the LCD panel until the keyboard is
almost face-up.
2
Insert the tabs on the front of the keyboard under the palm rest.
3
Gently press the keyboard down until it is flat all the way across. The
keyboard should easily fall into place. Be careful not to damage the
LCD panel.
Important
Use only memory modules designed for the
Gateway M350.
Tabs
Summary of Contents for M350
Page 1: ...Gateway M350 Notebook Customizing Troubleshooting user sguide ...
Page 2: ......
Page 10: ...viii ...
Page 26: ...16 Chapter 1 Checking Out Your Gateway M350 www gateway com ...
Page 48: ...38 Chapter 2 Getting Started www gateway com ...
Page 80: ...70 Chapter 4 Windows Basics www gateway com ...
Page 90: ...80 Chapter 5 Using the Internet www gateway com ...
Page 142: ...132 Chapter 6 Using Multimedia www gateway com The screen you use to add files opens ...
Page 166: ...156 Chapter 7 Sending and Receiving Faxes www gateway com ...
Page 188: ...178 Chapter 9 Travel Tips www gateway com ...
Page 220: ...210 Chapter 11 Networking Your Notebook www gateway com ...
Page 228: ...218 Chapter 12 Moving From Your Old Computer www gateway com ...
Page 246: ...236 Chapter 13 Maintaining Your Notebook www gateway com ...
Page 278: ...268 Chapter 15 Upgrading Your Notebook www gateway com ...
Page 306: ...296 Chapter 16 Troubleshooting www gateway com ...
Page 320: ...310 Appendix A Safety Regulatory and Legal Information www gateway com ...
Page 336: ...326 ...
Page 337: ......
Page 338: ...NSK DWL M350 USR GDE R0 7 03 ...


