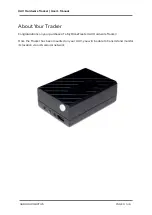


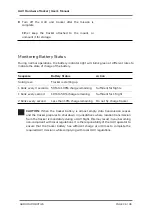


UAV Hardware Tracker | User’s Manual
❗
WARNING:
Ensure the Mount and Tracker are secure prior to each flight. Improper
insertion of the Tracker into the Mount or failure of the mount attachment during
flight may result in detachment of the Tracker.
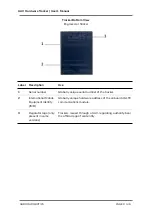
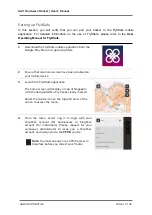
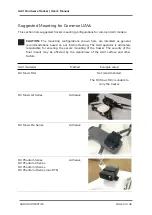
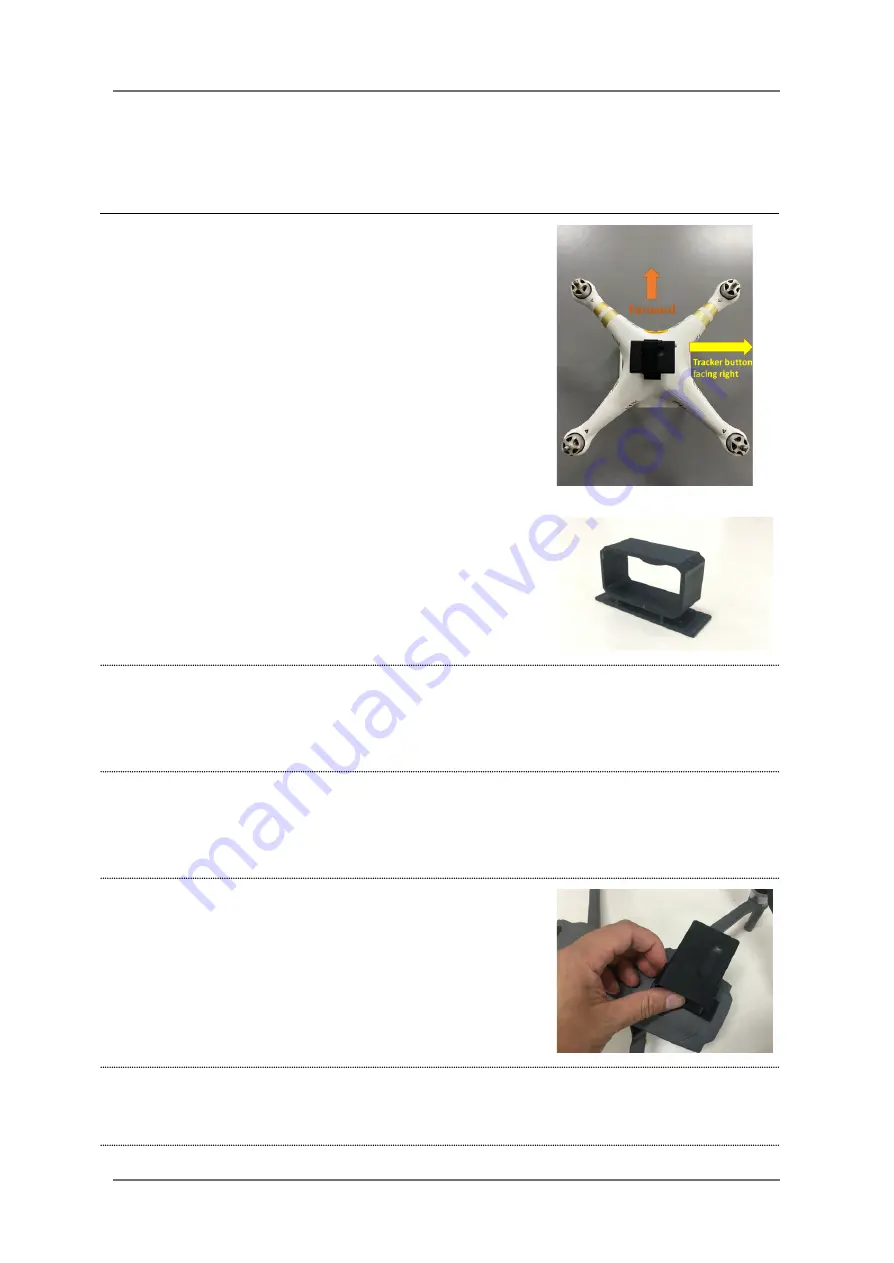
1
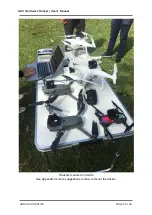
Take note of the tracker’s intended orientation.
When the drone is viewed from the back, a correctly
mounted tracker should have its power button and
indicator lights facing to the right.
The top face of the tracker has a round cutout that
mates with the mount to ensure a secure hold when
correctly attached.
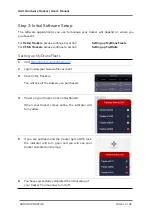
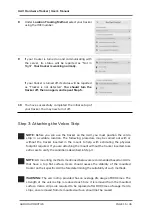
2
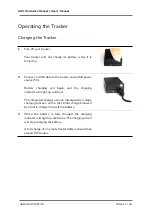
With one hand holding the tracker with the forward
face facing forward, insert the left edge of the tracker
into the mount opening, taking care to keep the
tracker as square to the opening as possible.
3
Hold on to the mount body with your other hand to
support it while inserting the tracker, ensuring that it
is not dislodged from its attachment point on the
UAV.
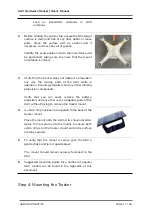
4
Apply pressure to the right face of the tracker. The
mount is designed to flex slightly under pressure,
allowing the tracker to slide in.
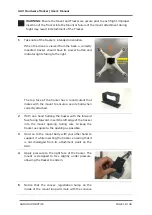
5
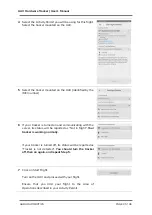
Notice that the convex registration hump on the
inside of the mount loop will mate with the concave
GARUDA ROBOTICS PAGE 18 / 36


