GPS 400 Pilot’s Guide and Reference
190-00140-60 Rev. H
10-22
SECTION 10
ADDITIONAL FEATURES
•
Auto Request (GDL 49 Only) - This field is
used to set the time interval for the GDL 49 to
automatically send a NEXRAD data request. The
time options are OFF, 10 min, 15 min, 20 min, 30
min, 45 min, and 1 hour. When an auto request
time is selected, the first request is sent after the
specified time has elapsed from when the field
was set (as opposed to immediately sending a
request).
NOTe: it is recommended that the pilot turn the
auto request function on by setting it to ‘10 min’
updates. This setting provides best performance
for the GDL 49.
•
The ‘Manual Send?’(GDL 49) or ‘Update Request?’
(GDL 69) field is used to request NEXRAD Data.
4) Use the small and large
right
knobs to select
the desired data (listed on preceding page)
and the
ENT
Key to enter the data into the
appropriate fields on the NEXRAD Request
Page.
5) Select ‘Manual Send?’ or ‘Update Request?’
and press the
ENT
Key. The request has been
sent. Note that selecting ‘Auto Request’
and pressing the
ENT
Key does not send the
request until after the auto time period.
6) To exit from the NEXRAD Request Page, press
the small
right
knob. The Data Link Page is
displayed.
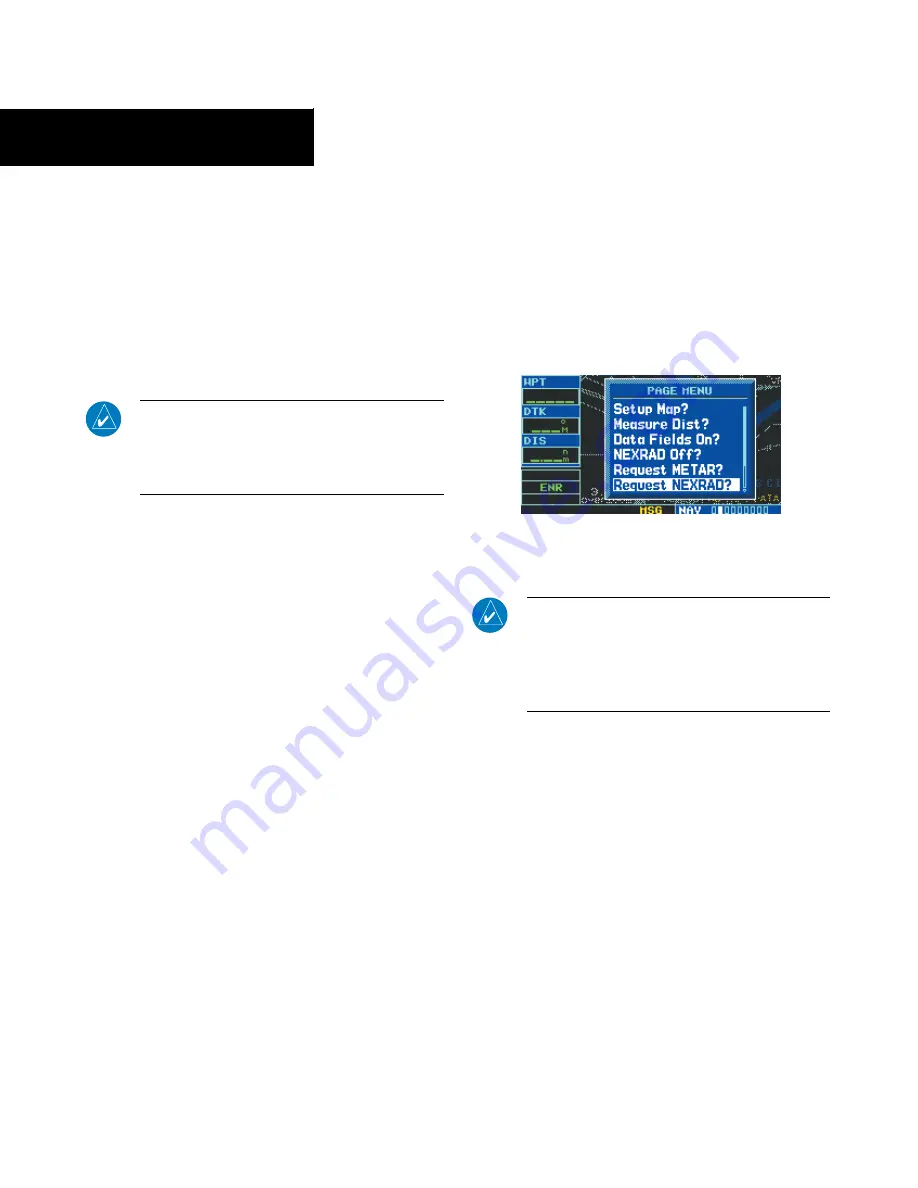
Requesting NEXRAD data from the Map
Page:
1) Select the Map Page.
2) Press the
MENU
Key. The Map Page Options
Menu is displayed.
3) Select ‘Request NEXRAD?’ (Figure 10-33) and
press the
ENT
Key.
Figure 10-33 Map Page Options Menu
4) Follow the preceding steps 4 - 6.
NOTe: The pilot may also use the map panning
function to request NeXraD data at a specific
map position. after panning and selecting a
position on the map, the pilot can press the
MENU
Key and request the NeXraD data.
Data Received Message (GDL 49 Only)
When the request has been answered, the message
annunciator (MSG) flashes to alert the pilot to one of
the following messages depending on the type of data
received:
• New NEXRAD Received
• New Graphic METAR Received
• New Text METAR Received


