System Setting
38
|
System Setting
\
\
Motion Sensor
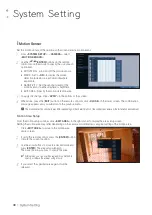
Set the motion sensor of the camera so that it can detect a motion event.
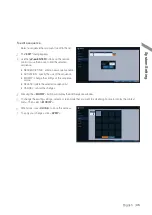
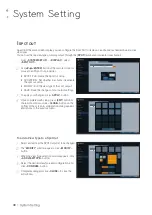
1.
From <
SYSTEM SETUP
> - <
CAMERA
>, select
<
MOTION SENSOR
>.
2.
Use the [
▲▼
◀▶
/
ENTER
] buttons on the remote
control or use the mouse to specify the use of each
option item.
i
ACTIVATION : turn on or off the motion sensor.
i
MARK : Set to <
ON
> to display the motion
detection indicator on each video tile where
applicable.
i
SENSITIVITY : Set the sensitivity level of the
motion sensor to either Daytime or Nighttime.
i
EDIT AREA : Specify the motion detection area.
3.
To apply the change, click <
APPLY
> in the bottom of the screen.
4.
When done, press the [
EXIT
] button on the remote control or click <
CLOSE
> in the lower screen. The confirmation
message appears and you will return to the previous menu.
J
The motion detection sensitivity may differ depending on the characteristics of the connected camera or the installation environment.
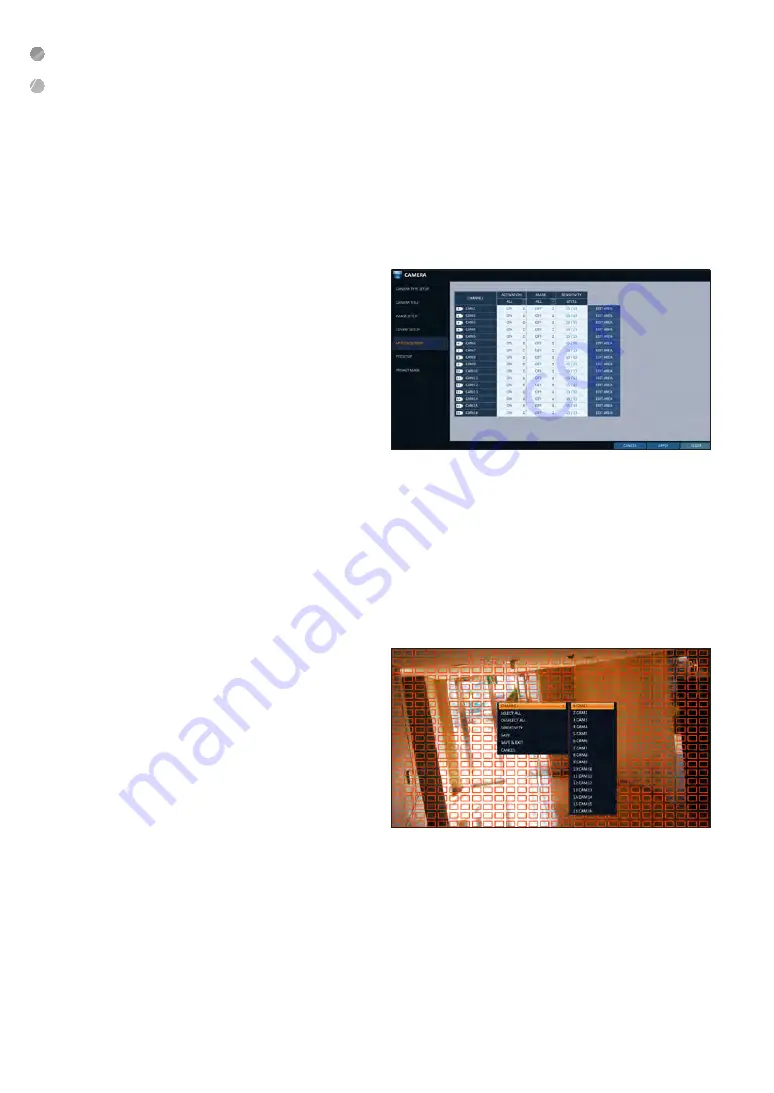
Motion Area Setup
From the motion setup window, click <
EDIT AREA
> in the right corner to display the area setup screen.
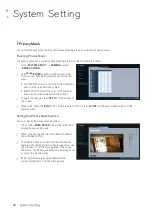
Setting the motion area may differ depending on the camera model. Below is a typical setting of the motion area.
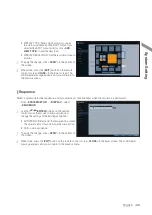
1.
Click <
EDIT AREA
> to move to the motion area
setup screen.
2.
If using the remote control, press the [
ENTER
] button
to mark the current position.
3.
Use the arrow buttons to move to a desired block and
press [
ENTER
]. The area setup will begin.
Then, use the arrow buttons to specify the area.
Alternatively, you can use the drag-and-drop method to
specify or release the area as using mouse.
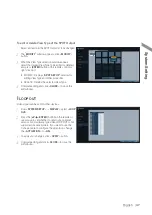
4.
If you select the specified area again, it will be
released.


