GALA G.E. TIG PULSE
17
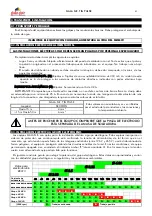
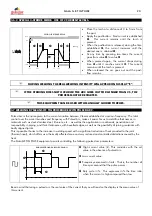
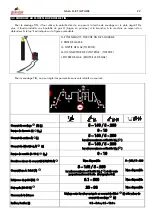
3.2 OPERATIONS SEQUENCE FOR STARTING UP THE EQUIPMENT.
1
st
. Prepare the equipment according to the welding process to be performed. From section 3.3. onwards of this
manual you will find the equipment preparation diagram according to the work you wish to carry out.
2
nd
. Connect the plug to the mains.
3
rd
. Apply the main switch A for start-up.
4
th
. Determine the desired welding process using selector “G”.
5
th
. Set the desired welding current with control "F".
6
th
. Set the necessary parameters according to the process.
7
th
. You can now start the welding operation.
P
O
M
N
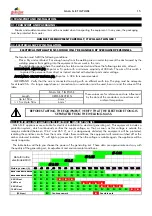
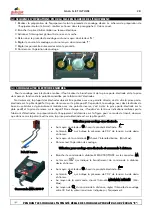
3.3 WELDING WITH COATED ELECTRODE.
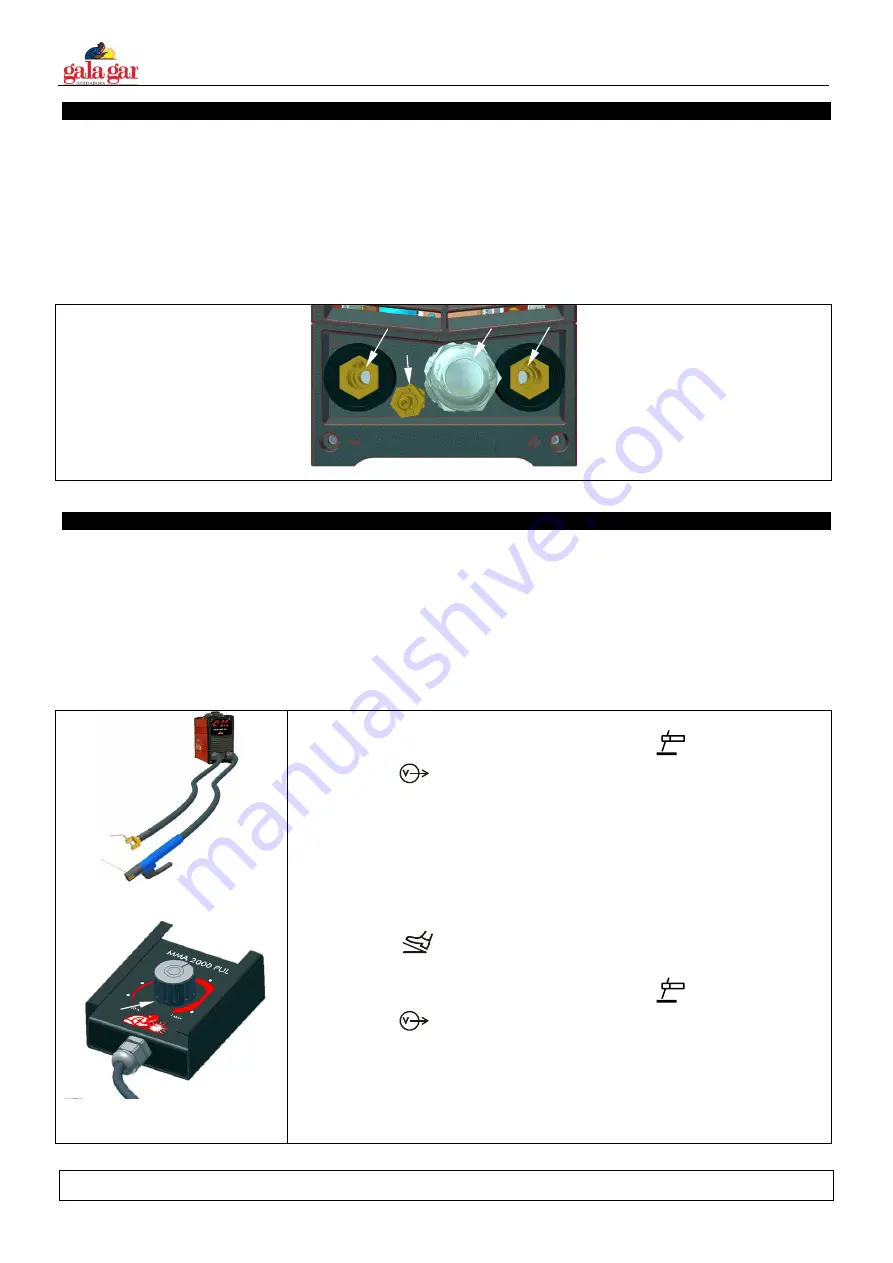
When welding with coated electrode we must connect the electrode-holder clamp and the earth clamp in
agreement with the polarity advised by the electrode manufacture.
Normally, the majority of the electrodes must be placed with straight polarity; that is, the welding electrode-holder
clamp in the negative pole and the earth clamp in the positive pole. However, welding with basic or special
electrodes is usually carried out with reverse polarity; that is, the electrode-holder clamp in positive pole and the
earth clamp in negative pole. We will follow the electrode manufacturer’s instructions in each case. Equipment
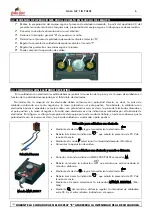
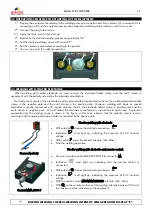
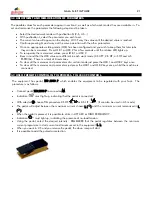
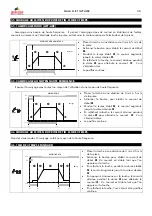
preparation for the working mode is drawn in the figure; in this case, observe that the polarity used is inverse,
meaning that the welding electrode-holder is connected to the positive pole.
Reversed polarity
Control MMA 2000 P
Use for welding with electrode
•
With selector
G
choose the electrode procedure.
•
Indication
must light up, indicating the presence of 90 V no-load
voltage.
•
With control
F
select the desired intensity. (Min-Máx).
•
Start the welding operation.
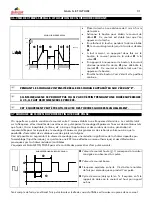
Use for welding with electrode and remote control.
•
Connect remote control MMA 2000 PULSE to connector
M
•
Indication
must light up, indicating that the remote control is
connected.
•
With selector
G
choose the electrode procedure.
•
Indication
must light up, indicating the presence of 90 V no-load
voltage.
•
With the control, select
MAXIMUM DESIRED
intensity. (Min - Máx).
•
With
Q
on the remote control, set the welding intensity between 30 A and
the maximum value indicated on the equipment.
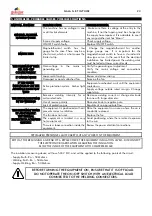
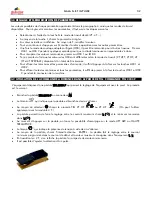
DURING WELDING THE REAL WELDING INTENSITY WILL APPEAR ON DISPLAY “E”.
Q

