


5.Focus Lens
Your MOPA must be focused before starting a job. The MOPA comes with an autofocus feature in RE3 and on the
touchscreen.
NOTE: The focus distance number set in the RE3 interface is machine relative. It signifies the distance away from
home needed to engrave.
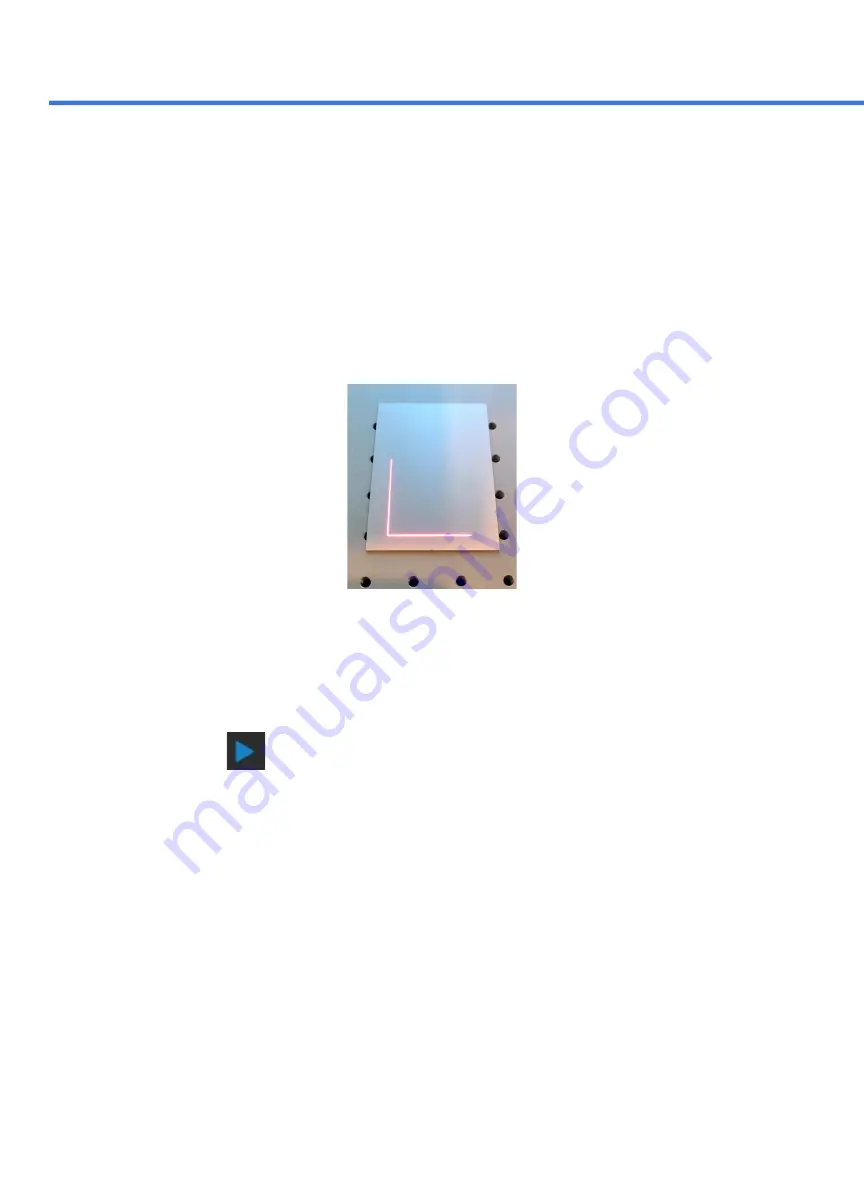
6. Align your design with your material.
This can be done by using the perimeter icon to preview the area where the laser will engrave.
*You can use the camera capture option for help better aligning your design. You should still make sure to check
the engraving perimeter before running your project.*
Once adjusted to ensure your design is engraved in the desired area, you should make sure the material does not
move from the workspace. This can be done by weighing down the material using an object that will not interfere
with the engraving, such as jig, fixture, putty, or tape.
7. Once the picture is aligned run the job.
You can start the job by selecting the play button.
While the job is running you should not look directly at the engraving process unless you have on safety glasses.
Instead, the project can be viewed from the Video Feed or Touchscreen.
Once the marking is complete, do not move the part until you are sure that it has the desired look, as re-aligning
becomes significantly difficult.
Once completed, wipe your part clean of any dust or residue resulting from the engraving process.
Congratulations!! You have made your first engraving on RE3. It’s an exciting process to engrave material to your
liking. Sometimes a little trial and error is needed to see what designs go well in what ways. The following pages will
provide more information on how to use RE3 for more detailed and precise engravings.
Section VII. Retina Engrave V3
34


