


Hardware Installation
Installing the CPU
35
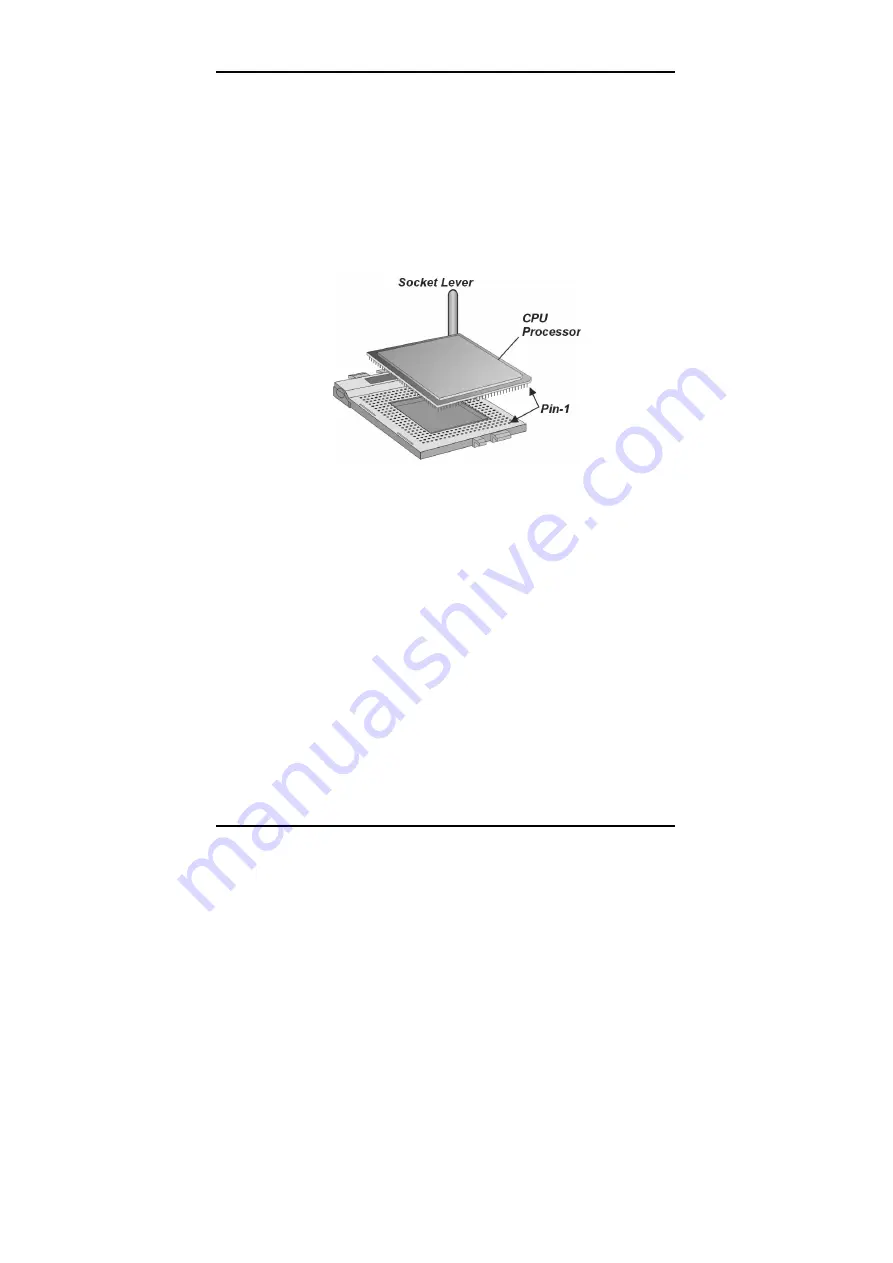
3. Identify the pin-1 corner of the mPGA478. The pin-1 corner is
on the same side as the locking lever, as shown in the
illustration below.
4. Identify the pin-1 corner of the processor (the pin-1 corner on
the processor has a beveled edge).
5. Align the pin-1 corners and drop the processor into the
mPGA478. The processor should drop into place without any
force. If it doesn’t seat properly, check that you have the pin-1
corner in the correct position.
6. Swing the locking lever down to lock the processor in place and
latch the lever under the catch on the side of the socket.
7. Plug the cable from the heat sink/cooling fan assembly into the
processor cooling fan power supply CPU FAN.
8. Configuration of the processor is carried out using the system
setup utility as described in Chapter 4. Configure the processor
the first time you turn on the assembled computer.
3.6.3. Removing the Processor
First, remove the mainboard from the chassis. To remove the
processor from the mainboard, follow these steps:
1. Disconnect the fan power cable from the mainboard.
2. Push the CPU socket lever slightly to the side and then raise
it as far as it can go. You will feel a resistance as the
processor is freed from the socket.
3. Remove the processor.


