1. Select the custom fold number you want to program.
2. Press the green button next to the Table A and Table B lights.
Note:
The display will read “Tbls A: #.## B: #.## CUSTOM #”.
Table A adjusts the upper fold plate.
Table B adjusts the lower fold plate.
The “-“ and “+” buttons decrease and increase the fold numbers.
3. Press the “-” and/or “+” button to enter the length of the fold. Fine adjustments can be made with the
adjustment screw at the end of the plate.
4. Press the “Test” button to insure the proper folds have been entered.
5. Once the folds are correct, press and hold the “Custom Fold” green arrow button until the machine sounds
a tone. The fold has been memorized.
Note:
The display screen will read “count # and custom #”. To run your custom fold without saving it, simply
press the “Start” button after step 4 above.
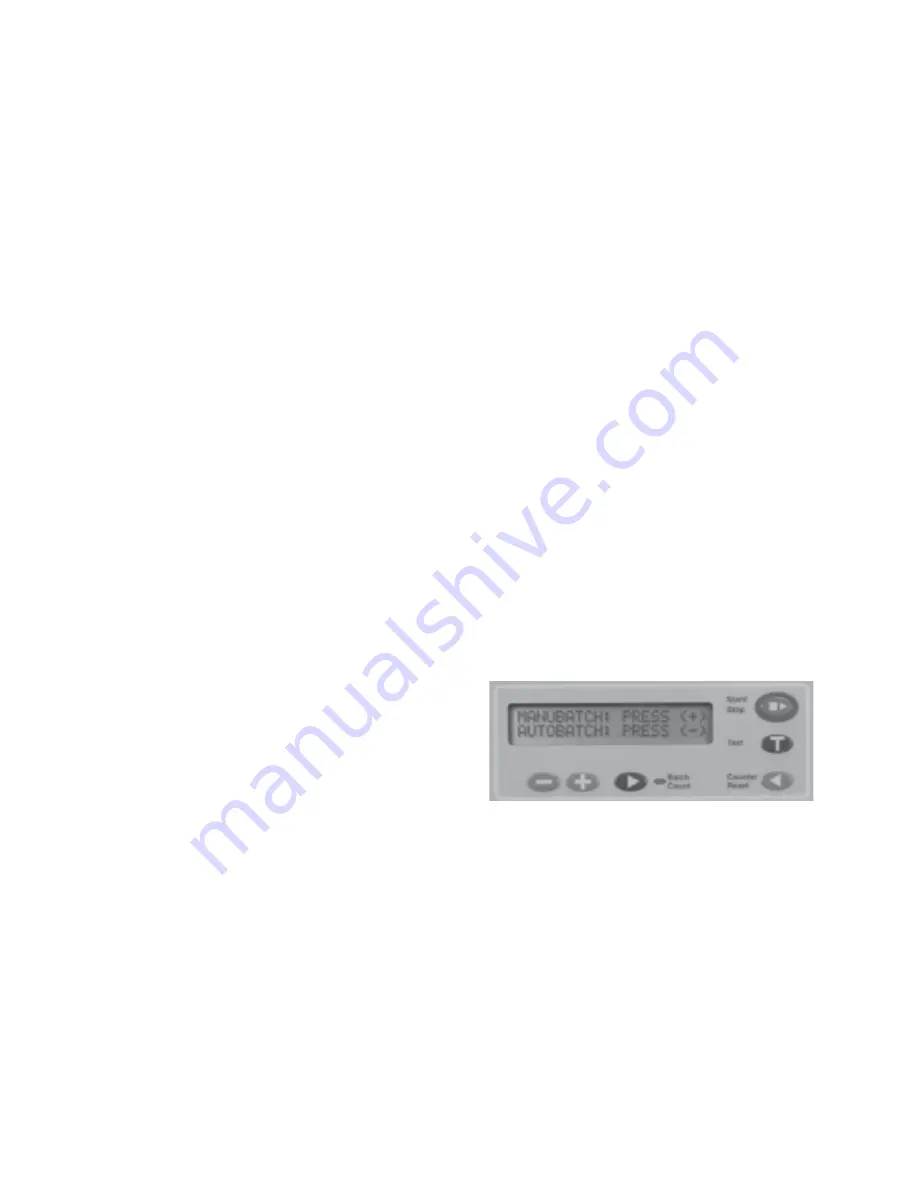
1. To enter the manual batch counting mode press the
“Batch Count” button and select “MANUBATCH” by
pressing the “+” button (Fig 3a) .
2. Select the number of sheets to be folded by pressing
the “+” or “-” buttons (Fig. 3c) , then press the “Start/
stop” button to start.
MANUBATCH:
The “Manubatch” or “manual batch” feature allows you to program the number of sheets you would like to
process in a set. When the set is complete, the folder will stop and automatically reset the batch count to the
previously set number of sheets. It will then fold the next set when the “Start/Stop” button is pressed.
AUTOBATCH
TM
:
“Autobatch” or “automatic batch” allows you to batch count with automated features. In the Autobatch mode
you can program the number of sheets you would like to process in a set, the number of sets you would like
and the delay between each set. For example: you can program 10 sheets to be pulled to create a set, then
program 100 sets to be processed with a 3 second time delay between each set.
Batch Counting
4
Figure 3a


