Forensis UC39G6000 User Manual Download Page 12

11

     7. Menu Operation Instruction in this manual is explained according to TV mode. The operations in other 
         modes are similar to the one in TV mode. Users can take it as reference.
     

Note: 

the  "

/

/

t

/

u

" key in this Manual stand for the direction cursor keys on the remote control unless 

specifically defined. The operating instructions in the text below are all based on keys on the remote control. 
Please understand the keys on the panel by yourself.

Program scanning

     Before watching programs with the TV set for the first time, you need to scan the programs. Make sure that 
the antenna is connected properly before scanning. 
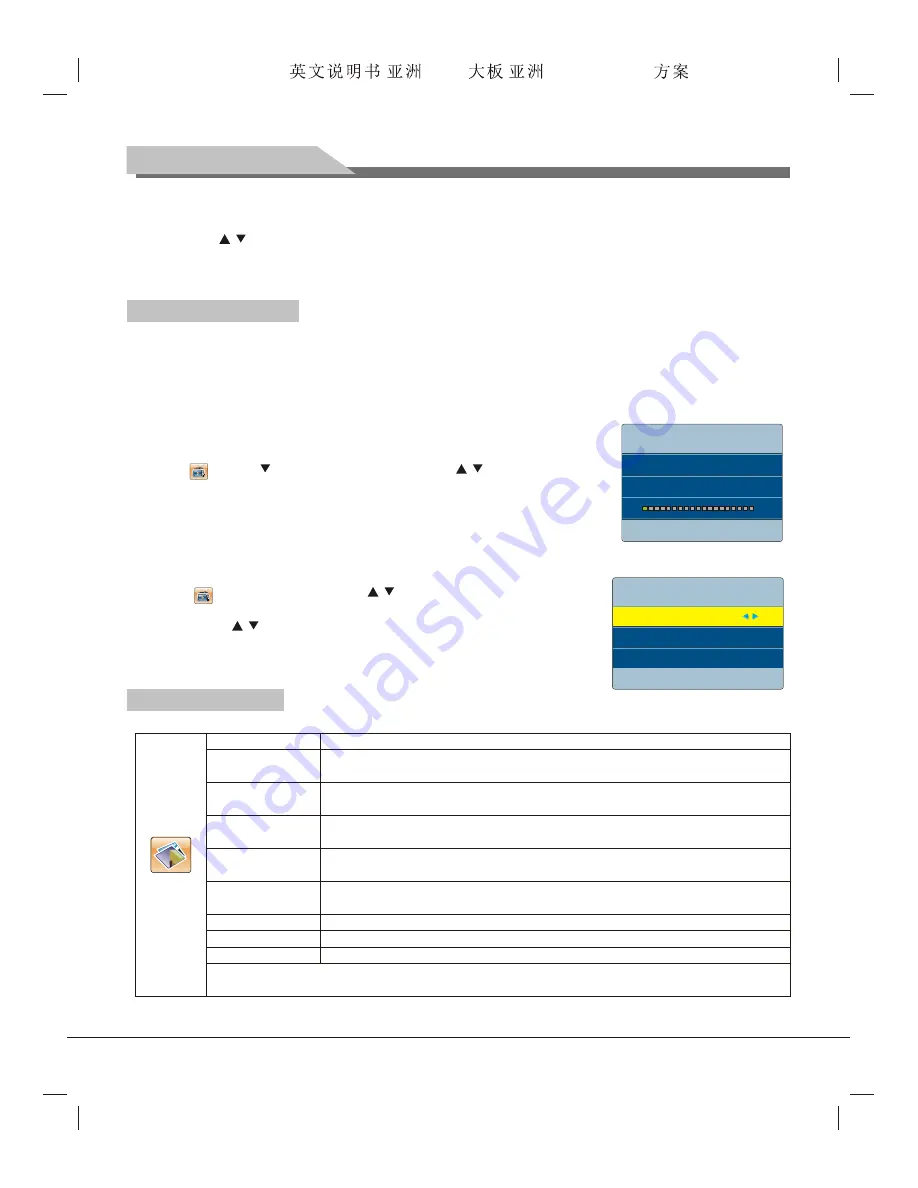
Auto Search


After auto scanning, the channels will be sorted according to the frequency automatically. The original 

program list will be overwritten.

     Press "

MENU

" key to show the main menu on the screen: press "t/u"  key 

to select       , press "

" key to enter TV menu; press " /

" key to select 

Auto


Search

 and press "u" key to scan the channels automatically (in the process 

of auto-scan, press "

MENU

" key and the screen shows "Do you want to exit 

searching?"; you can press  "t" key to exit, or press "u" key to cancel). All the 
TV programs will be saved automatically. The scanning requires a period of time.

Manual Search

Select       to enter TV menu; press " /

" key to select 

Manual Search


and then press "u" key to enter the menu. Press "t/u" key to adjust the 
channel, press "

/

" key to select 

SEARCH

, and then press the "t/u" 

key to start scanning (in the process of scanning, you can press "

MENU

" key 

to interrupt the scanning).

Menu setting list

Refer to the table below for the specific menu settings.


0     %...   50.25  MHz     VHF-L

Found      :    0    Progtranme 

Menu:Exit

Auto Search

Basic Operations

Menu:Exit

Manual Search

CH: 1

Search

Frequency   45.25   MHz

PICTURE

Adjust the overall effect of images: Standard, Soft, User, Bright

Adjust the overall layering of images: increase the analog value to improve the 

contrast and decrease the analog value to reduce the contrast (0-100)

Adjust the overall brightness of images: increase the analog value to improve the 

brightness and decrease the analog value to reduce the brightness (0-100)

Adjust the color depth of images: increase the analog value to improve the depth and 

decrease the analog value to reduce the depth (0-100)

Adjust the hue of images: increase analog value to increases green and decrease 

analog value to increases purple(0-100); the hue function is only valid in NTSC system

Adjust the sharpness of images: increase the analog value to increases the definition 

and decrease the analog value to reduce the definition (0-100).

Adjust the aspect ratio: Full, 4:3, Subtitle, Film.

Adjust the overall color temperature of images: Standard, Warm, Cool.

Set the grade of noise reduction: Middle, High, Off, Low.

Picture Mode

Contrast

Brightness

Saturation

Hue

Sharpness

Aspect Ratio

Color Temp.

Noise Reduction

Remark

: The values of Contrast, Brightness, Hue, Saturation and Sharpness adjusted by the user will be 

saved automatically.

Forensis 39S61F 50S31

(

)(T9E


V59+RK2908

)        190x250mm

Summary of Contents for UC39G6000

Page 1: ...UC39G6000 UC50G6500 Forensis 39S61F 50S31 T9E V59 RK2908 190x250mm...

Page 2: ...four intelligent image modes are presented 14 Dynamic contrast technology is adopted which can remarkably improve the definition and contrast of various images 15 Support HD line oriented input YPbPr...

Page 3: ...ble or corrosive gas 4 In bathroom kitchen etc Do not use damaged or improper power socket and ensure that the plug and socket are connected properly Keep the power plug and socket free of dust and me...

Page 4: ...ove slowly to avoid falling off Do not rub with hard object knock at bend or squeeze the screen Do not use machine immediately after transfering machine to the places with high temperature from low te...

Page 5: ...ews Screws Base supporting cover The base assembly The base supporting B Insert base supporting to supporting holes of base Need to align the locating bulge on base supporting and the locating slot in...

Page 6: ...circulation 30cm 10cm 10cm Please keep this space at least around the TV as shown in the figure Do not cover the air vents or insert any object into the enclosure Do not put the device in limited spa...

Page 7: ...2 If an earphone is inserted the speaker of the TV set turns off automatically 6 G G B B R R W W R R HDMI signal cable Audio cable YPbPr cable Connect to the device with YPbPr YCbCr output interface...

Page 8: ...connection Connect to the devices with AV input interface e g Monitor AV output connection VGA input connection PC audio cable VGA cable Note The peripheral equipment and cables described in this manu...

Page 9: ...erface so we recommend users insert the receiver of wireless mouse and keyborad to this USB interface Mounting and Connecting Network Connection 1 Cable network connection connect one end of the netwo...

Page 10: ...n Conversion between normal working and standby Intelligent mode on or off Sound on or off Numeric input keys effective under the TV mode Freeze picture To check the channel list effective under the T...

Page 11: ...ss key on the remote control or CH CH on the control panel to select what is needed to adjust in sort menu 4 Press t u key on the remote control or VOL VOL on the control panel to adjust the value or...

Page 12: ...s the t u key to start scanning in the process of scanning you can press MENU key to interrupt the scanning Menu setting list Refer to the table below for the specific menu settings 0 50 25 MHz VHF L...

Page 13: ...0M unit min Restore factory settings Select the color system PAL NTSC SECAM AUTO please select the proper system or else the picture isn t clear Select the audio system I DK M or L and BG please selec...

Page 14: ...methods The method introduced in this instruction is for reference only Please operate according to practical situation Some functions even can t be operated by remote control To obtain a better exper...

Page 15: ...nd other information on the internet can be displayed by a browser Before accessing internet you have to connect the TV to the internet For details please refer to the Installation Connection and Sett...

Page 16: ...he mouse 2 When a pair of cursors for selection show on the screen drag the cursors to select the text content you want 3 Select Copy on the top of the screen and click the Confirm button How to save...

Page 17: ...o remove applications 1 Select Manage and press OK key to enter 2 Select an application to uninstall and press OK key 3 Select Uninstall and press OK key to remove the application by the system automa...

Page 18: ...d press OK key to run the application Select a video file and press OK key to play 00 00 05 00 03 25 1 2 3 4 5 6 7 8 9 10 1 2 3 4 5 6 7 8 9 10 Volume button turn the volume down up Bookmark Setting Af...

Page 19: ...older shown and press OK key Introduction to the option icons on the play interface 8 9 10 11 12 13 14 1 2 3 4 7 6 5 Equalizer Setting Play songs at random Setting of the repeat play mode Display the...

Page 20: ...e Wi Fi network 1 Select the Wi Fi option press OK key 2 After the Start Wi Fi option is selected press OK key to enable the Wi Fi function 3 The system will auto search the Wi Fi network signal in yo...

Page 21: ...rity What is Virtual Private Network VPN VPN is a technology building a private network on a public network By this technology you can securely access the company internal network by a public network...

Page 22: ...ages 1 The antenna connector is loose or the cable is damaged 2 The channel setting is improper 3 The antenna type is improper 4 The antenna direction or position is inaccurate 5 The signal is weak Th...

Page 23: ...e with other addresses to obtain better resources Problem Possible causes Solutions Master unit Technical Specifications 3 Unpacking 886 514 71 mm 3 Unpacking 886 574 71 mm 3 Packing 1100 622 152 mm N...

Page 24: ...z 60Hz Refresh rate VGA display mode Power management 50 110W 0 5W 1 Supported standard PAL NTSC SECAM 2 Antenna input 75 coax unbalanced 3 AV video input 75 1Vp p RCA terminal 4 AV audio input 20K 50...

Reviews: