Page 13
System Start Up
Power On/Off
To power the system On/Off, connect the power
cable to the DC 12V port on the rear panel. Flip
the toggle switch on in the back of the DVR. At
startup, the system performs a basic system check
and runs an initial loading sequence. After a few
moments, the system loads a live display view.
INITIAL SETUP
SYSTEM OPERATION
Quick Access Menu
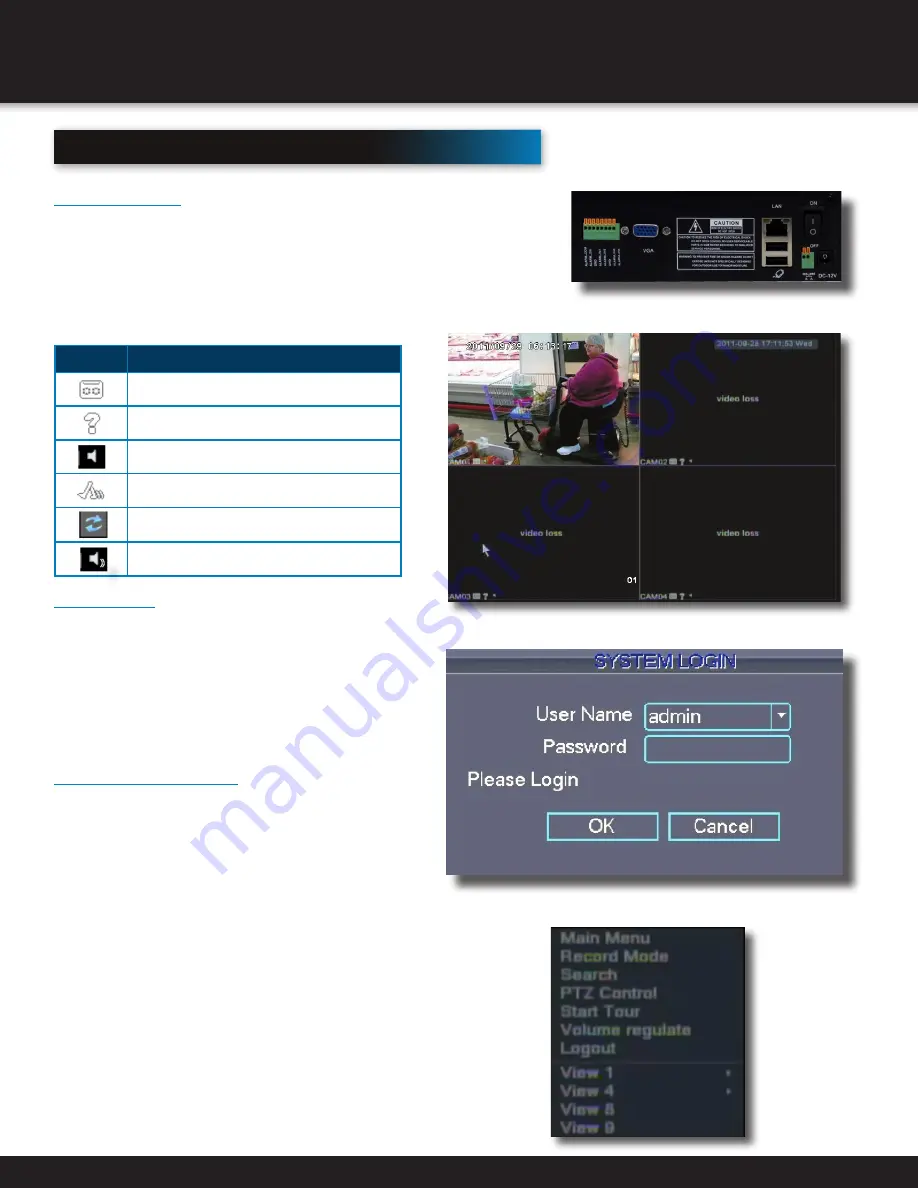
When using the mouse, use the Quick Access Menu
to access several system options, including the
Main Menu. Select one of the following options:
• MAIN MENU: Opens the main system menu
• Record Mode: Allows the user to select the
record setting for any or all channels.
• Search: Open the Search Menu
to view recorded video
• PTZ Control: Opens the PTZ control menu
• Start Tour: Allows user to start touring
the cameras in sequence.
• Volume Regulate: Allows volume adjust during
playback mode or when monitoring.
• Logout: Provides options to Logout,
Shutdown or to reboot system.
• View 1: Allows viewing of one camera in full screen.
• View 4: Allows viewing of 4 cameras on screen.
• View 8: Allows viewing of 8 cameras on
screen, with one screen in larger view.
• View 9: Allows viewing of 8 cameras on screen.
• To close the Sub-Menu, click anywhere on-screen.
User Login
Password
ATTENTION: By default, passwords are disabled on
the system. You do not need to enter a password
when accessing any system menus. However, for
security purposes, it is highly recommended to
enable passwords on the system using the Password
Menu. See “Password” section for details on setting
up passwords. Click OK to confirm password.
Main Viewing Screen
User Login Menu
Power Switch
V
iDeo
i
conS
F
unction
Indicates the channel is recording.
Video is unavailable on the channel
Camera speaker icon stays visible on screen
Motion is detected on the channel
Indicates that the monitor is touring
camera channels
Indicates audio output is from this channel


