15
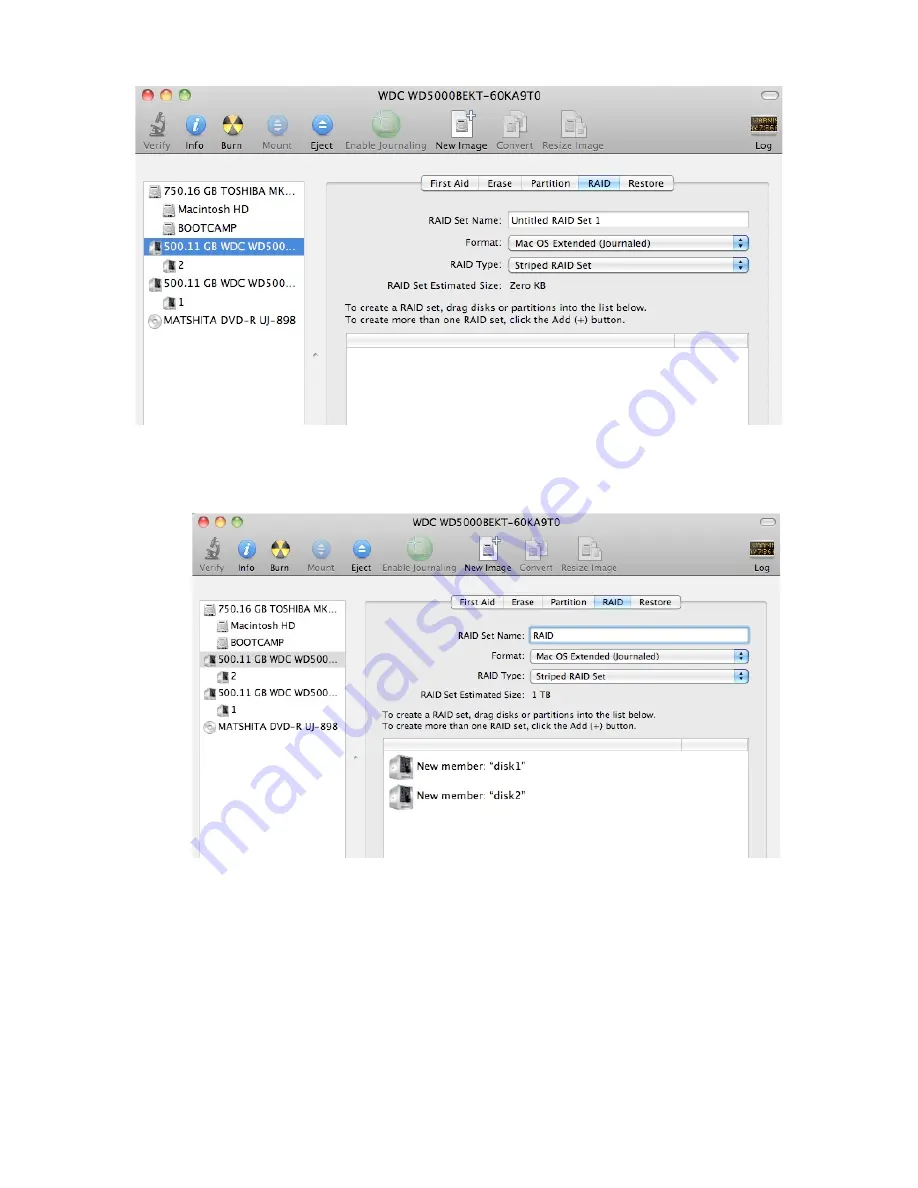
Figure 8: Selecting the RAID tab in Apple’s
Disk Utility
5. Carefully select and drag a hard drive to add it as a member of the new RAID volume in
the
Disk Utility
status window (Figure 9).
Figure 9: Example drives and options for a RAID volume;
Drag and Drop Drives into the RAID Set Window
6. Repeat step 5 for each member for the RAID volume.
7. Choose a
RAID Scheme:
Stripe or Mirror.
8. Name the new RAID volume.
9. For
Volume Format,
the default choice is “Mac OS Extended (Journaled)”. Note: Mac OS
X 10.6.x users and later can select the RAID block size. For enhanced performance with
large file sizes push the option button and select a RAID block size of 64K or 128K.


