13
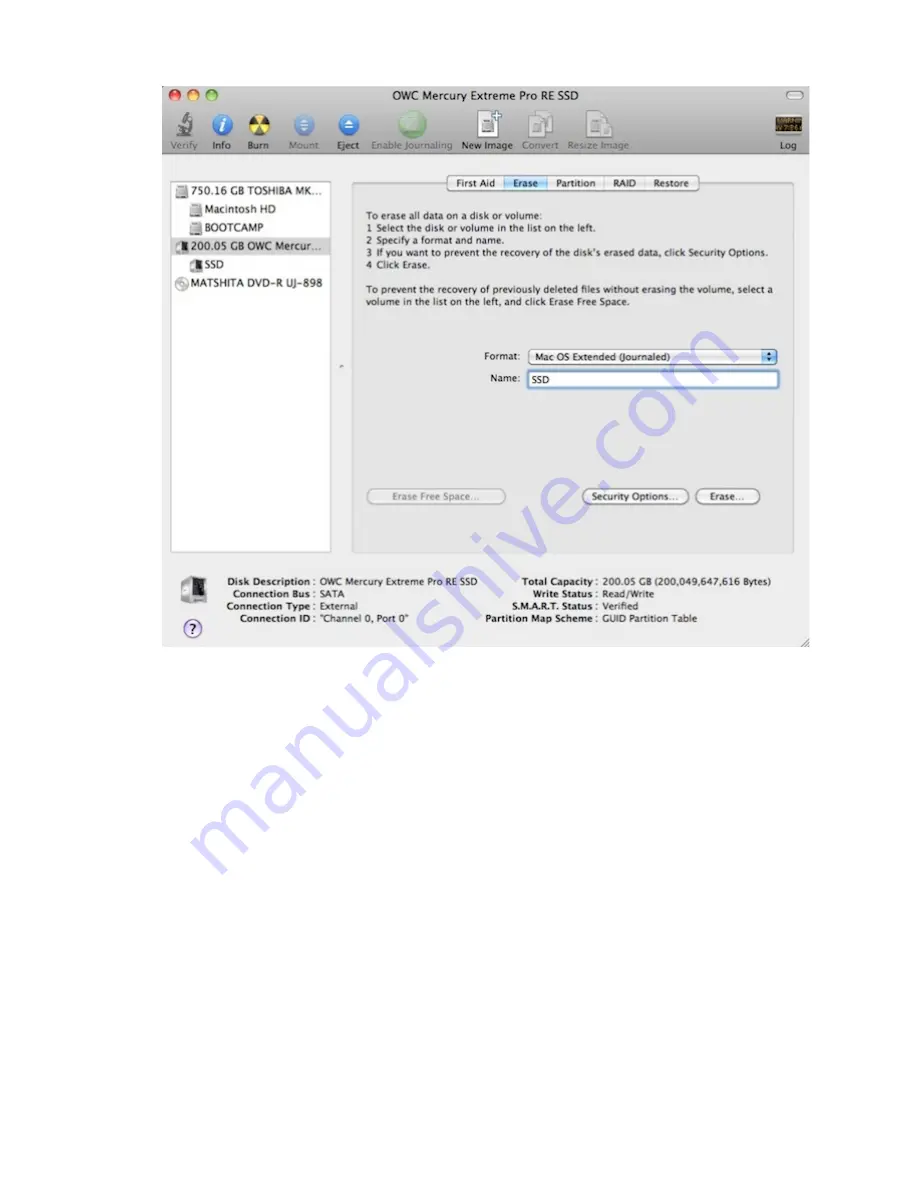
Figure 7: Selecting the
Erase
tab in Apple’s
Disk Utility
4. For
Volume Format,
the default choice is “Mac OS Extended (Journaled).”
5. In the
Name
field, users can type a name for the new hard disk.
6. If the selected SATA hard disk or Solid State Drive (SSD) has data on it, be sure to back
up any important data before clicking the
Erase
button. Once the Erase button is pushed
the selected device will be formatted for use with Mac OS X. Any previous data on the
disk will no longer be available.
7. Click the
Erase
button to format the hard drive.
8. Once the hard drive is initialized, it will be displayed as an icon on the Mac OS X desktop.


