6
AP User Guide
February 2009
Chapter 2 Setting Up Your Equipment - Model 4100 Indoor Installation
Introduction
The Firetide Model 4100 provides enterprise-class 802.11 wireless access. It can operate as a stand-
alone device, or with Firetide’s Wireless LAN Controller. Configure your HotPoint before installation.
Refer to Chapter 6, or the HotView Pro Reference Guide, for details.
Setup - Indoor Model 4100
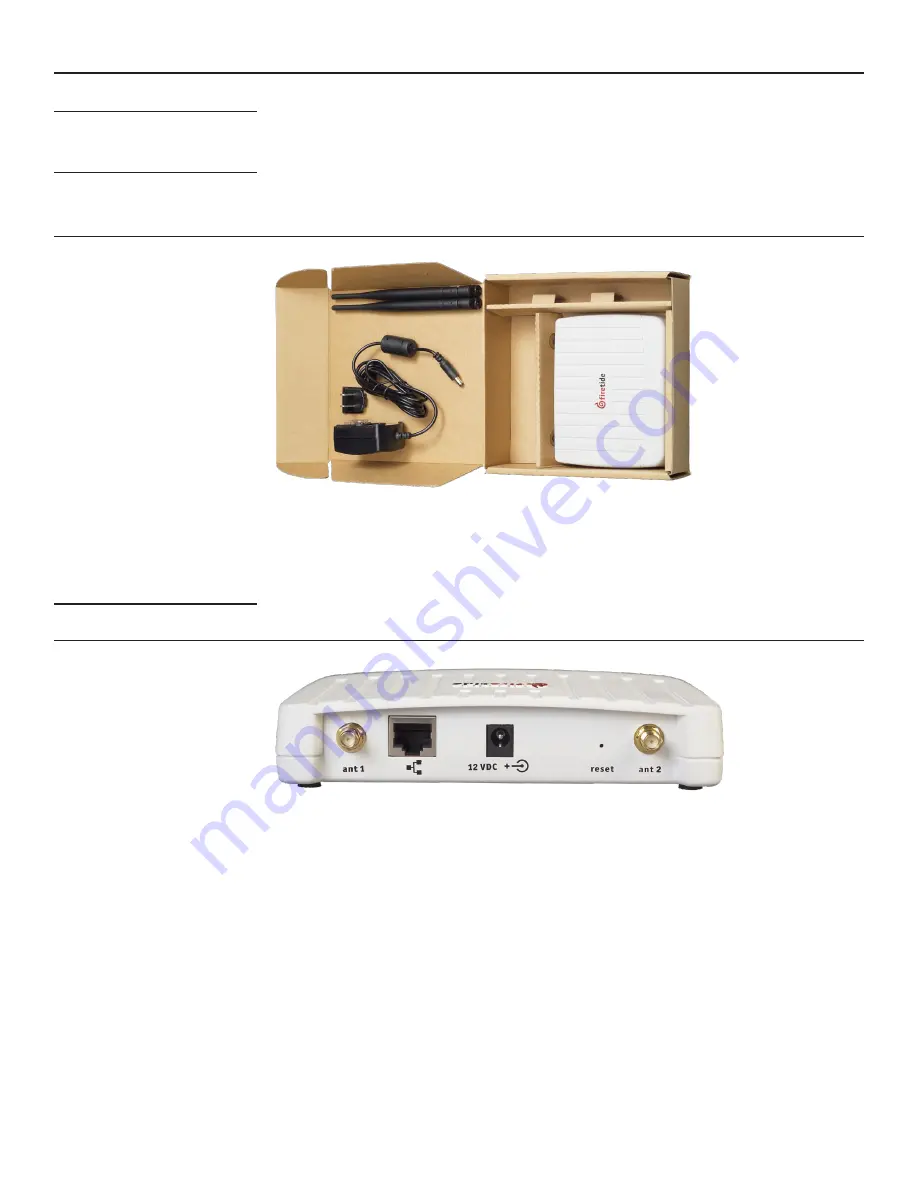
Setup of your new Firetide HotPoint is simple. The package contents are shown in Figure 1.
The HotPoint needs power. Note that the AC adapter has interchangeable inserts to fit most AC
receptacles in the US, Europe, the UK, Australia, and elsewhere. The adapter will operate on any
voltage from 100 to 240 VAC, from 50 to 60 Hz. If you need PoE capability, use the 4200.
Figure 1. Model 4100 Indoor Unit - Package Contents
The 4100 needs to connect via a standard Ethernet (RJ-45) cable to the network. Pick a suitable
location for the device, and use the supplied power supply to provide power to the unit. The Power
LED should illuminate immediately. Attach the supplied antennas to the two antenna connectors.
Tighten them firmly, by hand, and point them vertically.
Antenna Note
Note that the supplied antennas are designed for the 2.4 GHz band, that is, 802.11b and 802.11g
service. The HotPoint 4100 supports operation on the 5 GHz 802.11a band, but you must use a 5
GHz antenna if you wish to use this band.
Figure 2. Indoor Unit Important Points
Antenna 1
Reset
Power
Ethernet
Antenna 2
The Firetide device needs about a minute to boot itself. When it completes this process, the Status
LED will turn green.


