14
AP User Guide
February 2009
Chapter 7 Software Configuration
Firetide HotPoint access points, when used as Standalone APs, can be managed via a secure
(HTTPS) browser connection. Firefox, Mozilla, Safari, and Internet Explorer are supported. To con-
nect via a browser, use the URL:
https://192.168.224.160/
(or other IP address, as assigned.)
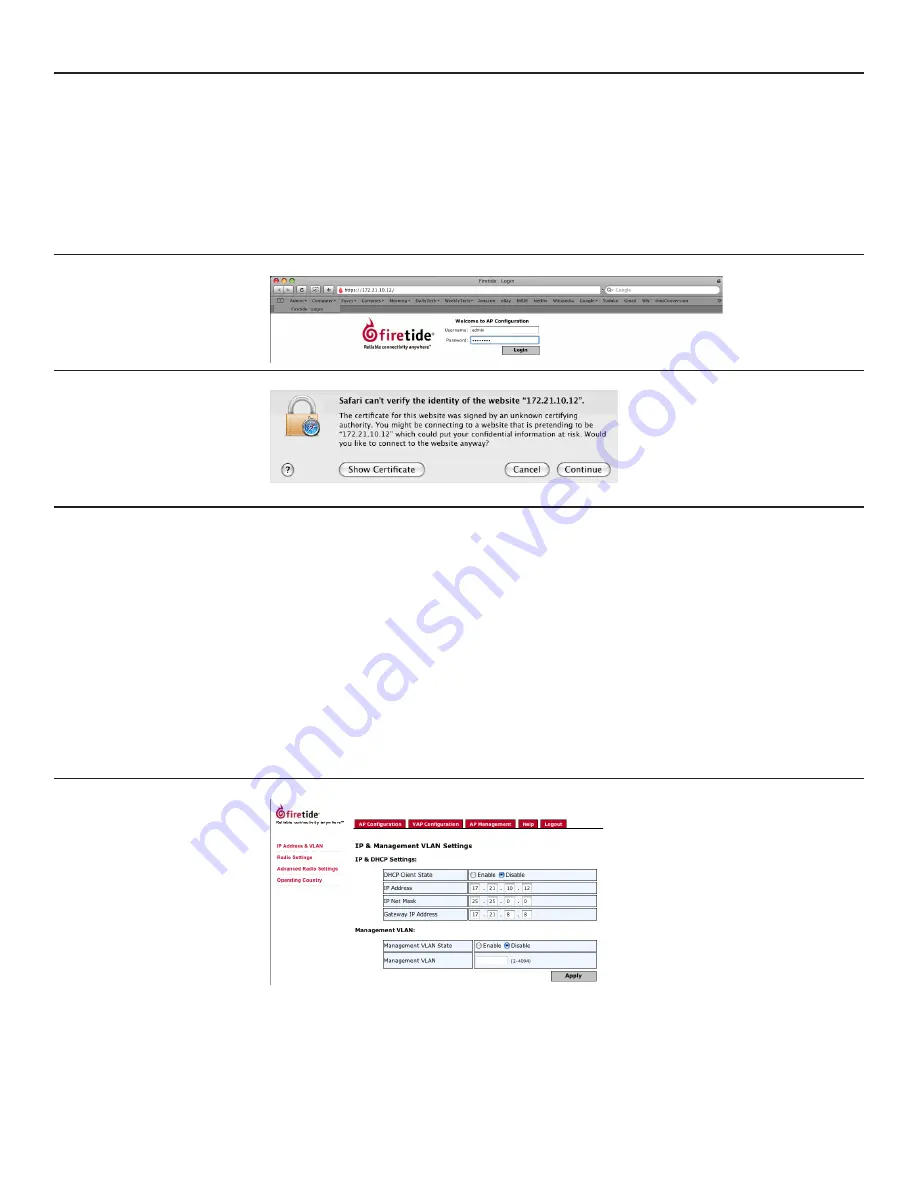
You will see a screen similar to the one shown in Figure 1. If you don’t, make sure your typed
https
, not
http
. Log in using the default values,
admin
and
firetide
. Depending on your browser’s
security settings, you may receive a warning message, as shown in Screen 2. Click through and
complete the login process.
Screen 1. Browser Welcome Screen
Screen 2. Browser Security Warning
Initial Command Screen
The ‘home page’ for browser-based management of the HotPoint AP is shown in Figure 17. It
shows a summary of the available Virtual APs. If the AP is new, no VAPs will be shown; if the unit
has already been placed into service, you will see a list of existing VAPs (as in this case). Model
4100/4200 and Model 4500/4600 have slightly different settings in some screens, but the overall
setup is the same.
You will need to configure both ‘physical’ parameters, such as unit IP address and radio settings,
and ‘virtual’ parameters, such as SSID and encryption.
The setup sequence for each physical unit is:
Set the Country Code. You should always do this immediately after any factory reset. The
1.
radio operates in a very low-power mode until the country code is set.
Change the IP address. On new or reset units, the IP address is set to 192.168.224.160. You
2.
should change this to an address that fits your overall IP addressing scheme.
Set the radio channel, power, and related parameters.
3.
Figure 17. Command Screen
The setup sequence for each virtual access point (VAP) is:
Create the VAP Group, or select an existing one.
4.
Configure the VAP.
5.
Configure the VAP Group.
6.


