Finlux 42F7077-D Owner'S Manual Download Page 8

English

   - 7 -

Note

: Lip Sync delay may occur during the timeshifting. 

Radio record is supported. The TV can record 

programmes up to ten hours.
Recorded programmes are split into 4GB partitions. 
If the writing speed of the connected USB disk is not 

sufficient, the recording may fail and the timeshifting 

feature may not be available.
It is recommended to use USB hard disk drives for 

recording HD programmes.
Do not plug out the USB/HDD during a recording. 

This may harm the connected USB/HDD.
Multipartition support is available. The maximum 

of two different partitions are supported. The first 

partition  of  the  USB  disk  is  used  for  PVR  ready 

features. It also must be formatted as the primary 

partition to be used for the PVR ready features.

Some stream packets may not be recorded 

because of signal problems, so sometimes video 

may freezes during playback. 

Record, Play, Pause, Display (for PlayListDialog) 

keys can not be used when teletext is ON. If a 

recording starts from timer when teletext is ON, 

teletext is automatically turned off. Also teletext 

usage is disabled when there is an ongoing 

recording or playback. 

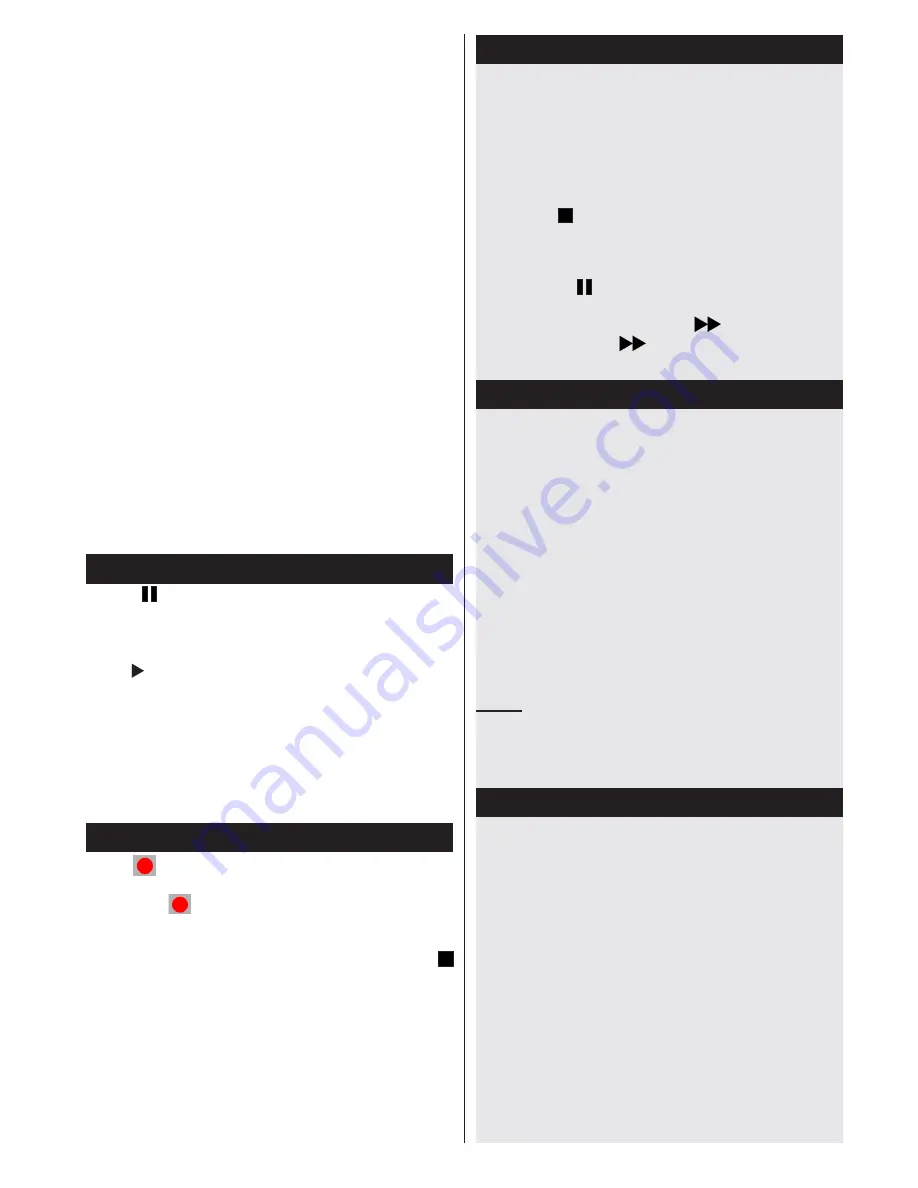
Timeshift Recording 

Press 


(PAUSE)  button  while  watching  a 

broadcast to activate timeshifting mode.In 

timeshifting mode, the programme is paused and 

simultaneously recorded to the connected USB disk. 

Press   (PLAY) button again to resume the paused 

programme  from  where  you  stopped.  Press  the 

STOP button to stop timeshift recording and return 

to the live broadcast.

Note: Timeshift cannot be used while in radio mode. 
Note : You cannot use the timeshift fast reverse 

feature before advancing the playback with the fast 

forward option.

Instant Recording

Press 

 (RECORD) button to start recording an 

event instantly while watching a programme. You 

can press 

 (RECORD) button on the remote 

control again to record the next event on the EPG. 

In this case, an OSD will be displayed, indicating 

the  programmed  events  for  recording.  Press 


(STOP) button to cancel instant recording. 

Note

: You can not switch broadcasts or view the Media Browser 

during the recording mode. While recording a programme or 

during the timeshifting, a warning message appears on the 

screen if your USB device speed is not sufficent.

Watching Recorded Programmes 

Select the 

Recordings Library

 from the 

Media 

Browse

r menu. Select a recorded item from the 

list (if previously recorded). Press the 

OK

 button 

to view the  

Play Options

. Select an option then 

press 

OK

 button.

Note: Viewing main menu and menu items will not be 

available during the playback.

Press  the    (STOP)  button  to  stop  a  playback 

and return to the Recordings Library.

Slow Forward

If you press 

  (PAUSE)  button  while  watching 

recorded programmes, the slow forward feature will 

be  available.  You  can  use 

 button to slow 

forward.  Pressing 

 button consecutively will 

change slow forwarding speed.

Recording Configuration

Select the Recording Configuration item in the 

Settings menu to configure the recording settings. 

Format Disk

:  You  can  use  Format  Disk  feature 

for  formatting  the  connected  USB  disk.  Your  pin 

is required to use the Format Disk feature (default 

pin is 0000). 

IMPORTANT

: Note that ALL the data stored on 

the USB disk will be lost and the disk format 

will be converted to FAT32 if you activate this 

feature. If your USB disk malfunctions, you can try 

formatting the USB disk. In most cases formatting 

the USB disk will restore normal operation; 

however, ALL the data stored on the USB disk 

will be lost in such a case. 

Note: 

If “USB is too slow” message is displayed on 

the screen while starting a recording, try restarting the 

recording. If you still get the same error, it is possible that 

your USB disk does not meet the speed requirements. Try 
connecting another USB disk.

Quick Menu

Quick Settings menu allows you to access some 

options quickly. This menu includes 

Power Save 

Mode, 3D Mode, Picture Mode, Equalizer Settings, 

Favourites

 and 

Sleep Timer 

options.  Press Q.MENU 

button on the remote control to view quick menu. 

See the following chapters for the details of the listed 

features.

Summary of Contents for 42F7077-D

Page 1: ......

Page 2: ...on instructions if the option is available Occasionally a few non active pixels may appear on the screen as a fixed blue green or red point Please note that this does not affect the performance of you...

Page 3: ...r TV Fully integrated digital cable TV DVB T C HDMI inputs are for connecting a device that has a HDMI socket USB input OSD menu system Scart socket for external devices such as DVD Players PVR video...

Page 4: ...igh Definition Multimedia Interface are trademarks or registered trademarks of HDMI Licensing LLC Information for Users on Disposal of Old Equipment and Batteries European Union only These symbols ind...

Page 5: ...rowser mode 19 Image size 20 Teletext Mix 21 Media Browser 22 Electronic programme guide 23 Exit 24 Navigation buttons 25 Quick menu On Off 26 Info Reveal in TXT mode 27 Programme up down 28 Mute 29 P...

Page 6: ...utput will not be available via the scart socket When using the wall mounting kit optional we recommend that you plug all your cables into the back of the TV before mounting on the wall Insert or remo...

Page 7: ...allation If you select CABLE option and press OK button on the remote control To continue please select YES and press OK To cancel operation select NO and press OK You can select frequency ranges from...

Page 8: ...nts for recording Press STOP button to cancel instant recording Note You can not switch broadcasts or view the Media Browser during the recording mode While recording a programme or during the timeshi...

Page 9: ...nd and Settings menu options Pressing the MENU button again will exit from this screen You can set your Media Browser preferences by using the Settings Menu Loop Shuffle Mode Operation Start playback...

Page 10: ...ge switching HDMI True Black optional While watching from HDMI source this feature will be visible in the Picture Settings menu You can use this feature to enhance blackness in the picture Film Mode F...

Page 11: ...s for selected programmes USB Record Recording Configuration Displays the recording configuration menu Usb connection required Date Time Sets date and time Sources Enables or disables selected source...

Page 12: ...ock setting enables or disables the menu access Maturity Lock optional When set this option gets the maturity information from the broadcast and if this maturity level is disabled disables access to t...

Page 13: ...ned above have them stop watching in 3D immediately Do not use the 3D Glasses as sunglasses or general eyeglasses Do not move around while watching in 3D and wearing the glasses as your vision is modi...

Page 14: ...ahead and the TV must be at eye level while wearing the 3D glasses The picture may not be visible or may look dark if you do not stay within the viewing angle Operating the 3D Mode 3D picture may not...

Page 15: ...V accordingly in its stand or wall mount 3D Viewing Information continued HDMI MBV MBP 1080p 24 FP Supported Not Supported Not Supported 720p 50 FP Supported Not Supported Not Supported 720p 60 FP Sup...

Page 16: ...re suitable plugs used to connect the antenna If you are in doubt consult your dealer No sound Has the TV been set to mute To cancel mute press the button or increase the volume level Sound is coming...

Page 17: ...O HDMI1 HDMI2 HDMI3 480I 60Hz O 480P 60Hz O 576I 576P 50Hz O 720P 50Hz 60Hz O 1080I 50Hz 60Hz O 1080P 24Hz 25Hz 30Hz 50Hz 60Hz O Supported File Formats for USB Mode X Not Available O Available In som...

Page 18: ...green or green and yellow The wire which is coloured blue or black must be connected to the terminal which is marked with the letter N or coloured Black The wire which is coloured brown or red must b...

Page 19: ...77 D E Energy efficiency class A F Visible screen size diagonal approx inch cm 42 inches 106 cm G On mode average power consumption Watt 69 H Annual energy consumption kWh annum 100 I Standby power co...

Page 20: ......

Reviews: