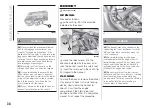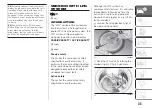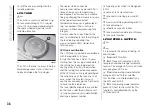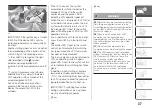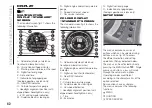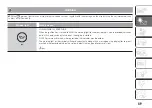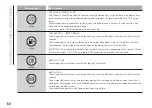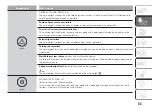
TRIP B ACTIVATION / DATA
SET TIME
SET DATE
AUTOCLOSE
UNITS OF MEASUREMENT
LANGUAGE
WARNING VOLUME
BUTTON VOLUME
SEAT BELT BEEP
SERVICE
AIRBAG / PASSENGER AIRBAG
DAYTIME RUNNING LIGHTS
TYRE RESET
RADIO REPETITION (for markets/
versions, where provided)
SEE PHONE (for markets/versions,
where provided)
SEE NAVIGATION (for markets/
versions, where provided)
EXIT MENU
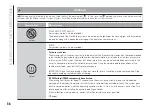
Set Time (Setting the clock)
Using this function, it is possible to set
the clock through two submenus:
“Time” and “Format”.
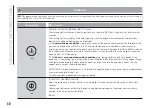
To adjust, proceed as follows:
briefly press the MENU button
,
the display will show the two submenus
“Time” and “Mode”;
press the
+
or
–
button to move
between the two submenus;
once you have selected a submenu,
briefly press the MENU button
;
if you select the “Time” submenu,
briefly press the MENU button
to
display the "hours";
press the
+
or
–
button to adjust;
briefly press the MENU button
to display the "minutes";
press the
+
or
–
button to adjust.
NOTE Each press of the
+
or
–
buttons
will increase or decrease by one unit.
Hold down the button to increase/
decrease the setting rapidly and
automatically. Complete the adjustment
with single presses of the button when
you approach the desired value.
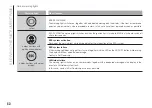
If you select the "Format" submenu,
briefly press the MENU button
to
show the display mode;
press
+
or
–
to select “24h” or
“12h”. When you have made the
required settings, briefly press the
MENU button
to go back to the
submenu screen or hold the button
down to go back to the main menu
screen without saving.
hold the MENU button
or SAVE
for colour displays down again to
return to the standard screen or to the
main menu according to where you
are in the menu.
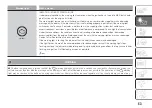
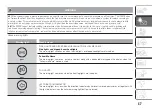
Set date (Setting the date)
This function may be used to update
the date (year/month/day).
To adjust, proceed as follows:
briefly press the MENU button
to display the "year";
press the
+
or
–
button to adjust;
briefly press the MENU button
to display the "month";
press the
+
or
–
button to adjust;
briefly press the MENU button
to display the "day";
press the
+
or
–
button to adjust;
NOTE Each press of the
+
or
–
buttons
will increase or decrease by one unit.
Hold down the button to increase/
decrease the setting rapidly and
automatically. Complete the adjustment
with single presses of the button when
you approach the desired value.
press the MENU button
, or SAVE
for colour displays, briefly to return to
the menu screen or hold the button
down to return to the standard screen
without storing.
Service (scheduled servicing)
This function allows you to display the
information about km/mileage intervals
or, for versions/markets, where
provided, time intervals for car
maintenance.
43
Summary of Contents for 500 Abarth
Page 1: ...O W N E R H A N D B O O K ...
Page 8: ...6 ...
Page 27: ...AUTOMATIC CLIMATE CONTROL SYSTEM for versions markets where provided 27 F0S0595 25 ...
Page 81: ...Children over 1 50 m in height can wear seat belts like adults 60 F0S0414 61 F0S0413 79 ...
Page 93: ...Passenger side front airbag and child restraint systems IMPORTANT 69 F0S1025 91 ...
Page 128: ...USERS FUSE AMPERE Front power socket with or without cigar lighter F85 20 126 IN AN EMERGENCY ...
Page 178: ...UCONNECT RADIO CONTROLS ON FRONT PANEL 141 F0S0619 176 MULTIMEDIA ...
Page 185: ...Uconnect 5 Radio LIVE NAV LIVE Controls on front panel 143 F0S0621 183 ...
Page 198: ...Uconnect 7 HD LIVE NAV LIVE Controls on front panel 145 F0S0623 196 MULTIMEDIA ...
Page 215: ......
Page 217: ......
Page 218: ......
Page 220: ......
Page 221: ......
Page 222: ......

