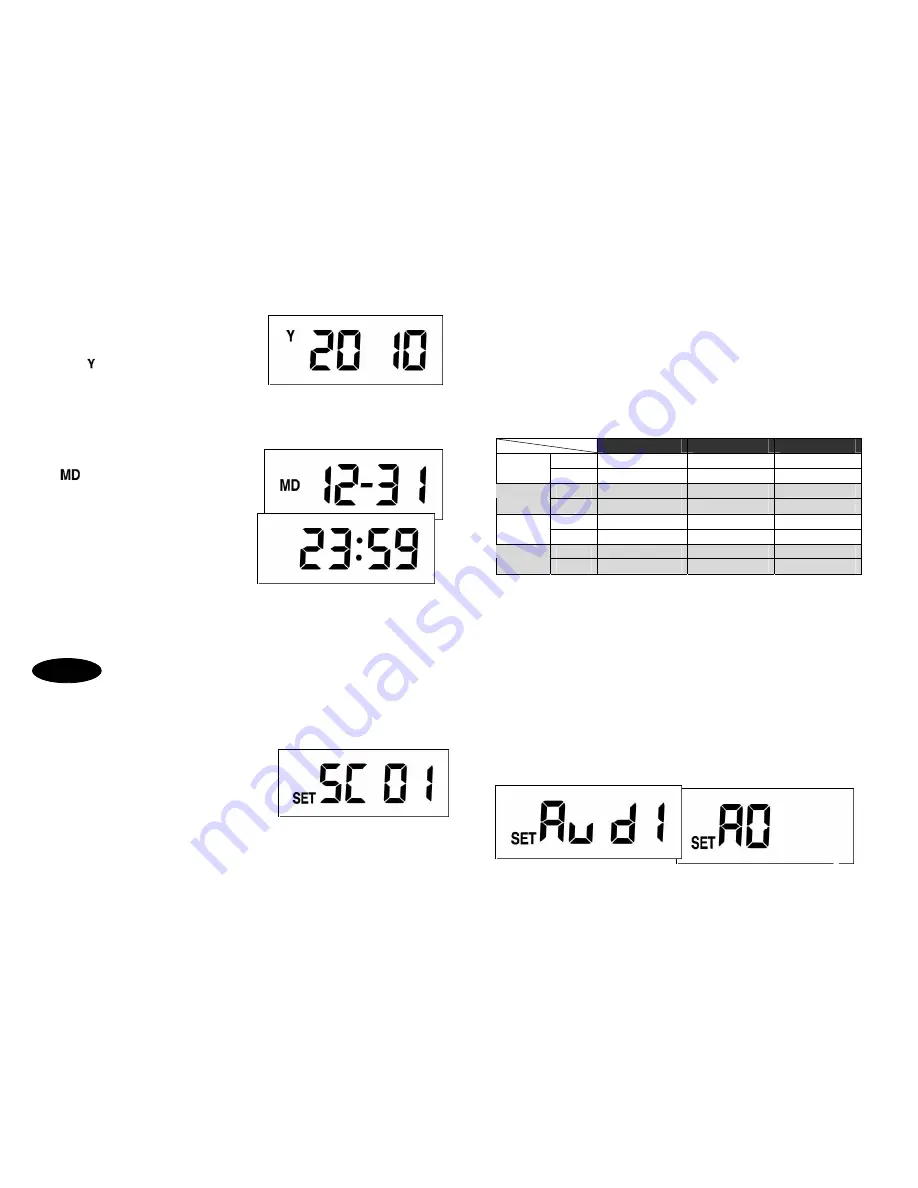
Year
z
Under standby mode, press
Set
for 3
seconds.
z
After displays on LCD, press
Up
or
Down
to select correct year. Year range
is between 2010 ~ 2099.
Date & Time
z
After year setting, press
Set
to enter
month & date.
z
displays on LCD, press
Up
or
Down
to select month from Jan to Dec.
z
Press
Set
again to adjust date.
z
Press
Up
or
Down
to adjust date from
1
st
to 31
st
.
z
Press
Set
again to enter time setting.
z
Hour ranges from 00 to 23, press
Up
or
Down
to set hour.
z
Press
Set
again to adjust minute, and
press
Up
or
Down
to adjust minute from 00 to 59.
Note:
If no action is taken within 12 seconds, the LCD returns back to standby mode.
Setting is not saved.
Function Setting
Please make sure the SmartGuard is in standby mode before continuing the following
procedures.
Scene Mode
Four scene modes are available for selection.
Please base on different conditions to select an
ideal scene mode.
z
Press
Set
to enter scene 1 (preset mode).
The light turns on indicating SmartGuard is ready for setting.
z
Press
Up
or
Down
to change scene.
z
To save the setting, keep press
Set
until it returns to standby mode.
6
Scene 1:
Ideal for away from home (all day detection)
No matter it’s day or night, camera, speaker and light are all in operation.
Scene 2:
Ideal for day to day use
Light isn’t operating in daytime while speaker isn’t operating at night.
Scene 3:
Ideal for a place of business
All functions are operating at night while only camera is operating in the
daytime.
Scene 4:
Ideal for using as a working light
All functions are off except lighting is operating at night. The light turns on
if PIR sensor detects a motion.
Camera
Speaker
Light
Day
√
√
√
Scene 1
Night
√
√
√
Day
√
√
Scene 2
Night
√
√
Day
√
Scene 3
Night
√
√
√
Day
Scene 4
Night
√
Note:
The symbol
√
implies the function is ON. The cutting point between day and
night is the LUX level you set. For example, if LUX level is set at 150 LUX, day is
defined when the ambient light is brighter than 150 LUX whereas night is defined when
the ambient light falls below 150 LUX. Please refer to p.9 for LUX adjustment.
Audio Warning
Four warning sounds are available for selection.
z
Under scene mode, press
Set
once to enter audio warning 1 (preset mode).
z
The light turns on indicating SmartGuard is ready for setting.
z
Press
Up
or
Down
to change audio warning.
Audio warning 1:
Alarm
Sound
Audio warning 2:
Dog Sound
Audio warning 3 & 4:
Empty (for user recording)
Audio warning 5:
Mute Mode
8
7
Mute Mode
Audio Warning 1
Step 5


