Page 28 of 39
7.
Lift the display deck(s) up and out of evaporator tub.
8.
Remove the fan shroud assembly by lifting (2) black tabs up on fan shroud assembly retainer latch at each end of
the front of the fan shroud and removing the thumb screws from along the rear lip of the fan shroud. Lift the fan
shroud assembly and reach in and unplug the evaporator fan motor cord(s). Lift fan shroud assembly out of tub.
9.
Clean the display deck(s) using warm soapy water and a brush. Rinse thoroughly and allow to dry. Wipe off fan
shroud assembly (do not rinse or submerge fan motors).
10.
Clean the entire interior of the case using warm soapy water. Flush foreign material from drain area. Wipe off all
soapy water with a damp cloth and allow to dry. (DO NOT use solvents such as Acetone, Benzene, Carbon
Tetrachloride, and Lacquer Thinners)
11.
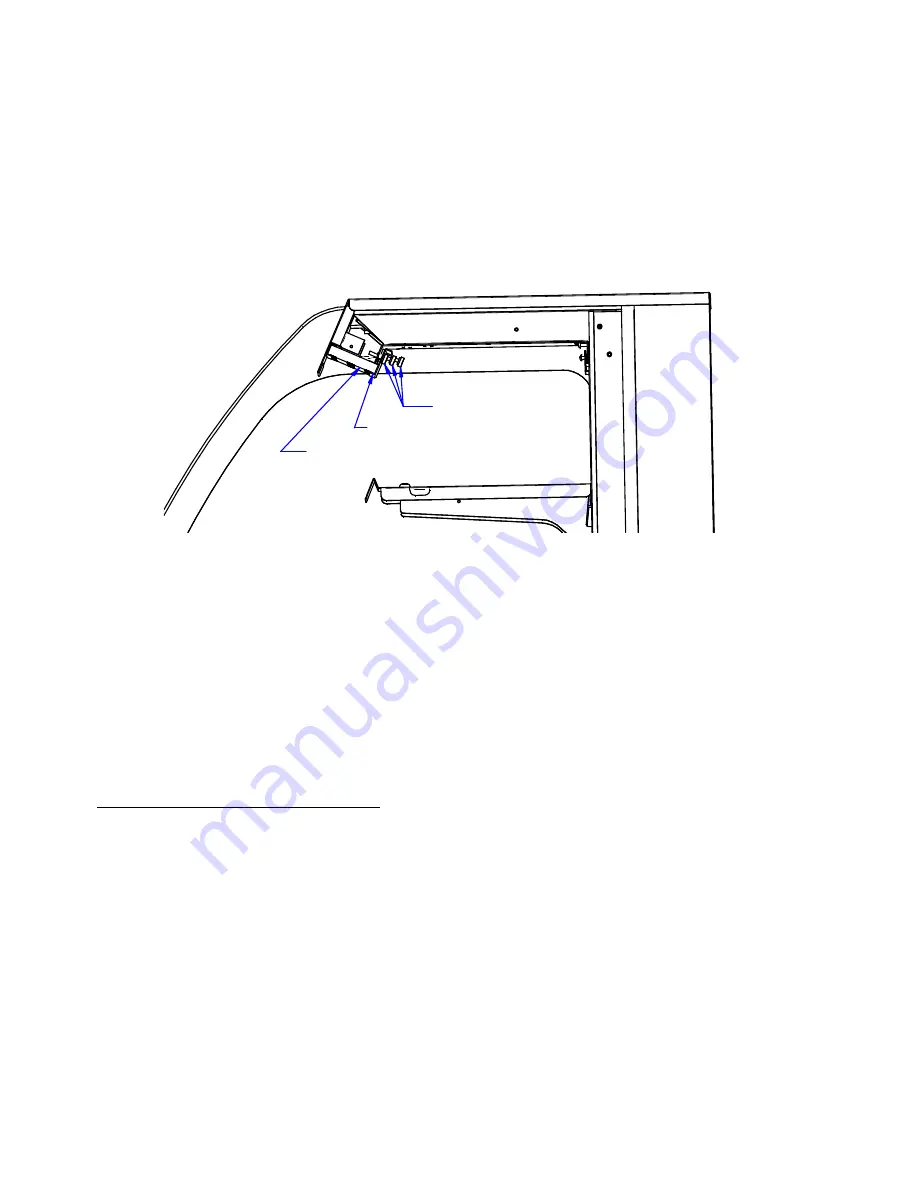
Remove the honeycomb air diffuser(s) from upper air duct track. Loosen thumb screws on Retainer located
behind diffuser. Retainer will drop down allowing diffuser to be pulled out of case.
HONEYCOMB AIR DIFFUSER
RETAINER
THUMB SCREW (3)
12.
Clean honey comb air diffuser with warm soapy water and a brush. Rinse thoroughly and allow to dry.
13.
Remove the clear plastic front air deflector by lifting it up and out of case.
IMPORTANT: Cleaning the Acrylic plastic front air deflector require special care to prevent hazing and
yellowing of material. Lightly dust (not wipe) the surface with a clean soft cloth. Then the surface can be wiped
carefully with a soft, wet cloth or chamois. The cloth or chamois must be kept free of grit by frequently rinsing in
clean water. Grease and oil can be removed with kerosene. Do not use window cleaners or kitchen scouring
compounds. DO NOT use solvents such as Acetone, Benzene, Carbon Tetrachloride, and Lacquer Thinners. A
spray wax such as Pledge or Maguire’s polish can be applied and wiped with a clean soft cloth. The wax tends to
fill in and hide small scratches.
14.
Reassemble all components in reverse order.
NOTE: Depending on the amount of usage and spillage of foreign material, some fasteners may have to be
removed and parts disassembled to allow proper cleaning of the unit.
14.3
WEEKLY EXTERIOR CLEANING
1.
Clean the front and end glass using any common window cleaner.
2.
The exterior surfaces should be wiped down using any ammoniated cleansers or warm soapy water.


