[Schedule]
Once you select Schedule, you are allowed to set the recording time menus below, you can set the
day in a week, the time period you want it recorder, you have 4 periods the most in a single day, for each period,
Deferent Alarm Style is optional for you: Regular, Detect, Alarm.
[Manual]
In the Manual Mode, the Recording wont start unless you start Recorder manually, press the Button on
the front panel or select in the Alarm setting menu.
[Alarm]
Once Alarm is setup, Recording wont start only something Alarming Arouse.
5.3.1.3
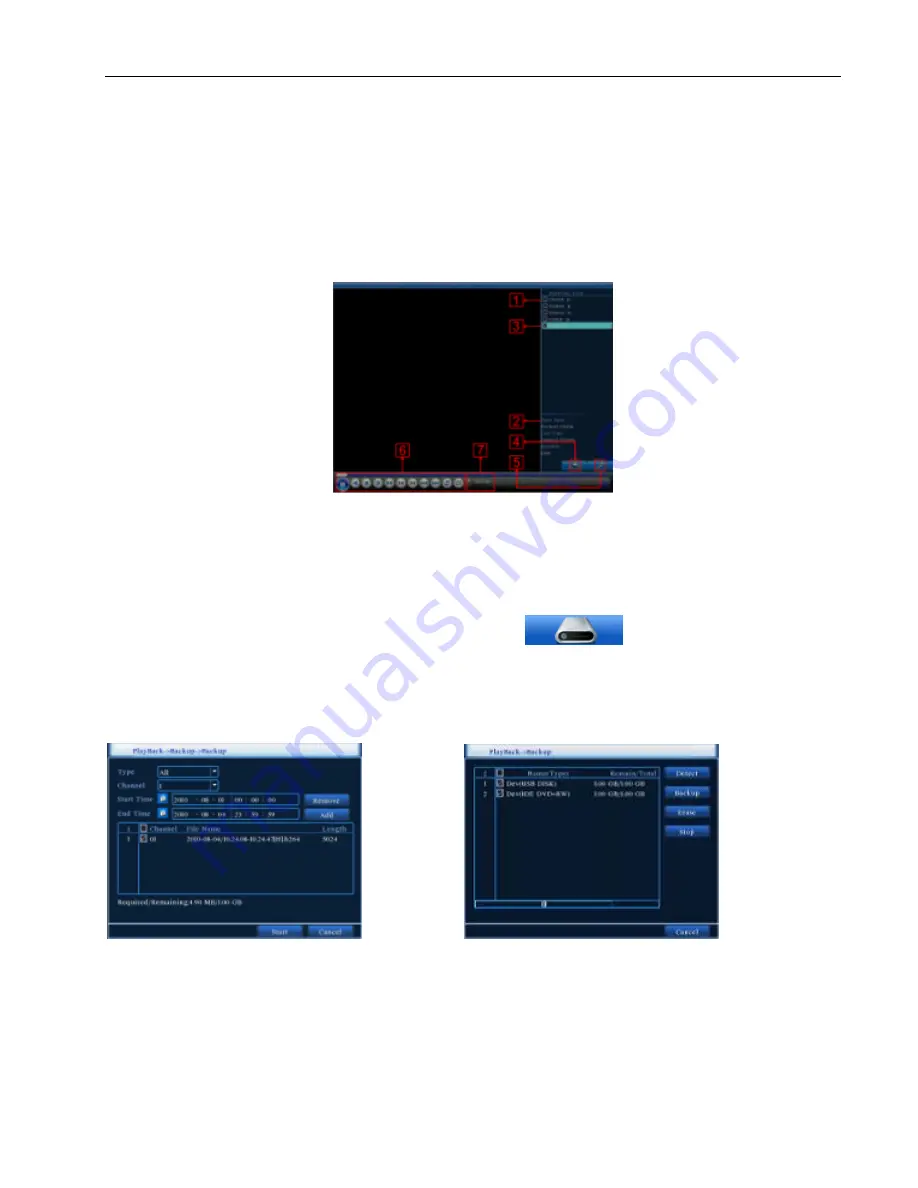
Press the Playback to get into the Playback software
(Picture 5-6), use the functions to get into the
right Video and playback or back up from the DVR. Each Button Function list as below:
Picture 5-6
5.3.1.3.1
(listed files)
:
Look up the listed files that accord with the searching criteria.
5.3.1.3.2
(file information)
:
Look up the found file information.
5.3.1.3.3
(file backup option)
:
Choose the file to backup .
5.3.1.3.4
(file backup)
:
Backup the chosen file. Click the button
File backup
(Note: Before the file backup, must be installed an enough storage device; If the backup is
terminated, the already backup can playback individually.)
Back up:
Click on the Picture 5-7
in “4” with the button, enter in to the backup; Choose a storage device
shown as
Picture 5-8.
Picture 5-7 Picture 5-8
Click “Backup” button and the dialog box is popped up. You can choose the backup file according to the type,
channel and time.
Click the play button to start the backup and click the pause button to stop the backup; shown as Picture 5-8
.
Note:
Summary of Contents for 4CH
Page 1: ......
Page 12: ...5 2 Main Menu Guide ...


