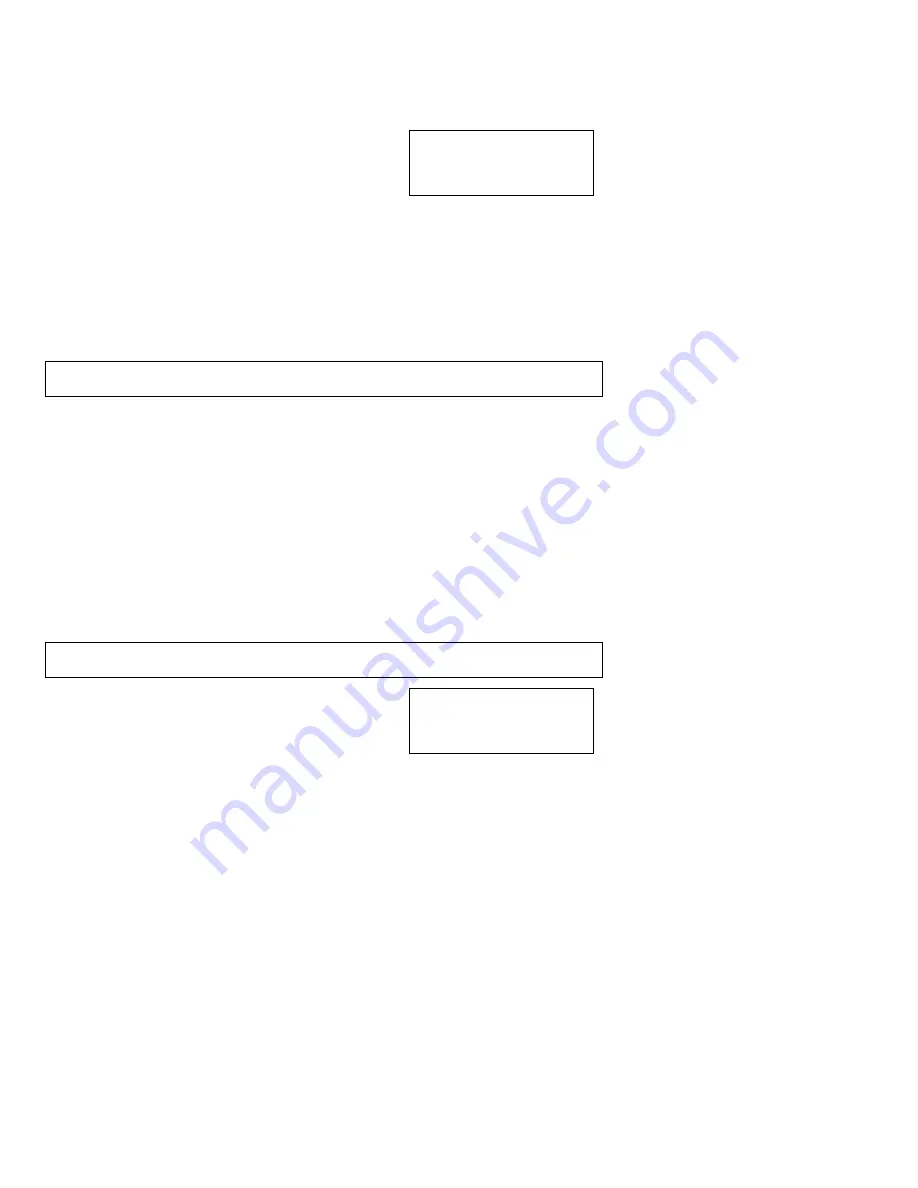
background image


Page 18 


                          #80 
 

END OF RECORD 

                          #

61 


DELETED! 

Viewing the Caller ID List 

This Caller ID telephone automatically stores in the 

Call Memory

 the Caller ID information 

of the last 99 calls received.  It keeps track of all calls received, whether they were 
answered or not.  The oldest call in the 

Call Memory

 is always call #1.  The highest 

numbered call (or call #99 if the 

Call Memory

 is full) is 

always the most recent call.  If the 

Call Memory

 is full 

with 99 calls and a new call comes in, the oldest call, call 
#1, is automatically deleted to make room in the memory 
for the new call. 
 
1. Press 

the 

τ

 button to display the most recent call and to move backward through the 

call records.  
Press the 

σ

 button to display the oldest call and to move forward through the call 

records.  

2.  When you get to the last call stored in the 

Call Memory

, then the 

END OF 

RECORD

 message will appear on the display.  If the screen indicates "END OF 

RECORD", press the 

σ

 button and the screen will display the first record in the 

Call 

Memory

.  If you press the 

τ

 button, the screen will display the last record in the 

Call 

Memory

Important Note

: The telephone's buttons will not work while the phone is ringing, or for a 

few seconds afterward. 


Calling Back a Number From the Caller ID List 

To easily call back a number from the Caller ID list: 
1. Press 

the 

σ

 button or the 

τ

 button until the number you want to call is displayed. 

2. Press 

the 

Dial/Enter 

button.  The number is dialed automatically. 

 
The area code is not dialed when it matches the area code stored for 7 DIGITS DIAL. The 
area code is dialed for all other numbers. When the area code matches any area code 
stored for 10 DIGITS DIAL, then the number is dialed as a ten-digit call (e.g., 303-555-
1212). When the area code does not match an area code for 10 DIGITS DIAL, the number 
is dialed as a long distance call (e.g., 1-520-555-1234). 
 

Deleting a Call From the Caller ID List 

Important Note

: Be sure to write down on a piece of paper any important phone numbers 

or information before deleting them from the 

Call Memory

 
1. Press 

the 

σ

 button or the 

τ

 button until the call 

information you want to erase is displayed on the 
screen. 

2. Press 

the 

Delete/Clear Msg.

 button once and the 

Summary of Contents for ST250

Page 1: ...Two Line Amplified Call Waiting ID Speakerphone OWNER S MANUAL Models ST240 ST250 804...

Page 2: ...adset and the Speakerphone 10 Switching Between the Handset and the Headset 10 Redialing 10 Accessing Outside Lines 10 Putting a Call on Hold 11 Making a Conference Call 11 Muting a Call 11 Telephone...

Page 3: ...ERROR Messages 20 IN CASE OF DIFFICULTY 21 Resetting Your Telephone s Programming 21 Maintenance Information 21 Troubleshooting 21 LIMITED WARRANTY 22 Warranty Limitation 22 What This Warranty Does N...

Page 4: ...htub sink laundry tub in a wet basement or near a swimming pool 5 Do not place this product on an unstable cart stand or table Serious damage may result if the product falls 6 Slots or openings in the...

Page 5: ...a telephone during an electrical storm There may be a remote risk of electric shock and or hearing damage from lightning 14 Do not use the telephone near a gas leak even to report the leak Parts Check...

Page 6: ...adjust LCD contrast 7 Amplify when lit receiver volume is not reset when on hook 8 to review upward from the oldest caller ID record 9 to move curser left during programming 10 to review downward fro...

Page 7: ...ns or directory 23 Delete during review press to delete a record at idle press to turn off message indicator 24 Flash during a call to access telco or PBX calling features 25 Redial Pause to redial la...

Page 8: ...evices into the DATA jack on the right side of the phone The important thing to remember is that for the Caller ID features to work properly the Caller ID telephone must be plugged directly into the w...

Page 9: ...sten for the dial tone If there is no dial tone check to make sure all cords are firmly plugged into their jacks Note Programming your area code will allow you to easily dial numbers that are in your...

Page 10: ...phone Receiver Volume To adjust the speakerphone receiver volume 1 Press the Speaker button and listen to the dial tone 2 Press the right side of the Volume button to increase the receiver volume 3 Pr...

Page 11: ...Page 8...

Page 12: ...nswer the call using the speakerphone 2 When you are finished talking replace the handset in the handset cradle to end the call If you have been talking using the speakerphone press the Speaker button...

Page 13: ...n the Handset and the Headset To switch a call between the handset and the speakerphone during a conversation 1 While talking on the handset press the Headset button to activate the headset The call c...

Page 14: ...will blink 2 Press the other L2 or L1 button Listen for a dial tone Dial the telephone number of the second person 3 Press the CONF button and a three way conference call is set up 4 While in confere...

Page 15: ...tside line access code do NOT include the outside line access code in the phone number you entered The outside line access code is dialed automatically if you entered it during the Installation proced...

Page 16: ...If you wish to change the name of caller press the button to move cursor to the first character you wish to modify 1 Use the keypad to input the first character of the name The number and letters on e...

Page 17: ...ess the Directory button 2 Press and hold the Delete button for 4 5 seconds until DELETE ALL appears All entries in the directory are permanently erased Storing a New Number and Name in the Memory But...

Page 18: ...ID review press the Save button The 3 rd line of the display indicates SAVE TO You can save this caller s number and name into a memory button by pressing the desired memory button e g M1 The 3rd line...

Page 19: ...ore entering GOODBYE b 6 Press the SAVE button 7 You can enter a name for this forward to number e g TO MOBILE 8 Press the SAVE button to save this dialing sequence into the M2 Forward On button 9 You...

Page 20: ...own during a telephone conversation To use this feature YOU MUST FIRST SUBSCRIBE TO CALL WAITING CALLER ID SERVICE with your local telephone company The name of this service may vary depending on your...

Page 21: ...l Memory If you press the button the screen will display the last record in the Call Memory Important Note The telephone s buttons will not work while the phone is ringing or for a few seconds afterwa...

Page 22: ...ent call will be disconnected and after a temporary delay the phone will ring allowing you to answer the waiting call In Use Indication The In Use indicator is lit steadily when any telephone on the s...

Page 23: ...hich does not offer the Caller ID service This can include long distance international and sometimes even local phone calls 2 The screen will display PRIVATE CALL if a caller s information is blocked...

Page 24: ...or the button two times Wait for 10 seconds Press and hold the Delete button and the buttons when reconnecting the AC adapter to the phone Reconnect the telephone line cord Follow the Installation pr...

Page 25: ...terials or workmanship For How Long For one year from the date of purchase What We Will Do If we repair your product we may use new or reconditioned replacement parts If we choose to replace your prod...

Page 26: ...ate Law Rights This warranty gives you specific legal rights and you may also have other rights that vary from state to state FCC Registration and Repair Information Your new product has been register...

Page 27: ...nctioning of your product If such changes are planned you will be notified Interference Information Part 15 of FCC Rules Some telephone equipment generates uses and can radiate radio frequency energy...

Reviews: