1
TLP Pro 725C Series • Setup Guide
Overview
The Extron TLP Pro 725C is a 7 inch Cable Cubby touchpanel with a flip-up, 1024x600 (WSVGA) LCD touchscreen with
24-bit color depth. The TLP Pro 725C NC is a streamlined version of the touchpanel, with a set of features designed to adhere
to government and military security protocols. Either model is ideal for any AV application requiring a full-size, Cable Cubby
touchpanel with a customizable interface. This guide provides instructions for experienced installers to mount and install the
TLP Pro 725C series touchpanels. For more complete instructions, see the
TLP Pro 725C User Guide
, at
www.extron.com
.
Setup Checklist
Get Ready
Download and install the latest version of the following software:
GUI Designer
— For designing layouts for Extron TouchLink
®
Pro touchpanels and third party touch interfaces.
Global Configurator
®
Professional and Global Configurator Plus
— For setting up and configuring the control
processor and touchpanel.
Toolbelt
— Provides device discovery, device information, firmware updates, and configuration of network settings,
system utilities, and user management for TouchLink Pro devices.
Global Scripter
®
— Provides an integrated development environment for Extron control systems programming.
NOTE:
All four software programs are available from
www.extron.com
.
Obtain the following network information from your network administrator:
DHCP status
— (on or off). If DHCP is off, you must also obtain:
IP address
Subnet mask
Gateway
User name
— This can be either
admin
or
user
.
Password
— By default, this is
extron
(for either admin or user).
Make a note of the touchpanel MAC address.
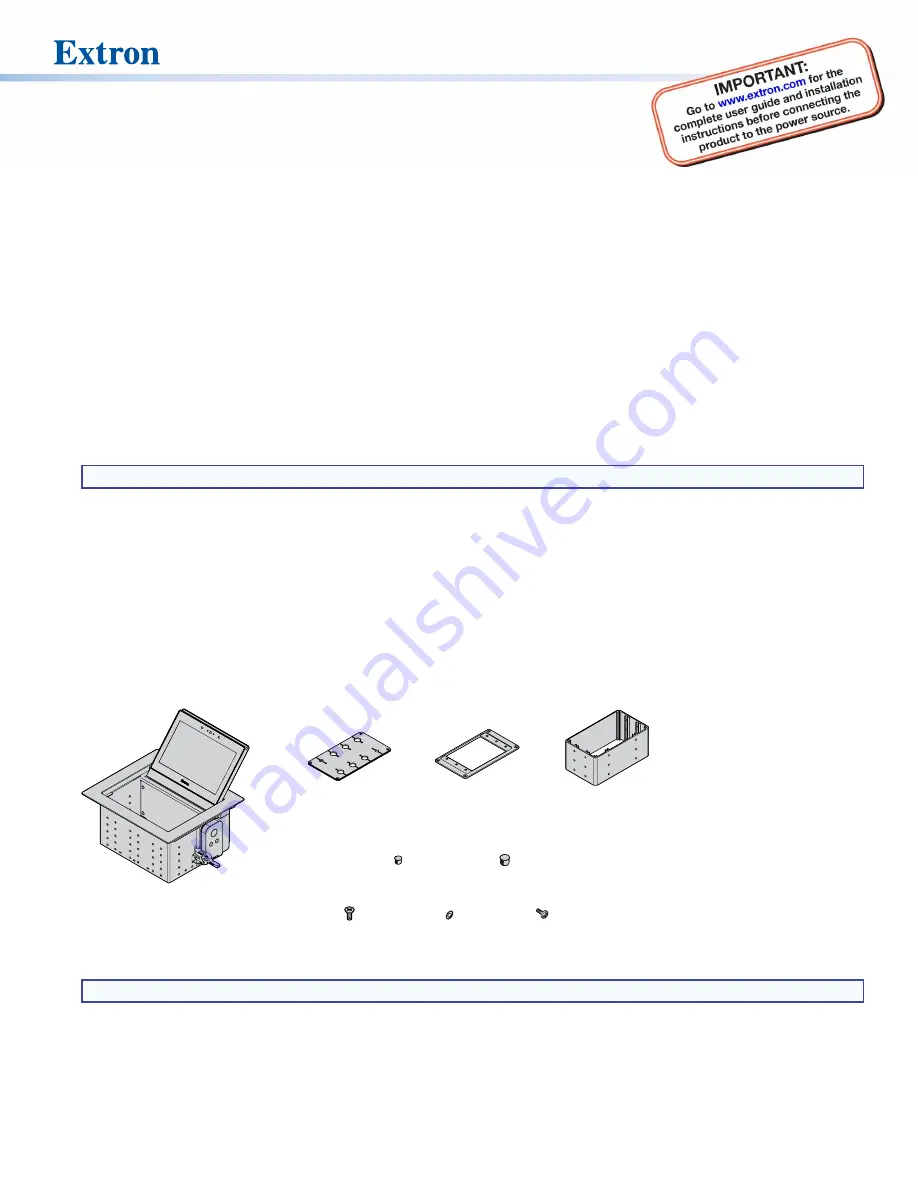
Make sure you are familiar with all the included parts and have all the necessary tools (see page 2) for installing the cable
cubby.
Included Parts
Check that all the following parts are included when the touchpanel is received.
TLP Pro 725C (1)
#4-40 Screw (8)
#6-32 Screw (8)
#6 Star Washer (8)
3/8” Hole Plug (12)
1/4” Hole Plug (4)
8-cable Cable
Pass-through Plate (2)
3-space
AAP Frame (2)
3-space
Connectivity
Bracket (2)
Figure 1.
Included Parts (and Number Provided)
NOTE:
Active or Passive AAPs must be purchased separately (
www.extron.com
).


