EXTREME HEAT SOLAR
7
100
l
NO PRESSURE EVACUATED TUBE SYSTEM
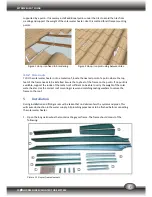
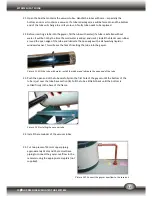
supported by a purlin. If necessary install additional purlins under the tiles to avoid the tiles from
cracking and support the weight of the solar water heater. Use this method for all frame mounting
points.
Figure 1 Hoop iron fixed to brandering. Figure 2 Hoop iron protruding between tiles.
4.6.2
Metal roofs
To fit the solar water heater onto a metal roof, locate the nearest point of a purlin where the top
feet of the frame needs to be installed. Secure the top feet of the frame on the purlin. If no purlin is
available, support the inside of the metal roof sufficient to be able to carry the weight of the solar
water heater. Use the correct roof mounting screws and matching sealing washers to secure the
frame to the roof.
5
Installation
During installation and fitting care must be taken that no debris enters the system and pipes. This
will cause obstruction in the water supply. All plumbing pipes needs to be flushed before connecting
the solar water heater.
1.
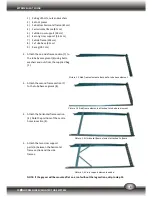
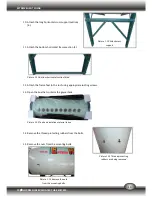
Open the long narrow box that contains the geyser frame. The frame should consist of the
following:
Picture 1.1 Geyser frame elements


