65
4.7.2 Wireless
Settings
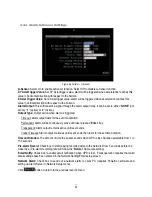
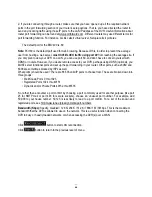
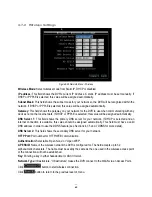
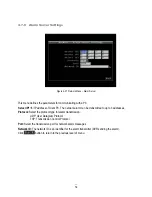
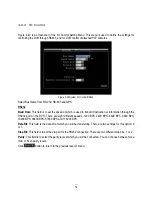
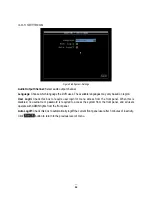
Figure 4-32 Network Menu – Wireless
Wireless Mode: Select wireless mode from Static IP, DHCP or disabled.
IP address: This field shows the DVR’s current IP Address. A static IP address must be set manually. If
DHCP or PPPoE is selected, this value will be assigned automatically.
Subnet Mask: This field shows the subnet mask for your network so the DVR will be recognized within the
network. If DHCP or PPPoE is selected, this value will be assigned automatically.
Gateway: This field shows the gateway on your network for the DVR to use when communicating with any
devices not on the local network. If DHCP or PPPoE is selected, this value will be assigned automatically.
DNS Server 1: This field shows the primary DNS server for your network. If DHCP is selected and an
internet connection is available, this value should be assigned automatically. This field must have a valid
DNS address in order to use the DDNS feature (see Sections 4.7.5 and 7 DDNS for more detail).
DNS Server 2: This field shows the secondary DNS server for your network.
HTTP Port: Port number for HTTP/WEB communication.
Authentication: Selectable “Open None” or “Open WEP”.
AP ESSID: Name of the wireless network the DVR is configured for. The field accepts up to 32
alphanumeric characters. The name must be exactly the same as the one used in the wireless access point
or the connection will not be established.
Key: Entering a key in either hexadecimal or ASCII format.
Network Type: Infrastructure. “Infrastructure” makes the DVR connect to the WLAN via an Access Point.
Click
button to start wireless connection.
Click
button to return to the previous level of menu.
Summary of Contents for EMV400
Page 1: ...User Manual E EM MV V4 40 00 0 D DV VR R ...
Page 42: ...34 Figure 4 2 Configuration Menu ...
Page 96: ...88 ...
Page 97: ...89 ...
Page 106: ...98 Once the file finishes installing you will return to the screen like the one below ...


