36
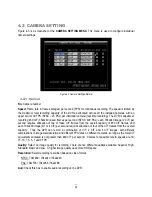
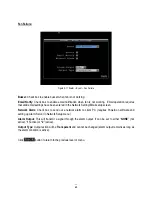
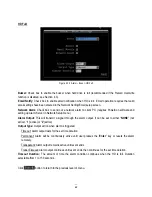
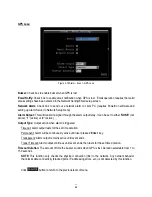
Ins: Check the box to enable the current camera. To take full advantage of the DVR’s recording abilities,
any unused cameras should have this option set to “disabled”.
Click
button to enter Video Adjust menu.
Click
button to enter Alarm menu.
Click
button to return to the previous level of menu.
4.2.2
Video Adjust
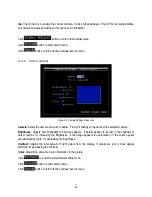
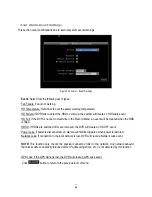
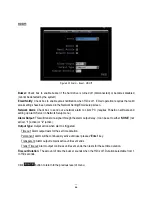
Figure 4-5 Camera Settings-Video Loss
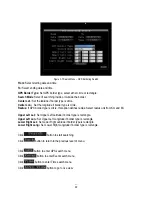
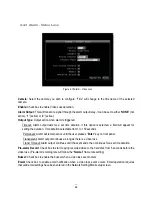
Camera: Select the camera you wish to adjust. “Title” will change to the name of the selected camera.
Brightness: Adjusts how bright/dark the picture appears. If details appear to be lost in the shadows or
darker regions, try increasing the Brightness. If the image appears too saturated or if the colors appear
overwhelmed by glare, try decreasing the Brightness.
Contrast: Adjusts the total amount of light output from the display. If details are lost or lines appear
distorted, try decreasing the contrast.
Color: Adjusts the amount of color information in the picture.
Click
to enter Camera-Normal setting menu.
Click
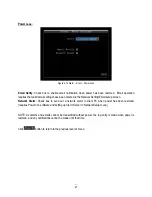
button to enter Alarm menu.
Click
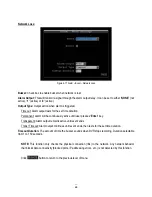
button to return to the previous level of menu.
Summary of Contents for EMV400
Page 1: ...User Manual E EM MV V4 40 00 0 D DV VR R ...
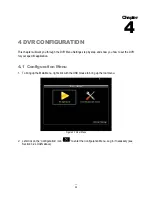
Page 42: ...34 Figure 4 2 Configuration Menu ...
Page 96: ...88 ...
Page 97: ...89 ...
Page 106: ...98 Once the file finishes installing you will return to the screen like the one below ...

