00116794, Version 1.0
40/56
Enabling Programming Mode
As soon as you turn the unit on, the manual mode will be automatically activated.
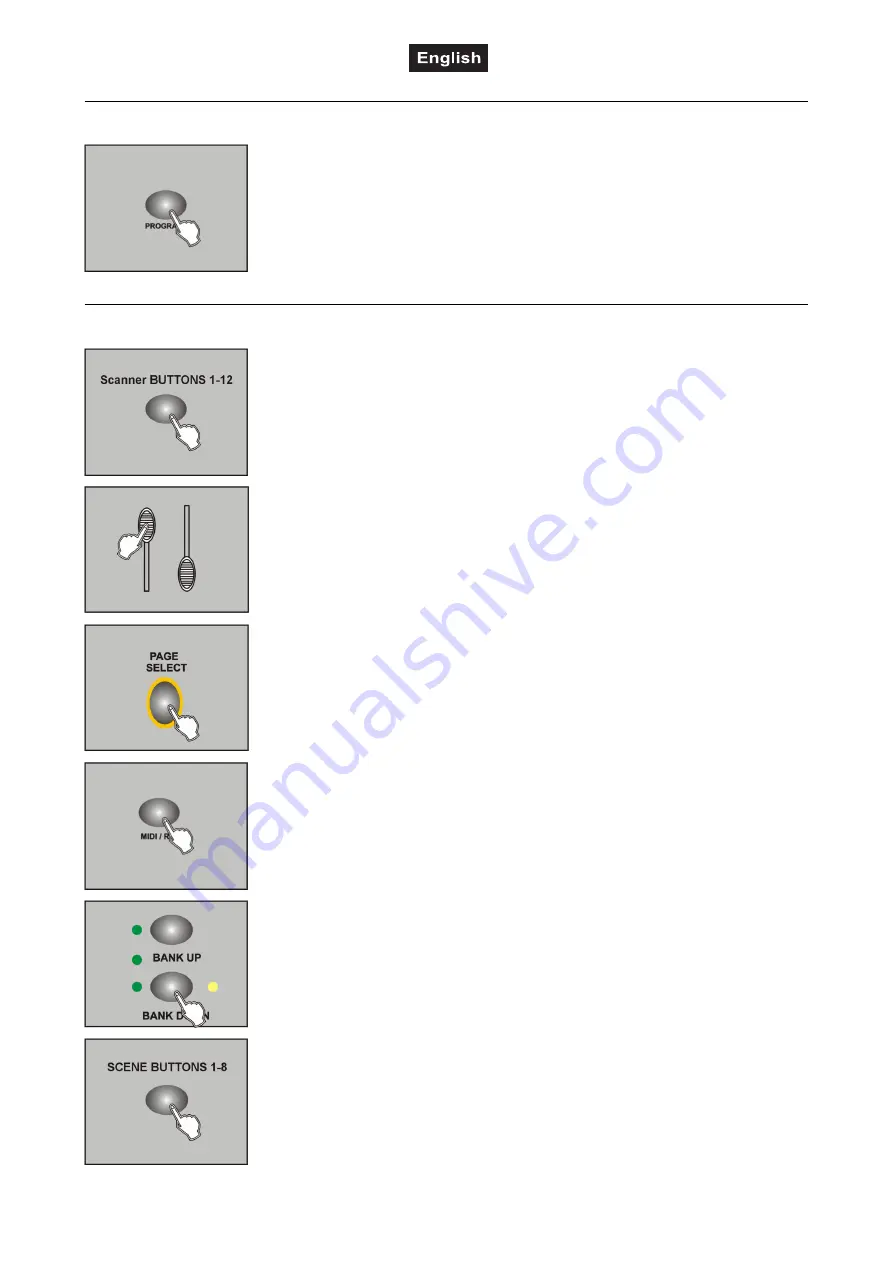
To enter the programming mode, press
PROGRAM
for three seconds. The LED
will start flashing, indicating that you are now in programming mode.
Programming Scenes
1. Enable programming mode.
2. Press one of the
SCANNERS
buttons to turn on the fader control for the
corresponding scanner. The lighting LED indicates this. You can select several
scanners at the same time by pressing their SCANNERS buttons. Thus you
can set several scanners at once.
3. Adjust the desired DMX values (0-255) for the DMX channels using the faders
and, if necessary, the joystick. As soon as a fader is moved, the display
indicates the current output value as a DMX value in the upper line.
4. The 16 control channels are combined in 2 groups (channel pages) of 8
channels each. If necessary, use the button
PAGE SELECT
to switch between
the two channel groups 1-8 (red LED lights) and 9-16 (green LED lights).
5. Once all settings are done press
MIDI/REC
to save the scene.
6. Use the buttons
BANK UP/DOWN
to select the desired bank in which you want
to save the scene. 30 banks with each eight memory locations are available.
7. To save the scene to the desired location, press the corresponding
SCENES
button (1-8). All LEDs and the display will flash three times, indicating that the
scene has been saved. Then the display shows Bank and Scene.
8. Repeat steps 3-7 until all desired scenes have been saved. Press the
SCANNERS
button again to turn off its fader control. To select another
scanner, press the corresponding SCANNERS button to turn on its fader
control. Then you can begin programming again.


