Chapter 7 Setup
>
7.2 Basic Setup
ETERNUS DX60/DX80/DX90 Disk storage system User Guide
150
Copyright 2010 FUJITSU LIMITED
P3AM-3042-07ENZ0
For setting-related details, refer to the "ETERNUS DX60/DX80/DX90 Web GUI User Guide".
Also refer to the "ETERNUS DX Disk storage systems Server Connection Guide" as required.
Procedure
1
Start Configuration Wizard.
1-1
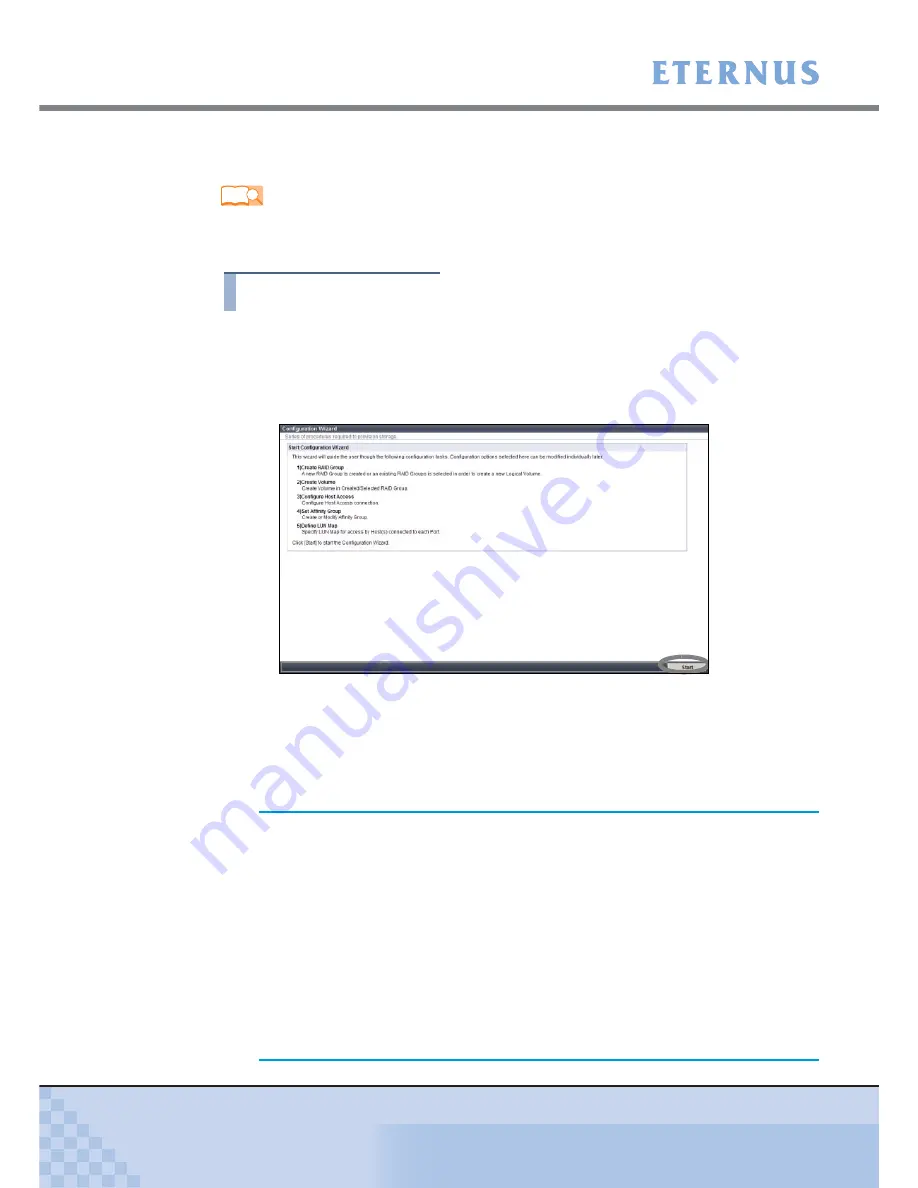
Click the [Configuration Wizard] button on the [Easy Setup] tab in GUI.
The [Configuration Wizard] screen appears.
1-2
Click the [Start] button.
Figure 7.12 Configuration Wizard initial screen
The Configuration Wizard starts. The [Create RAID Group] menu screen appears.
2
Create a RAID Group.
Create or select a RAID group in which a volume is created (a group of disks configuring
RAID in the storage system device).
Refer
"ETERNUS DX60/DX80/DX90 Web GUI User Guide
"ETERNUS DX Disk storage systems Server Connection Guide (Fibre Channel)"
"ETERNUS DX Disk storage systems Server Connection Guide (iSCSI)"
"ETERNUS DX Disk storage systems Server Connection Guide (SAS)"
IMPORTANT
•
If the factory default settings are to be used, this setting is not
required. When settings are desired, delete the factory settings
(logical volumes, RAID groups, and LUN mappings) and then
create your own RAID groups. For setting deletion details, refer to
the "ETERNUS DX60/DX80/DX90 Web GUI User Guide".
•
For RAID5, RAID5+0, and RAID6, ensure that a single RAID
group is not being configured by too many disks. Doing so may
increase the time to perform data restoration from parities and
Rebuild/Copyback when a disk fails.
•
Disks with different types can be installed in a single Drive
Enclosure. However, all disks configuring a RAID group should be
of the same type. Do not include disks with a different type in a
RAID group.


