


LS Microscope Startup Manual 2018.7.25
20
d.
Autofocus plus Z-Map. Check both Use Auto-Focus and Use Z-Map. Set Autofocus Parameters as
described above in Step b, this Section. Follow steps described below in Section II.L. to create a Z-
Map for each location to be imaged in Protocol. To use an existing Z-Map, select the file under Z-
Map File Selection.
e.
Under Select Focusing LED Channel(s), check the channels desired for autofocusing. Currently,
channels are acquired in a fixed sequence of BF, Blue, Green, Red. Any selected autofocus will also
occur in this sequence. If using autofocus, you
must
select the first LED channel to be imaged as
an autofocusing channel per the listed order above. The subsequent channels in your protocol
channel sequence are optional for autofocusing. If the subsequent channels are not chosen, the
focus will stay at the level determined for the first channel in the sequence. For example, if you
are snapping brightfield and red channel images, select at least the brightfield channel for focus.
Autofocus will occur in the brightfield channel and then remain at that level to capture the red
channel image. If you want the red channel to also be focusing, select both the brightfield and red
channels.
M.
Creating a Z-Map
1.
Load desired labware with samples into labware carrier.
2.
Find a Live Image in a location as described in Section II.E.
above.
3.
Set up Autofocus using steps in Section II.J. above.
4.
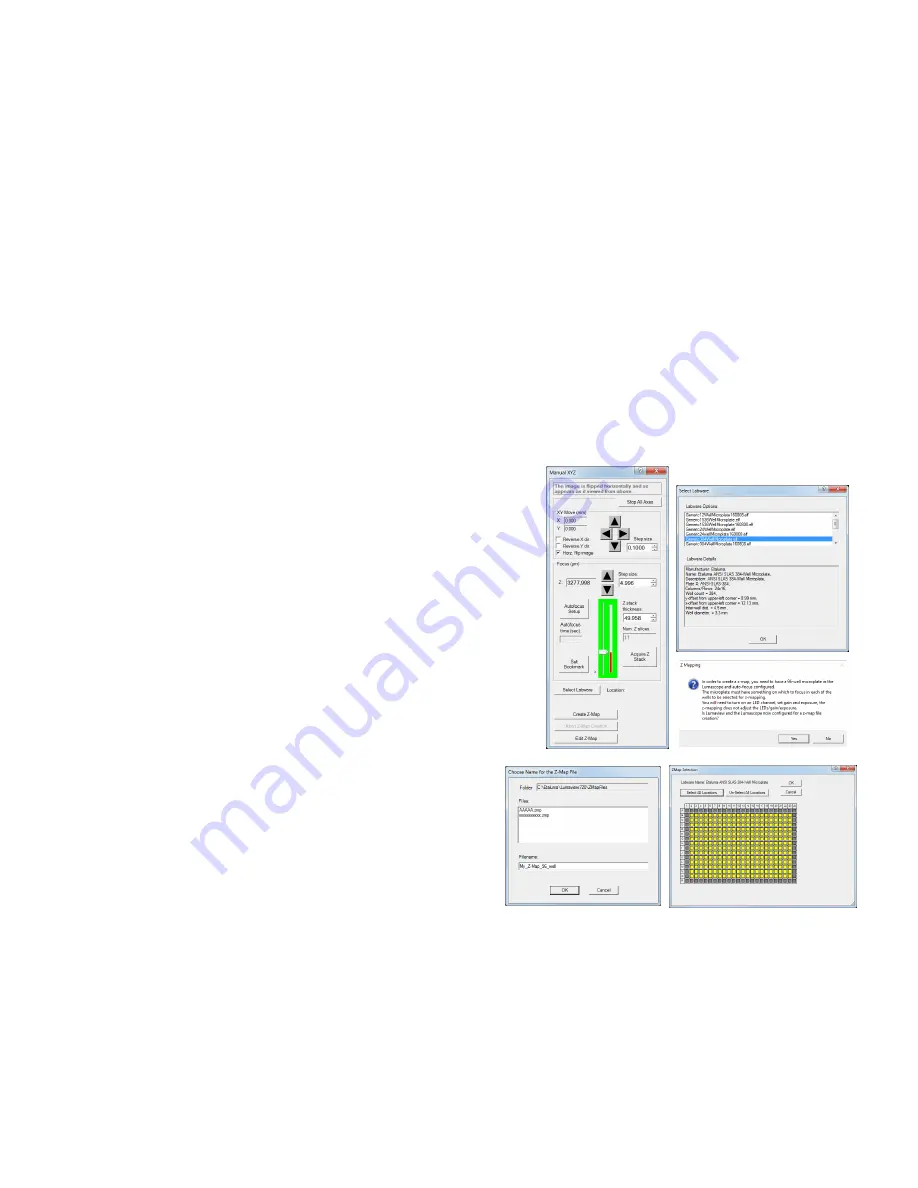
In Manual XYZ, click the Create Z-Map button near the
bottom. The Select Labware dialog box will open. Click
on the labware type desired to highlight it and then click
OK.
5.
A Z-Mapping instruction dialog box will now open. Click
Yes.
6.
The Choose Name for the Z-Map File dialog box will
now open. Choose the Filename for your Z-Map file
and click OK.
7.
The Z-Map Selection dialog box will now open. Select
the locations in the labware to be Z-Mapped. Locations can be selected by clicking on them individually,
clicking on the name of any row (A, B, etc) or column (1, 2, etc), or clicking on Select All.
8.
Click OK and Z-Mapping will begin.
N.
Editing a Z-Map


