USER MANUAL > CARRY OUT AN OPTICAL TRACING
26
Delta 2 - Edging system > v2 - 08.16
5
4
3
2
1
c. Creating a job
There are two ways to create a job.
Scan the barcode corresponding to the desired ID using the barcode reader (optional): the job is saved in the job list.
To create a job, use the alphanumeric keypad and follow the procedure below.
From the tracing screen, press
in the action bar to create a new job.
For more information on entry and use of the keyboard, consult the section
tracer-centerer-blocker > Using the touchscreen and keyboards
Press
to enter the new job
The ID is automatically allotted by the tracer-centerer-blocker (first free location in the selected list). You can modify it: the ID
can consist of alphanumeric characters.
Press
to enter the reference of the new job.
The reference may consist of alphanumeric characters. It can contain the information of your choice:
customer's name
frame brand or reference
manufacturer, etc.
Press on
to confirm.
The tracer-centerer-blocker is ready for tracing. For further information, refer to the section concerning your job type.
If you don't want to save the job, you can work in current job mode. For more information, refer to the section
.
Successive tracings and saving.
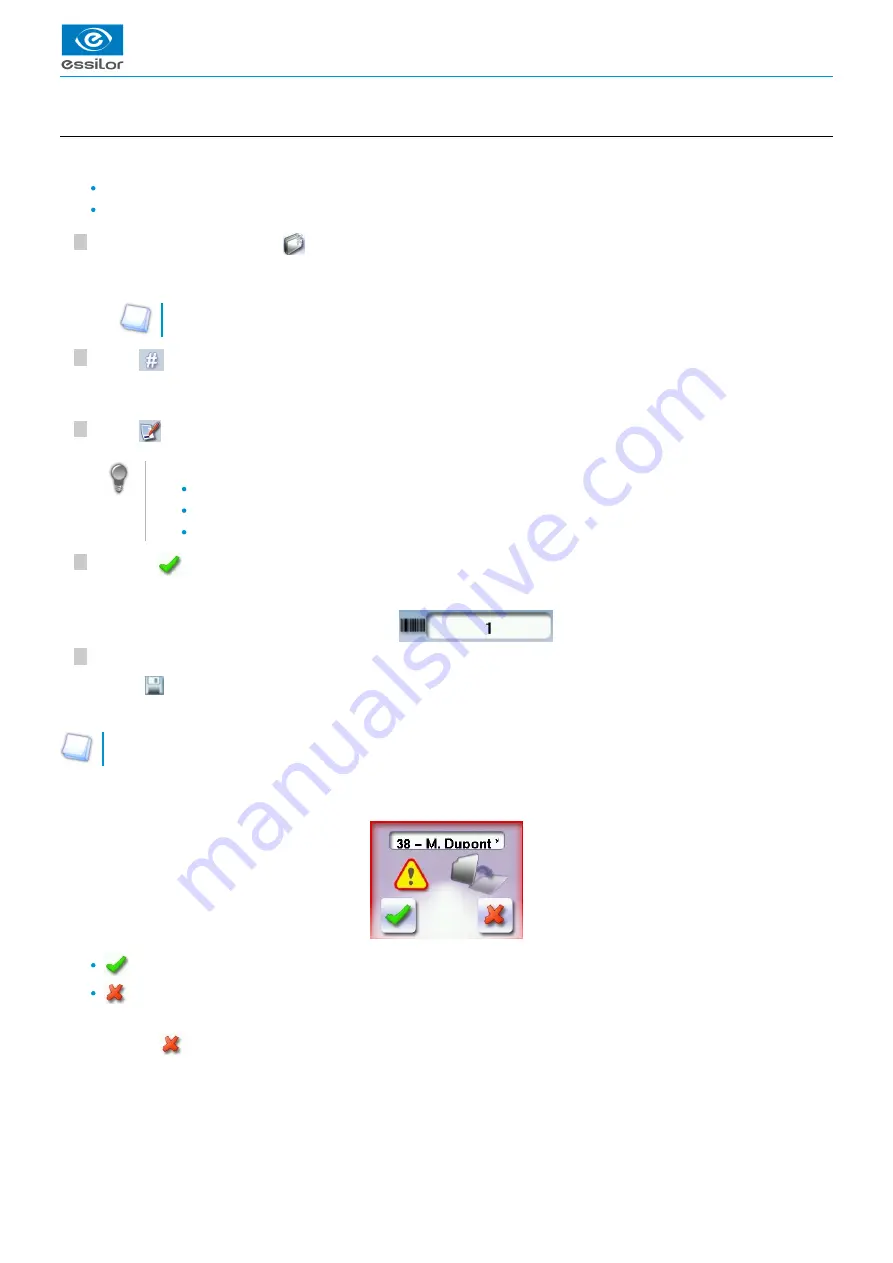
If you start a new tracing while a job is still active on the tracing screen, a message is displayed:
Replacement of the active shape: the tracing you have just started replaces the former one under the current ID.
Creation of a new job: the alphanumeric keypad is displayed, you can create a new job for the tracing you have just
started (new ID). The two jobs are thus saved.
To cancel, press
again.
The alphanumeric keypad is displayed.
>
The tracing screen is displayed, the allocated ID and the job list symbol appear in the information bar.
>
The
symbol is displayed at the bottom right of the job ID while the job is being modified. It disappears once the job has
been saved.
>
Summary of Contents for Delta 2 Classic
Page 1: ...User Manual ...
Page 2: ......
Page 6: ...USER MANUAL CONTENTS ...
Page 7: ...I INTRODUCTION ...
Page 8: ...USER MANUAL INTRODUCTION 8 Delta 2 Edging system v2 08 16 ...
Page 10: ...USER MANUAL INTRODUCTION 10 Delta 2 Edging system v2 08 16 ...
Page 11: ...II FIRST STEPS WITH DELTA 2 ...
Page 12: ...USER MANUAL FIRST STEPS WITH DELTA 2 12 Delta 2 Edging system v2 08 16 ...
Page 19: ...III CARRY OUT AN OPTICAL TRACING ...
Page 20: ...USER MANUAL CARRY OUT AN OPTICAL TRACING 20 Delta 2 Edging system v2 08 16 ...
Page 35: ...IV CENTER AND BLOCK A LENS ...
Page 36: ...USER MANUAL CENTER AND BLOCK A LENS 36 Delta 2 Edging system v2 08 16 ...
Page 62: ...USER MANUAL CENTER AND BLOCK A LENS 62 Delta 2 Edging system v2 08 16 ...
Page 63: ...V MODIFYING THE LENS SHAPE ...
Page 64: ...USER MANUAL MODIFYING THE LENS SHAPE 64 Delta 2 Edging system v2 08 16 ...
Page 71: ...VI PREPARING A DRILLED JOB ...
Page 72: ...USER MANUAL PREPARING A DRILLED JOB 72 Delta 2 Edging system v2 08 16 ...
Page 81: ...VII EDGING A LENS ...
Page 82: ...USER MANUAL EDGING A LENS 82 Delta 2 Edging system v2 08 16 ...
Page 105: ...VIII SET THE EDGING SYSTEM ...
Page 106: ...USER MANUAL SET THE EDGING SYSTEM 106 Delta 2 Edging system v2 08 16 ...
Page 118: ...USER MANUAL SET THE EDGING SYSTEM 118 Delta 2 Edging system v2 08 16 ...
Page 119: ...IX MAINTENANCE SERVICING ...
Page 120: ...USER MANUAL MAINTENANCE SERVICING 120 Delta 2 Edging system v2 08 16 ...
Page 146: ...USER MANUAL MAINTENANCE SERVICING 146 Delta 2 Edging system v2 08 16 ...
Page 147: ...TECHNICAL DATA ...
Page 151: ...GENERAL INFORMATION ...
Page 154: ...USER MANUAL GENERAL INFORMATION 154 Delta 2 Edging system v2 08 16 ...
Page 155: ...GLOSSARY ...


