


272
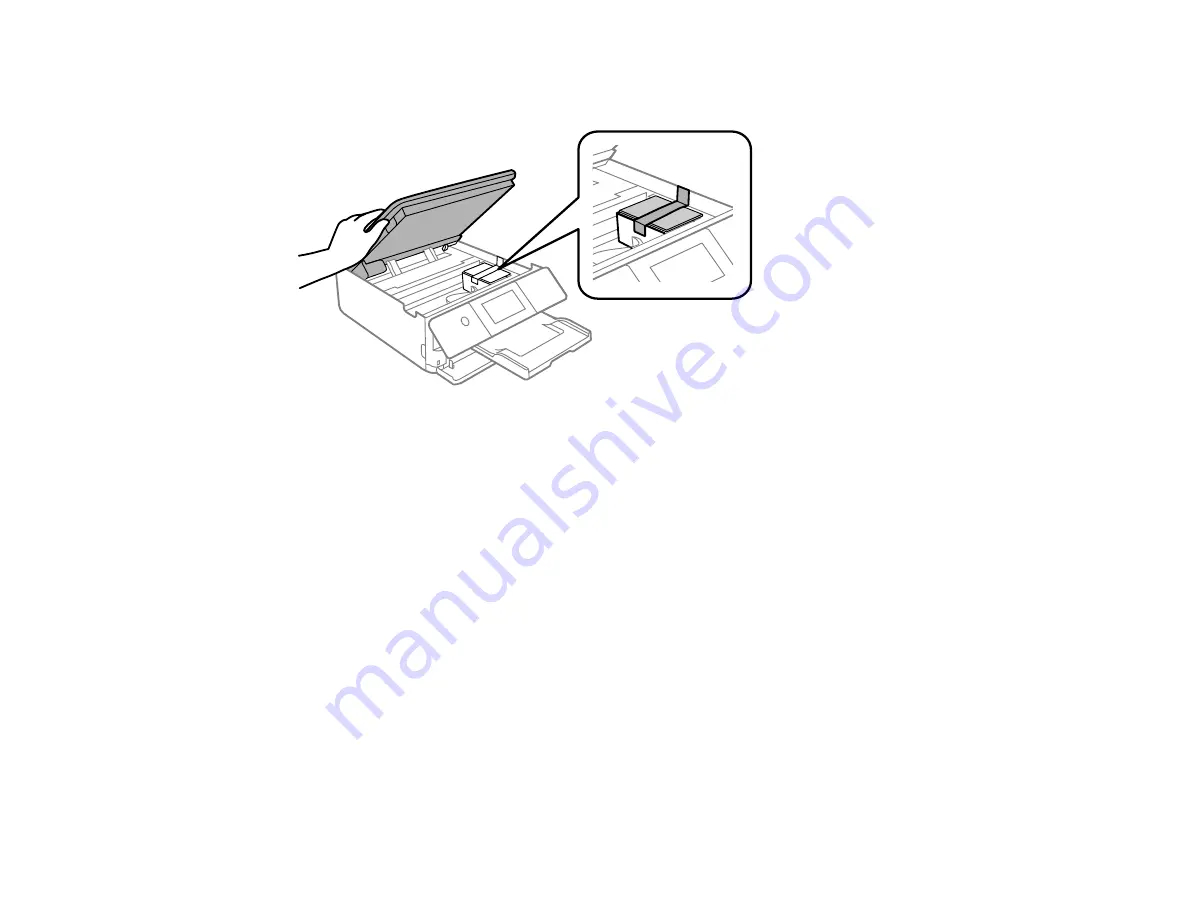
3.
Place the protective material that came with the product on top of the ink cartridge holder as shown
and secure the ink cartridge holder to the case with tape.
Caution:
Do not place tape on the white flat cable inside the product; otherwise, you may damage
your product.
4.
Lower the scanner unit.
Note:
The scanner unit is designed to close slowly as a precaution against trapping fingers.
Continue to close the scanner unit even if you feel some resistance.
5.
Remove all the paper from the product.
6.
Remove any memory cards or USB devices from the product.
7.
Unplug the power cable.
8.
Disconnect any connected cables.
Summary of Contents for XP-8700 Series
Page 1: ...XP 8700 User s Guide ...
Page 2: ......
Page 70: ...70 2 Open the front cover 3 Pull on the front cover to slide out the lower paper cassette ...
Page 158: ...158 You see an Epson Scan 2 window like this ...
Page 160: ...160 You see an Epson Scan 2 window like this ...
Page 174: ...174 You see a screen like this 2 Click the Save Settings tab ...
Page 179: ...179 You see this window ...
Page 205: ...205 2 Select Settings 3 Select Camera Print Settings ...
Page 239: ...239 3 Lift up Cassette 2 and pull it out all the way 4 Raise the control panel ...
Page 244: ...244 You see a screen like this 6 Select Print The nozzle pattern prints ...
Page 247: ...247 You see a window like this 4 Click Print ...


