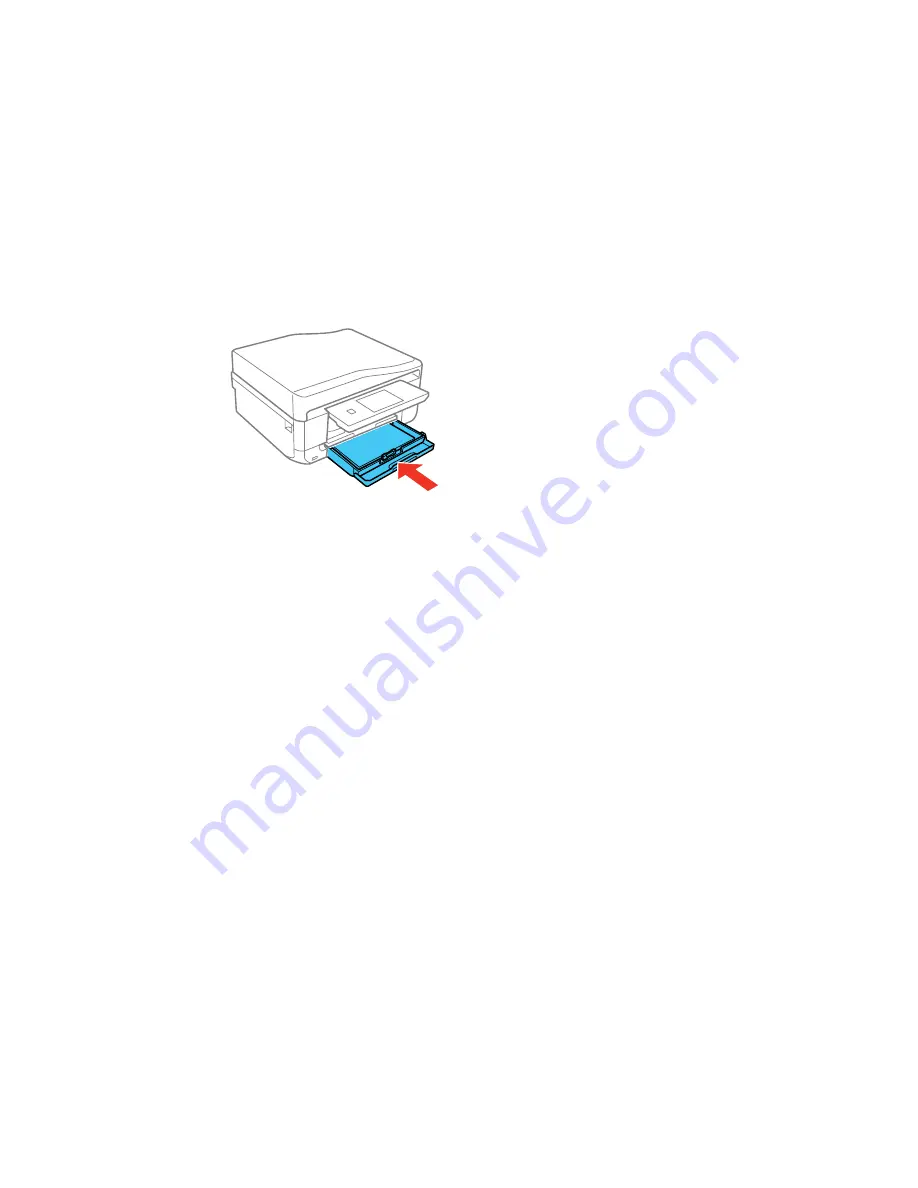
7.
Keep the cassette flat as you insert it.
8.
If prompted by the product's LCD screen, select
Envelope #10
for the Paper Size and
Envelope
for
the Paper Type, and select
Done
.
Note:
The output tray opens automatically when you print.
Always follow these envelope loading guidelines:
• If you have trouble loading a stack of envelopes, press each envelope flat before loading it or load one
envelope at a time.
• Do not load envelopes that are curled, folded, or too thin.
Parent topic:
Loading Paper
Related references
Paper Loading Capacity
Related tasks
Loading Paper in Cassette 1 (Upper Cassette)
Loading Paper in Cassette 2 (Lower Cassette)
Loading Paper in the Rear Paper Feed Slot
Selecting the Paper Settings for Each Source - Control Panel
You can change the default paper size and paper type for each source using the control panel on the
product.
67
Summary of Contents for XP-860
Page 1: ...XP 860 User s Guide ...
Page 2: ......
Page 27: ...Product Parts Back 1 AC inlet 2 Rear cover duplexer 3 Vents 4 LINE port 27 ...
Page 61: ...4 Slide out the paper support 5 Slide the edge guides outward 61 ...
Page 136: ...You see this window 2 Select the Image Type setting that matches your original 136 ...
Page 151: ...1 Start Epson Scan and select Professional Mode as the Mode setting 151 ...
Page 152: ...You see this window 152 ...
Page 210: ...You see this window 3 Select Fax Settings for Printer Select your product if prompted 210 ...
Page 387: ...7 14 CPD 41233 Parent topic Copyright Notice 387 ...


