2.
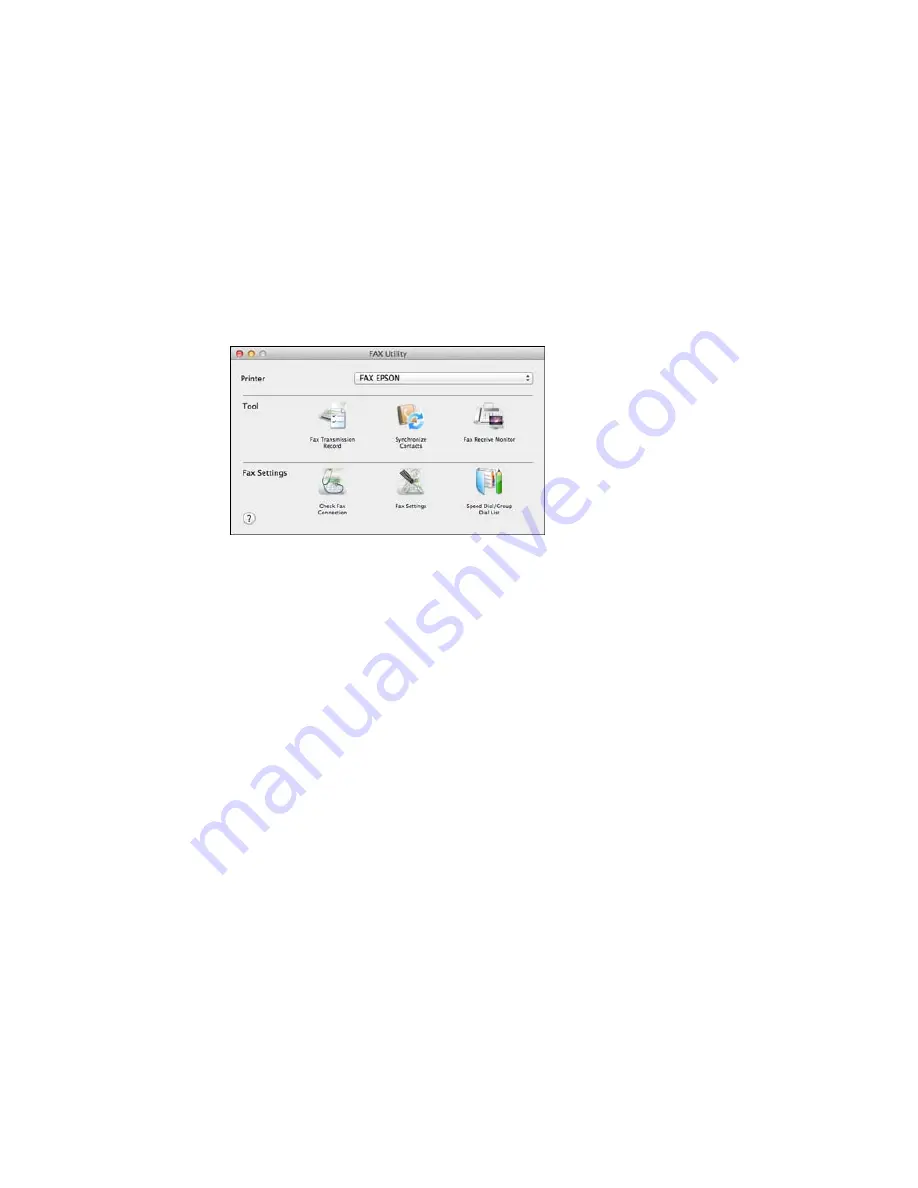
Double-click
FAX Utility
, if necessary.
You see this window:
3.
Select your
FAX
product in the Printer list.
4.
Select
Fax Settings
.
5.
Follow the prompts that appear on the screen to enter your fax header information and select your
fax settings.
Note:
For detailed information, select the FAX Utility
?
icon.
Parent topic:
Setting Up Fax Features
Related topics
Setting Up Fax Features Using the Product Control Panel
Setting Up Speed Dial and Group Dial Lists
You can set up a speed dial list of fax numbers so you can quickly select them for faxing. You can also
set up a group dial list to send a fax message to multiple speed dial numbers.
See these sections to set up speed dial and group dial lists.
Setting Up Speed/Group Dial Lists Using the Product Control Panel
Setting Up Speed/Group Dial Lists Using the Fax Utility - Windows
212
Summary of Contents for XP-860
Page 1: ...XP 860 User s Guide ...
Page 2: ......
Page 27: ...Product Parts Back 1 AC inlet 2 Rear cover duplexer 3 Vents 4 LINE port 27 ...
Page 61: ...4 Slide out the paper support 5 Slide the edge guides outward 61 ...
Page 136: ...You see this window 2 Select the Image Type setting that matches your original 136 ...
Page 151: ...1 Start Epson Scan and select Professional Mode as the Mode setting 151 ...
Page 152: ...You see this window 152 ...
Page 210: ...You see this window 3 Select Fax Settings for Printer Select your product if prompted 210 ...
Page 387: ...7 14 CPD 41233 Parent topic Copyright Notice 387 ...


