233
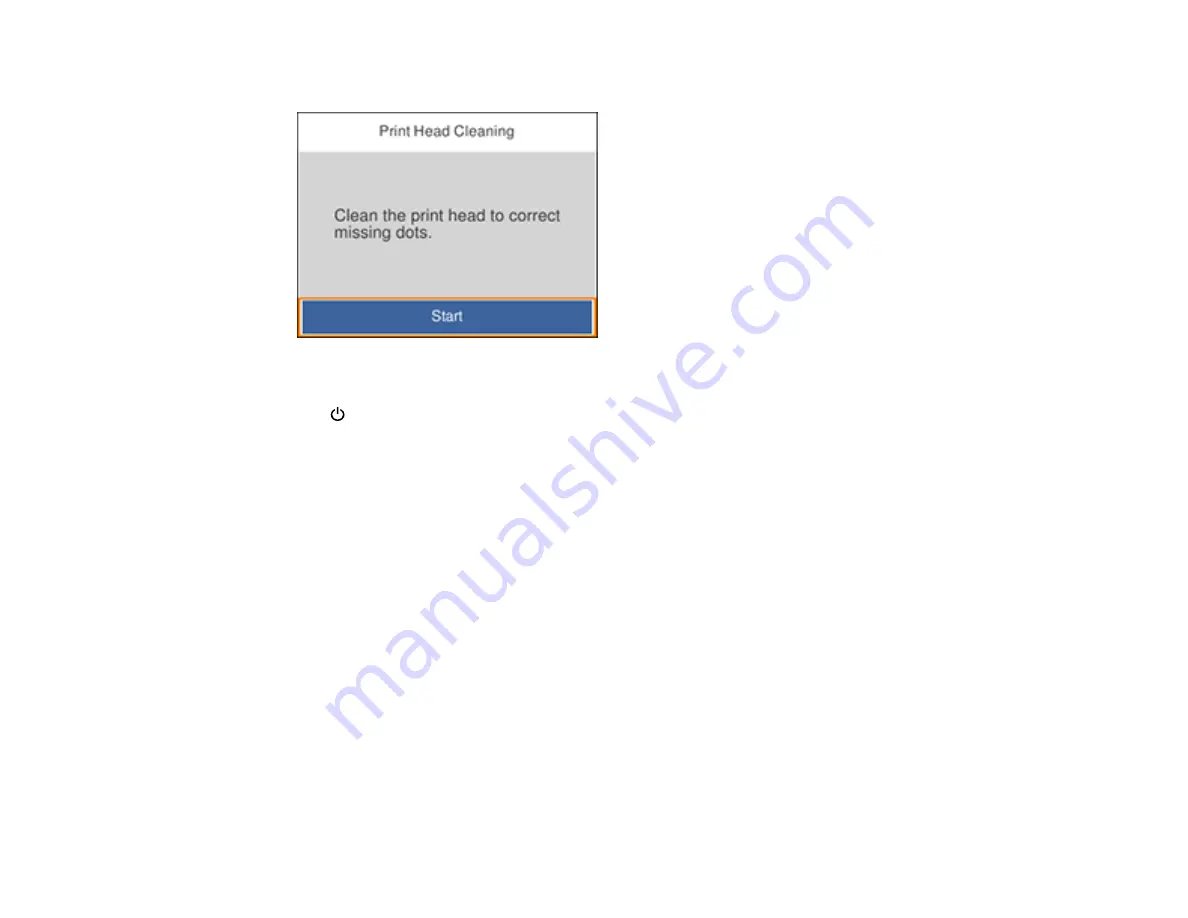
You see a screen like this:
5.
Select
Start
to clean the print head.
The
power light flashes throughout the cleaning cycle and stays on when the cleaning cycle is
finished. When the cleaning cycle is finished, you see a message on the screen.
Caution:
Never turn off the product or open the scanner unit during a cleaning cycle or you may not
be able to print.
6.
Select
Check
.
7.
Select
to print a nozzle check pattern and confirm that the print head is clean.
If you don’t see any improvement after cleaning the print head up to 3 times, wait at least 6 hours without
printing. Then run the nozzle check again and clean the print head again if necessary. If quality still does
not improve, contact Epson.
Parent topic:
Related tasks
Checking the Nozzles Using the Product Control Panel
Related topics
Replacing Ink Cartridges and Maintenance Boxes
Cleaning the Print Head Using a Computer Utility
You can clean the print head using a utility on your Windows or Mac computer.
Summary of Contents for XP-6000
Page 1: ...XP 6000 User s Guide ...
Page 2: ......
Page 24: ...24 Product Parts Inside 1 Document cover 2 Scanner glass 3 Memory card slot ...
Page 57: ...57 1 Slide in the output tray 2 Open the front cover until it clicks ...
Page 131: ...131 You see an Epson Scan 2 window like this ...
Page 133: ...133 You see an Epson Scan 2 window like this ...
Page 135: ...135 You see this window ...
Page 183: ...183 1 Open the front cover 2 Raise the control panel ...


