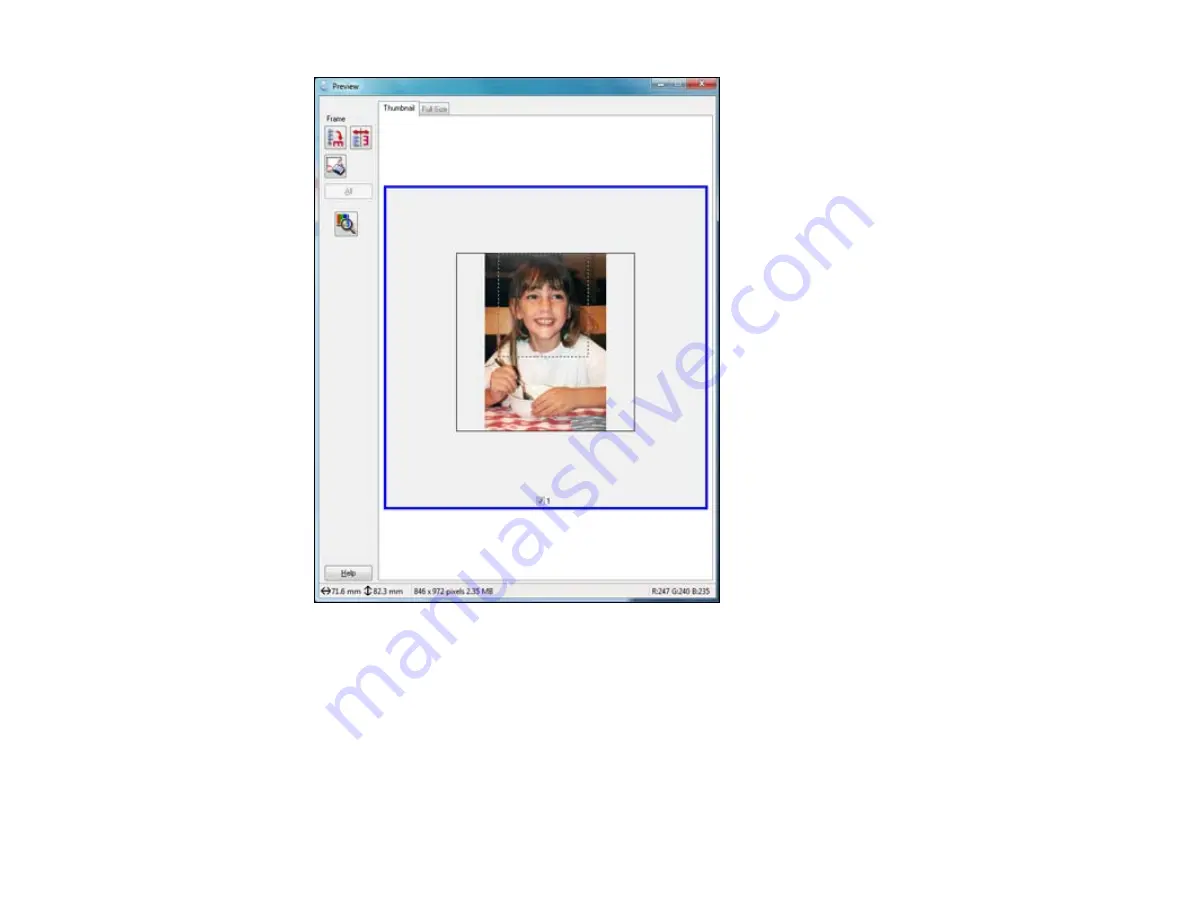
2.
Do the following, as necessary, to work with the selected scan area:
• If the marquee is correct, continue with the next step.
• To move the marquee, click inside the scan area and drag the marquee where you want it.
• To resize the scan area, place your cursor over the edge or corner of the marquee, then click and
drag the edges where you want them. (Hold down the
Shift
key as you resize the marquee to
retain the same width/height proportions.)
156
Summary of Contents for WorkForce Pro WP-4590
Page 1: ...WorkForce Pro WP 4590 User s Guide ...
Page 2: ......
Page 13: ...WorkForce Pro WP 4590 User s Guide Welcome to the WorkForce Pro WP 4590 User s Guide 13 ...
Page 25: ...4 Click Add a network wireless or Bluetooth printer You see a window like this 25 ...
Page 30: ...8 Click Next You see this window 30 ...
Page 36: ...4 Load a stack of paper printable side down in the cassette as shown 36 ...
Page 62: ...62 ...
Page 68: ...Parent topic Placing Originals on the Product 68 ...
Page 105: ...105 ...
Page 152: ...152 ...
Page 205: ...5 Select Fax Settings for Printer Select your product if prompted You see this window 205 ...
Page 206: ...6 Select Speed Dial Group Dial List You see this window 206 ...
Page 246: ...246 ...
Page 251: ...251 ...
Page 278: ...6 Lower the document cover 7 Raise the ADF input tray 8 Carefully remove the jammed pages 278 ...
Page 328: ...Parent topic Technical Specifications Related references PCL5 Mode Fonts PCL6 Mode Fonts 328 ...


